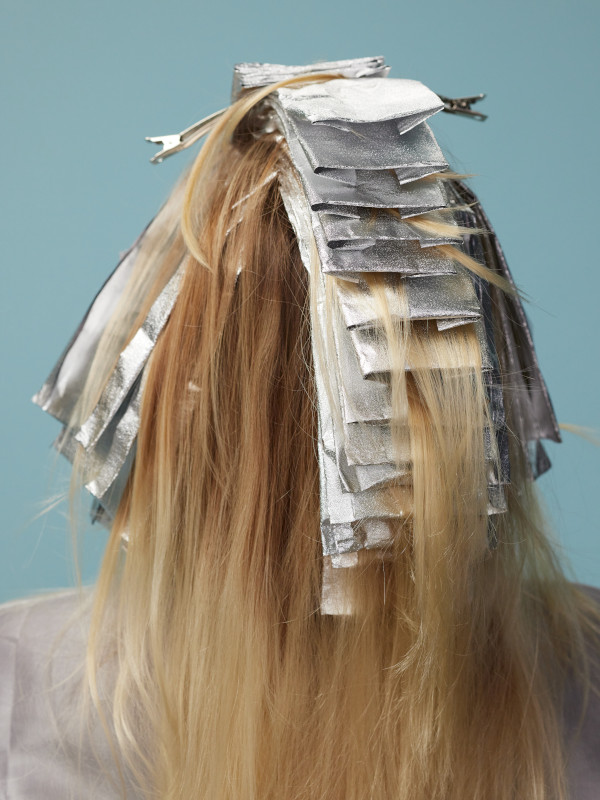
Dimensional Suede Brunette

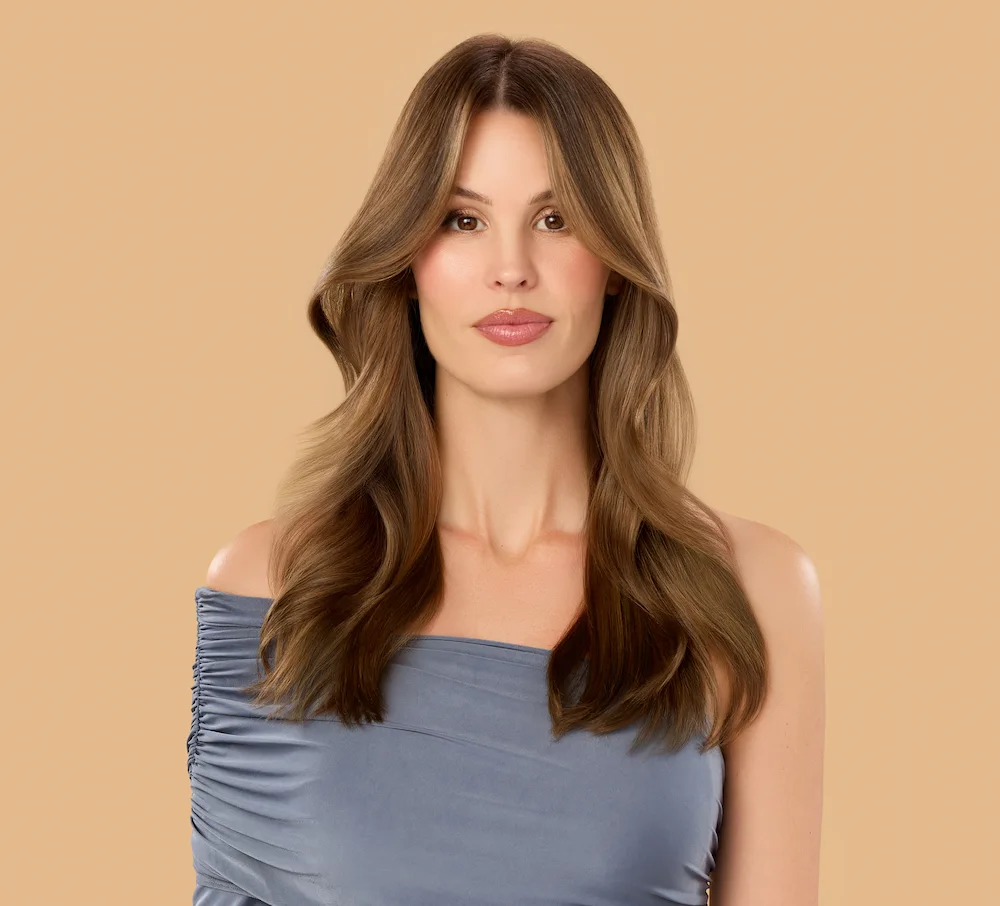
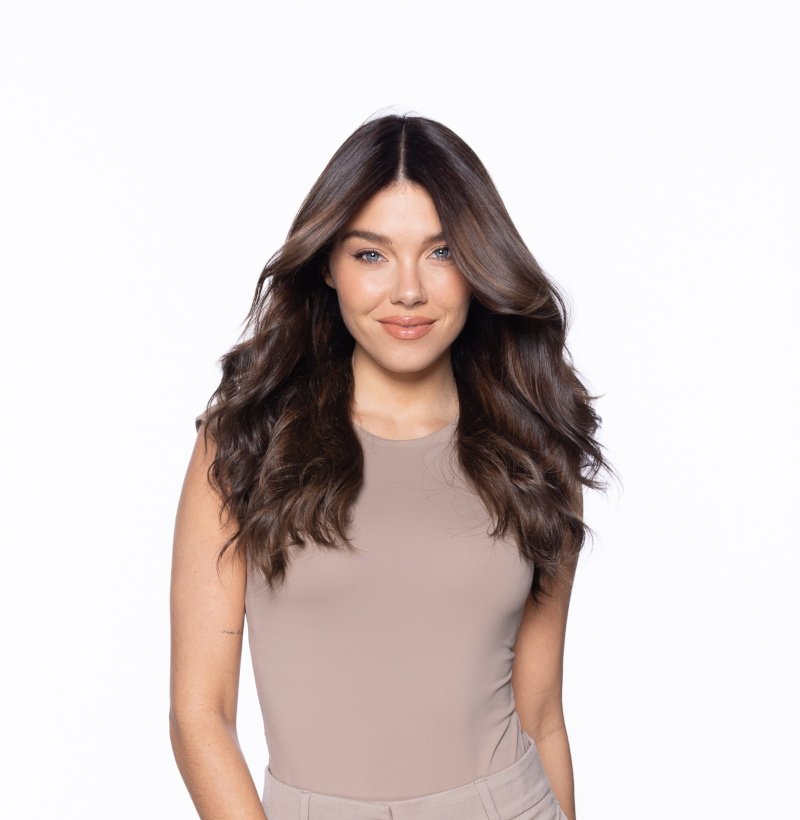
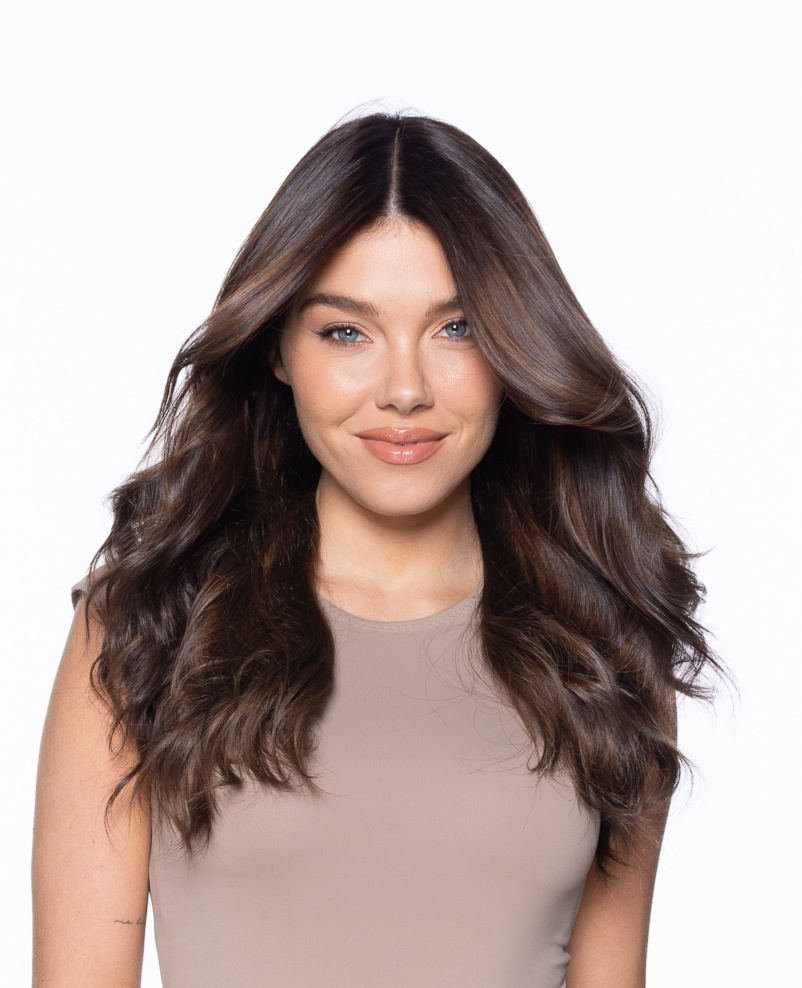
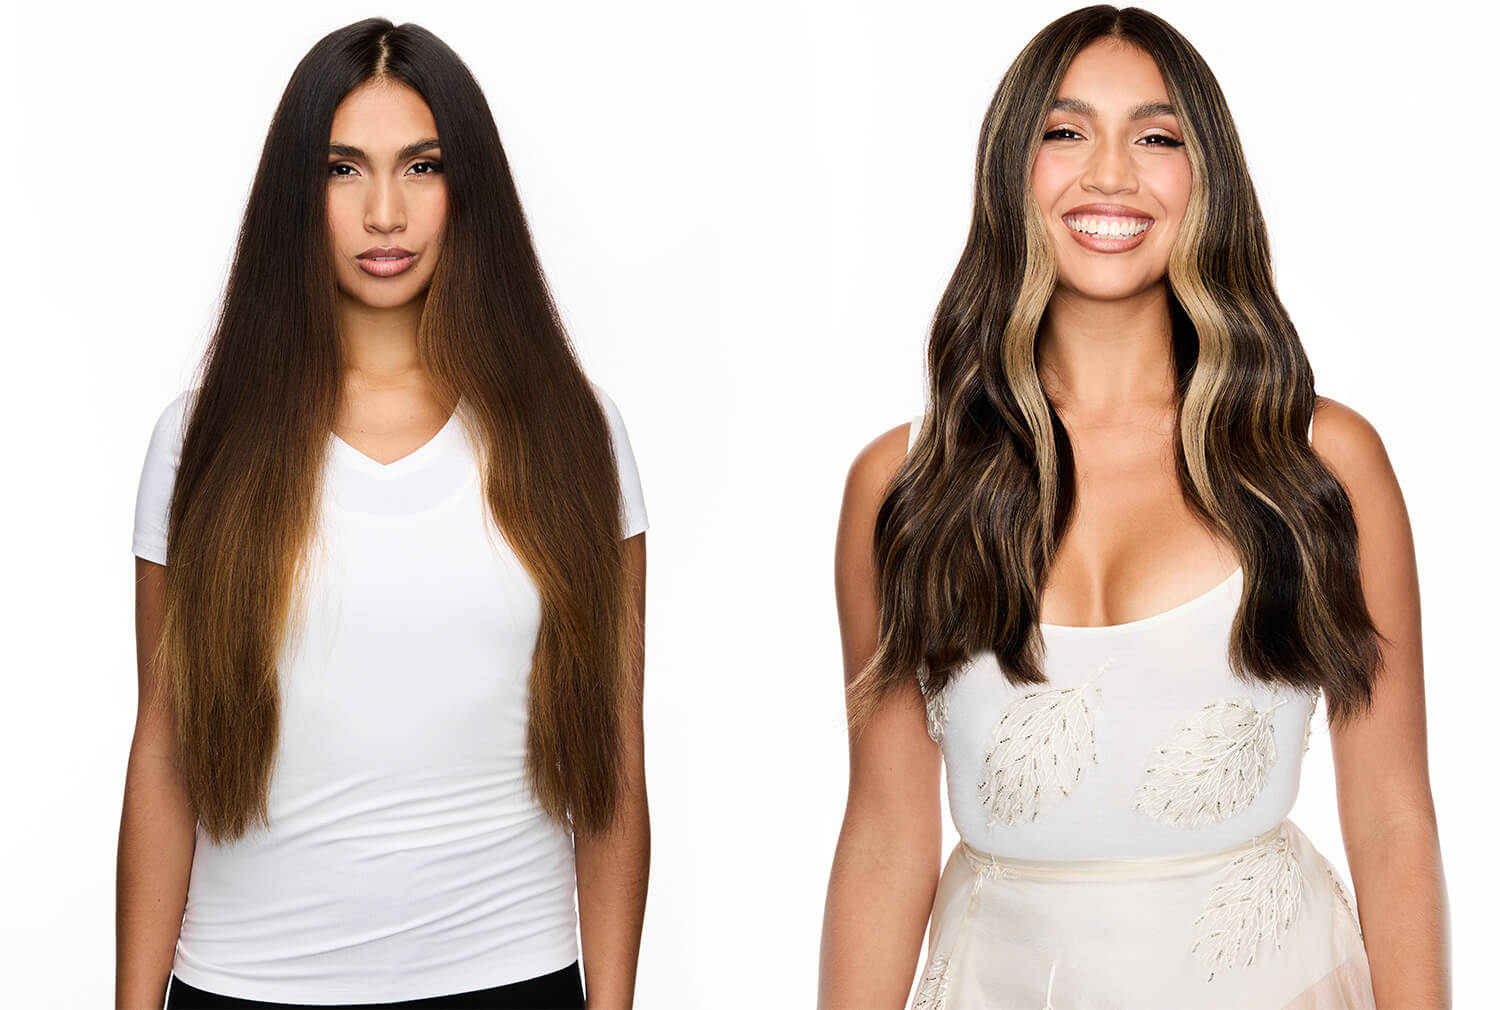
Woman model with long mocha colored hair posing

Featuring Larisa Love, Joico Global Brand Ambassador and Artistic Director

Dimensional, rich, and undeniably luxe — meet the brunette look taking over every feed. Joico Global Brand Ambassador and Artistic Director Larisa Love showcases Dimensional Suede Brunette, a multi‑tonal, high‑end finish created by pairing LumiShine Demi-Liquid Mocha with LumiShine Permanent Crème Color for depth, longevity, and that luxurious, light‑catching warmth clients are craving.

Watch Larisa’s tutorial and get the formula here:

The Formula:

  • Formula 1 (Lightener): Joico Blonde Life Lightening Powder with 10 Volume Blonde Life Coconut Oil Developer
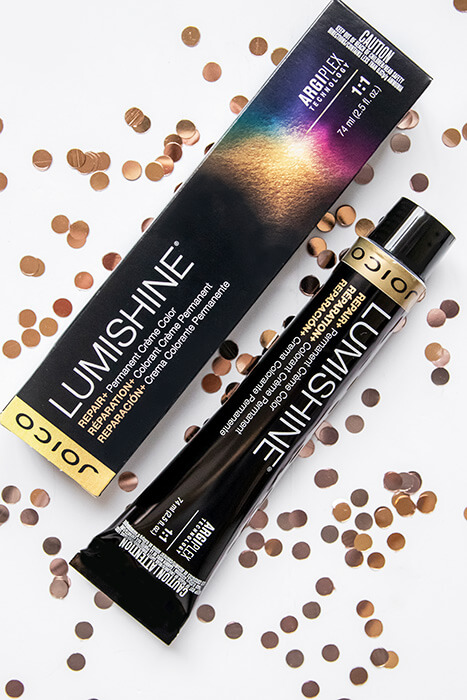
  • Formula 2 (Lowlights): Joico LumiShine Permanent Color 7NG with 10 Volume LumiShine Developer
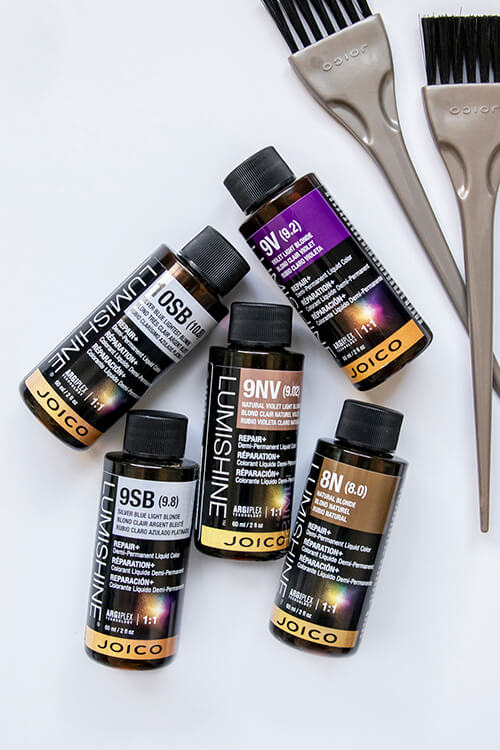
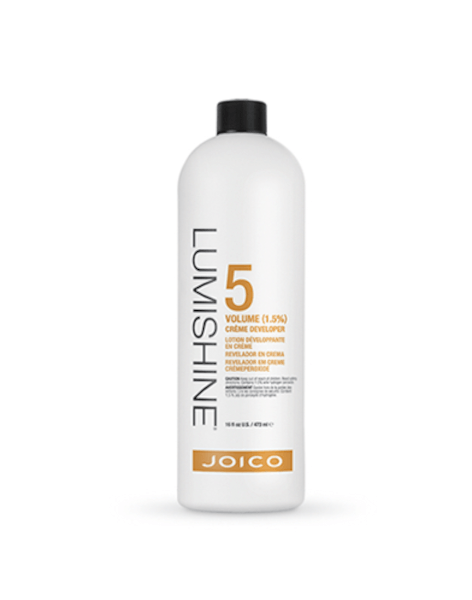
  • Formula 3 (Depth & Root Shadow): Joico LumiShine Demi-Liquid 7M with 5 Volume LumiShine Developer
  • Formula 4 (Gloss): Joico LumiShine Demi-Liquid 8M with 5 Volume LumiShine Developer
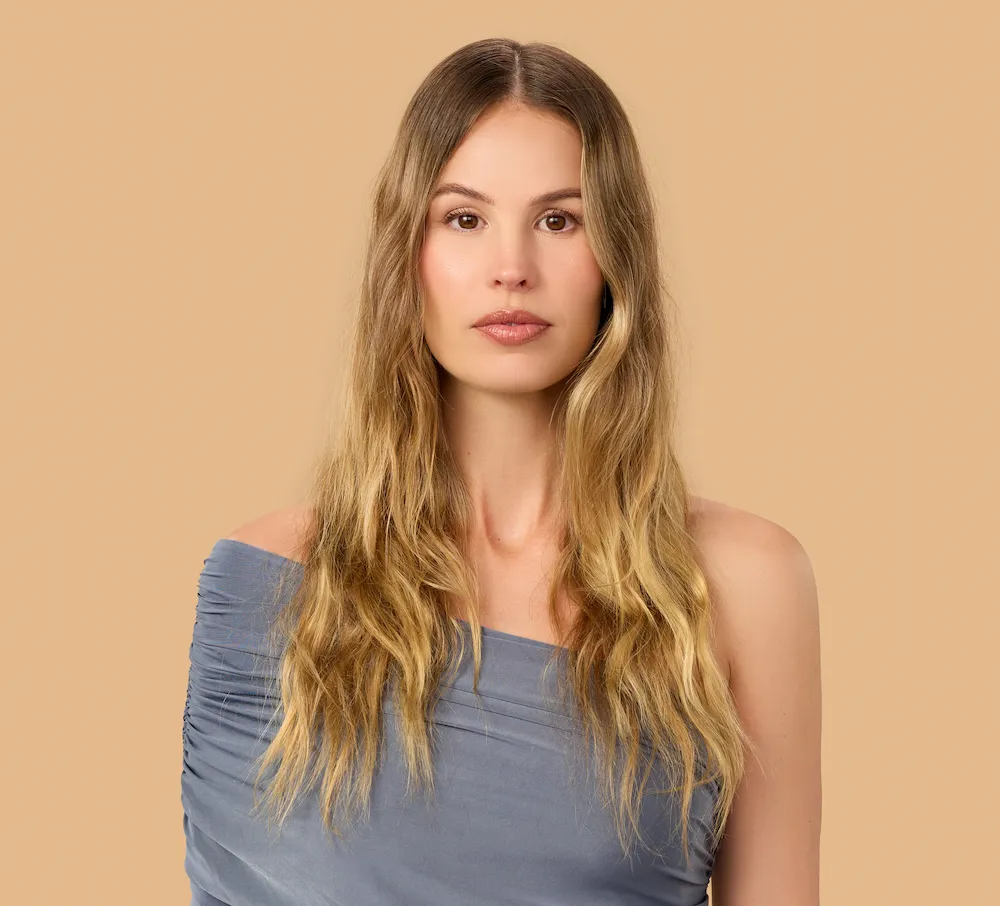
Model with frizzy hair posingModel with mocha colored long hair posing

Larisa’s Step-By-Steps

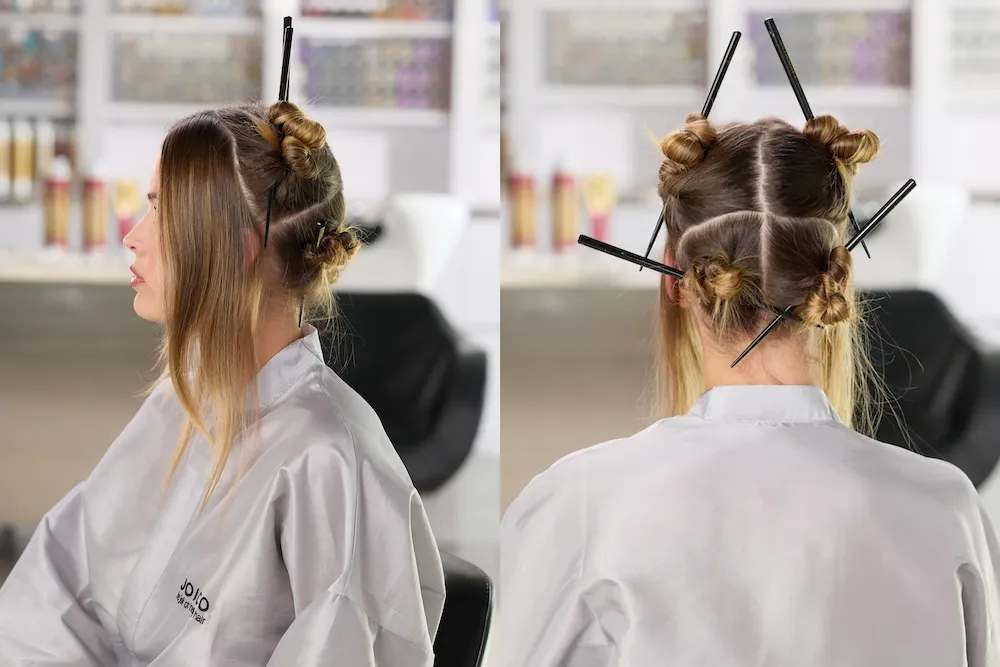
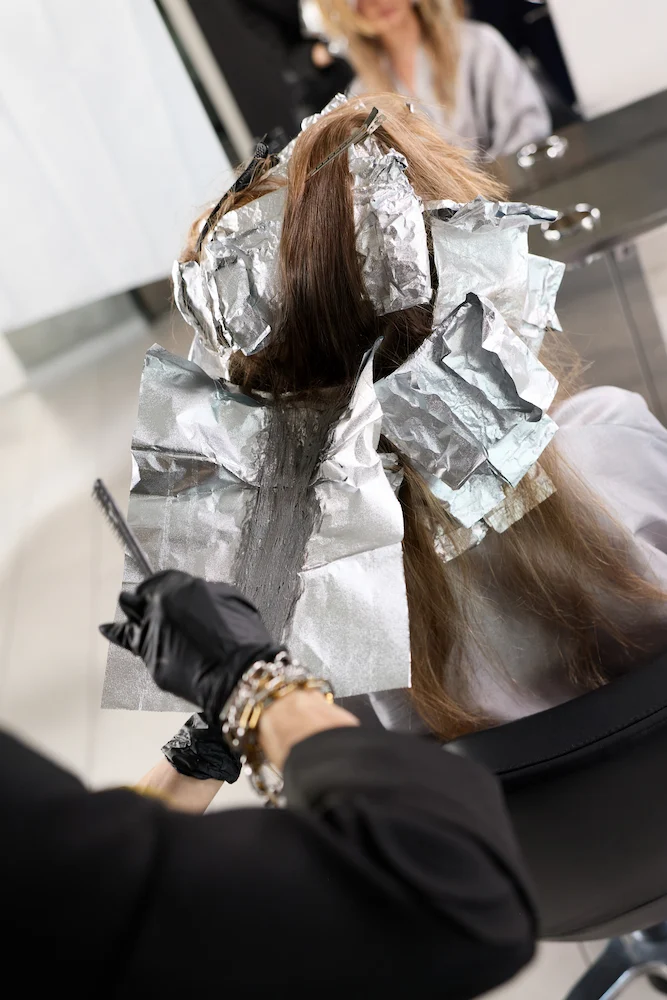
collage of woman in salon with hair ready for treatment

STEP 1:
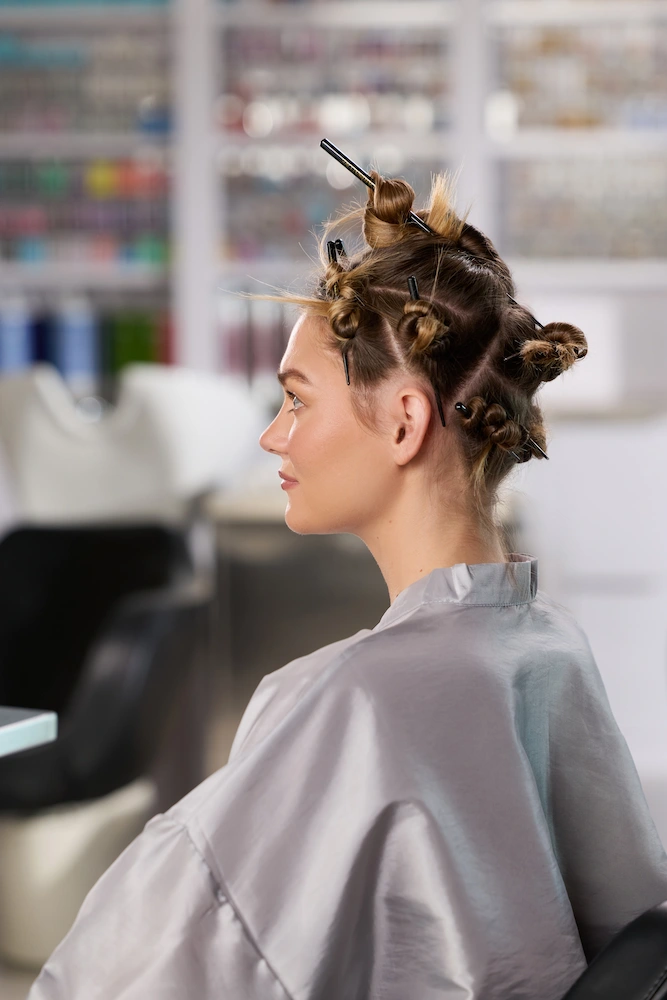
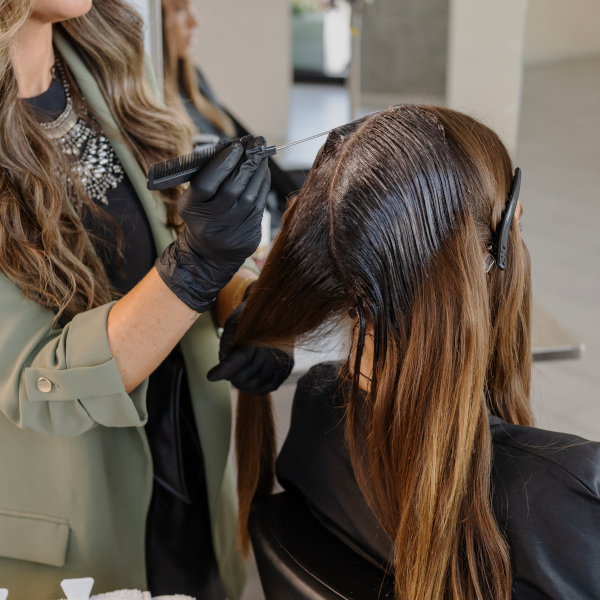
Section hair into 6 zones: two 2-inch sections at the front hairline and four quadrants in the back.
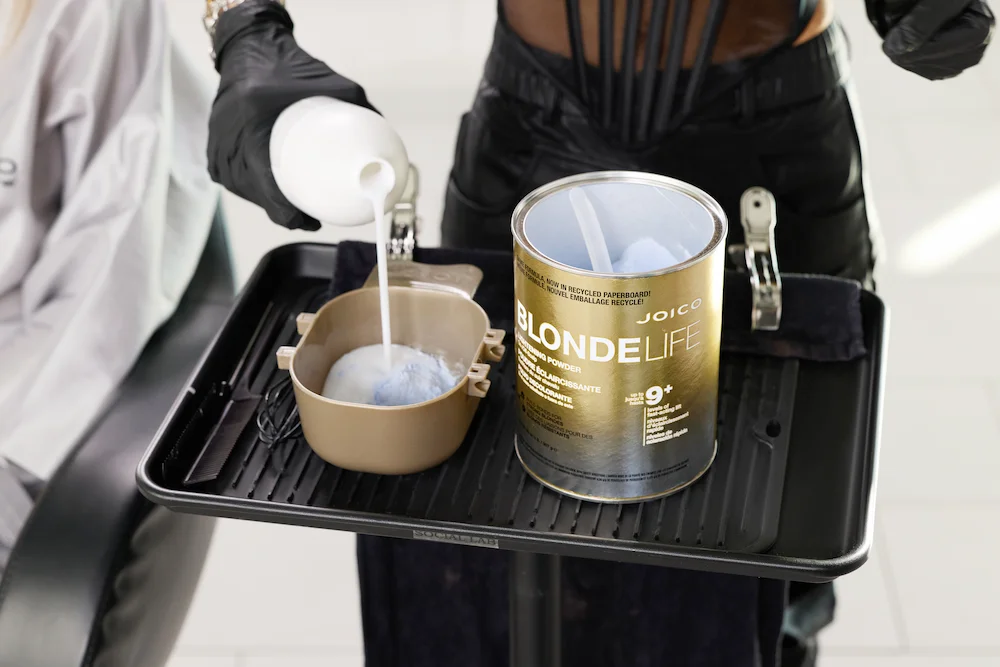
Joico blonde life being mixed into bowl

STEP 2:
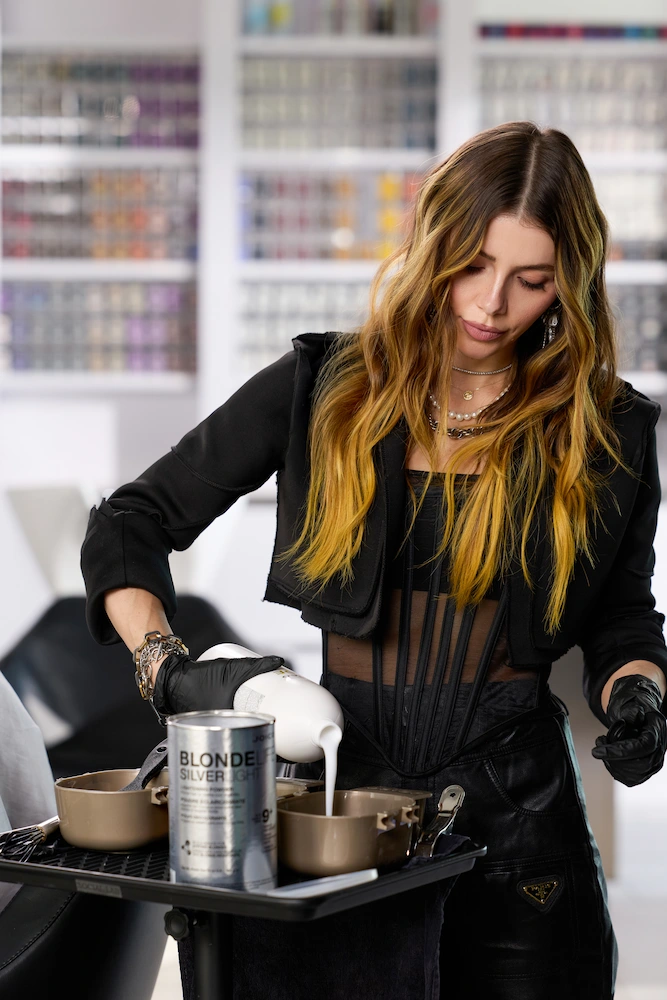
Mix lightener formula: Blonde Life Lightening Powder starting with 10 volume developer and moving up throughout the head as needed.
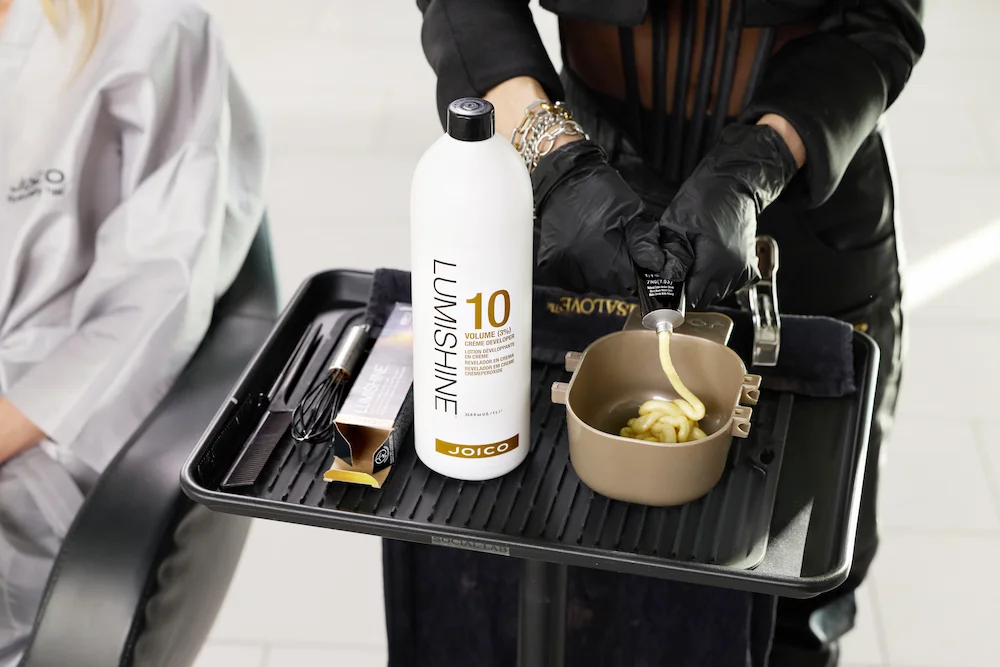
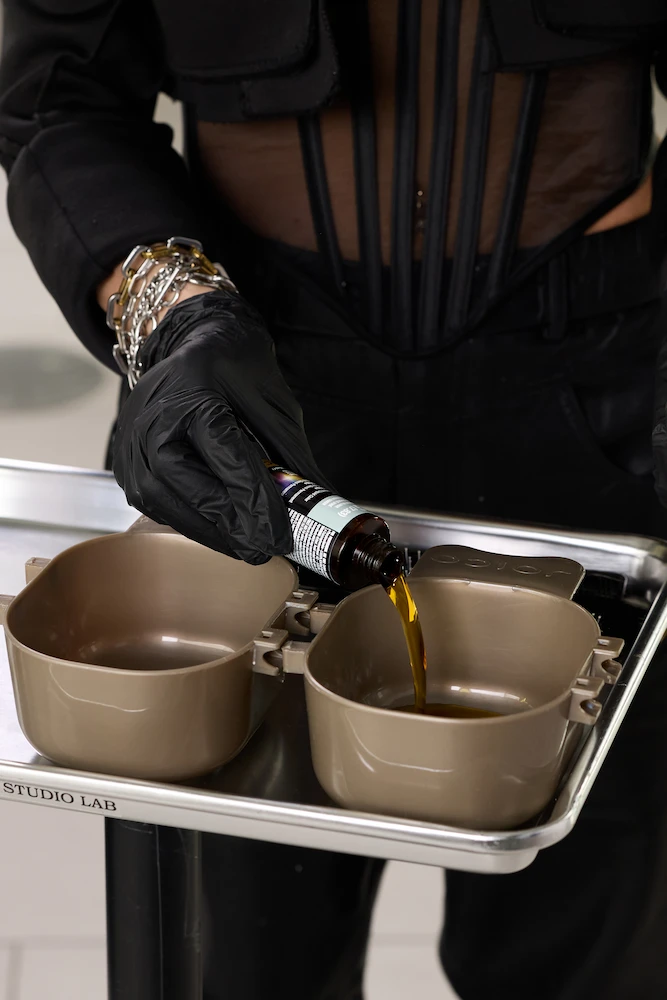
Joico Lumishine tube being dispensed in bowl

STEP 3:
Mix lowlight formula: LumiShine Permanent Color 7NG with 10 volume developer.
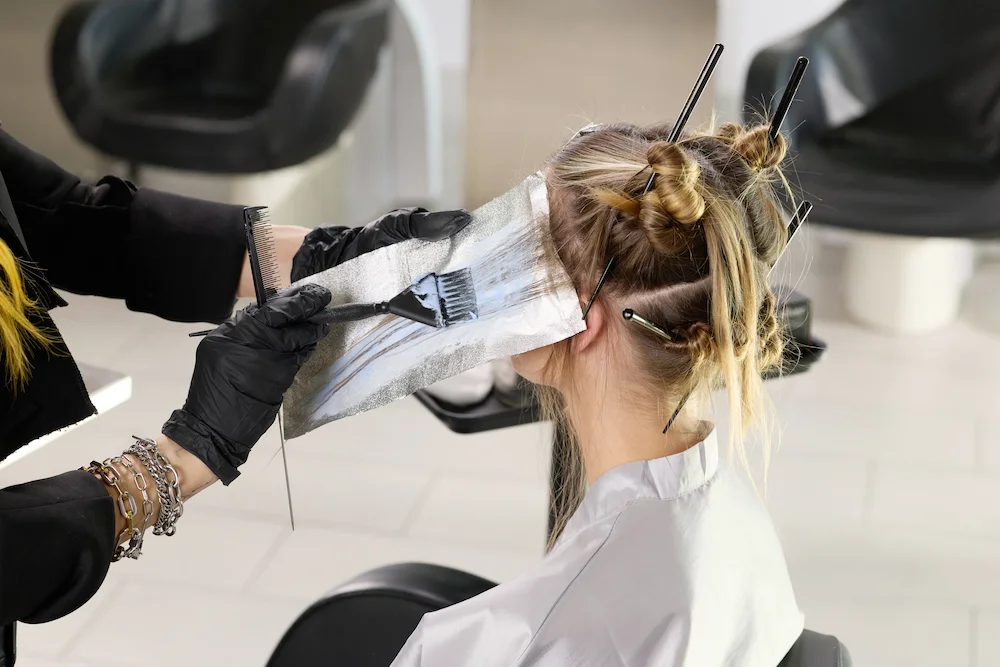
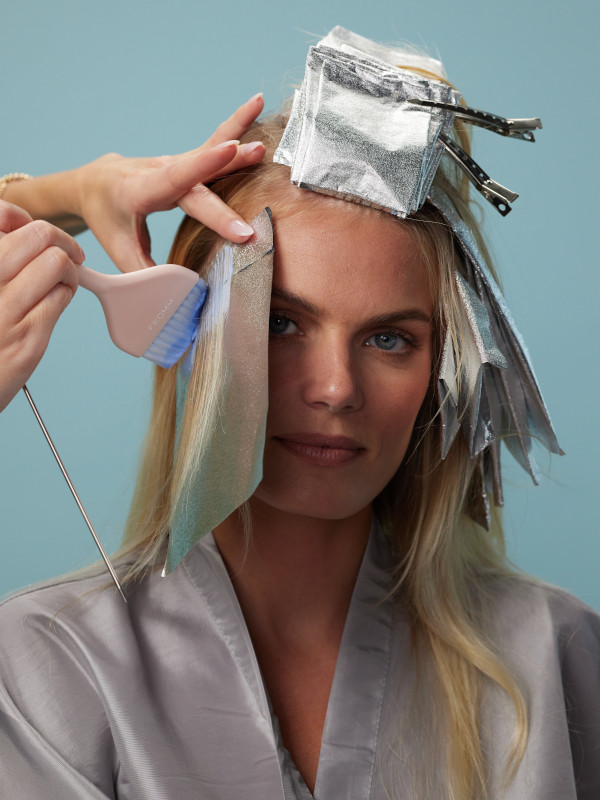
Hair color dye being applied with brush and foil

STEP 4:
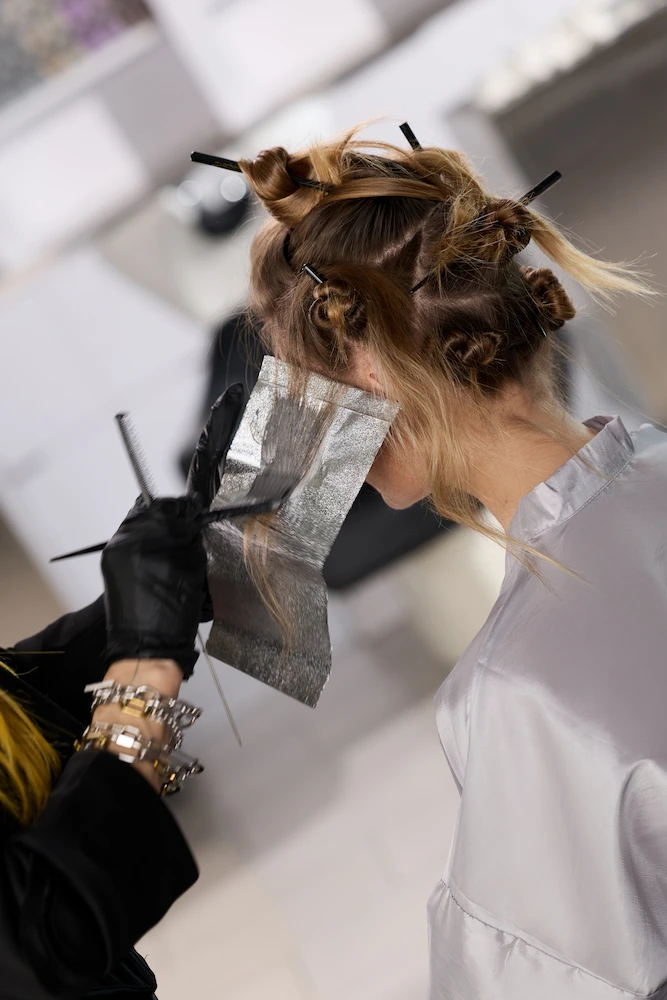
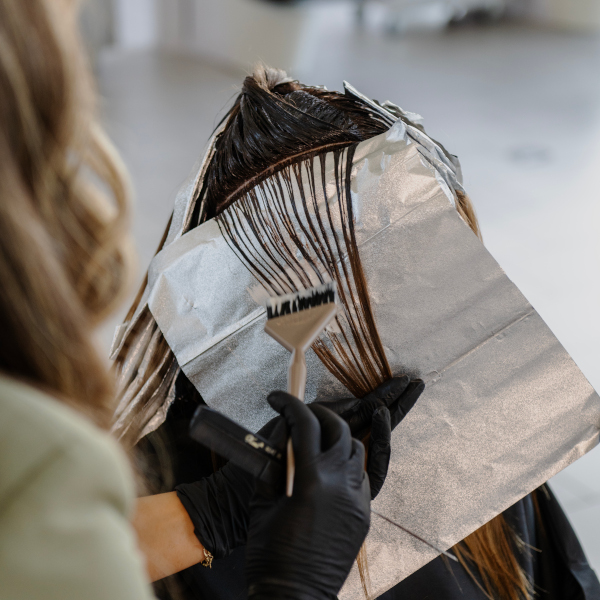
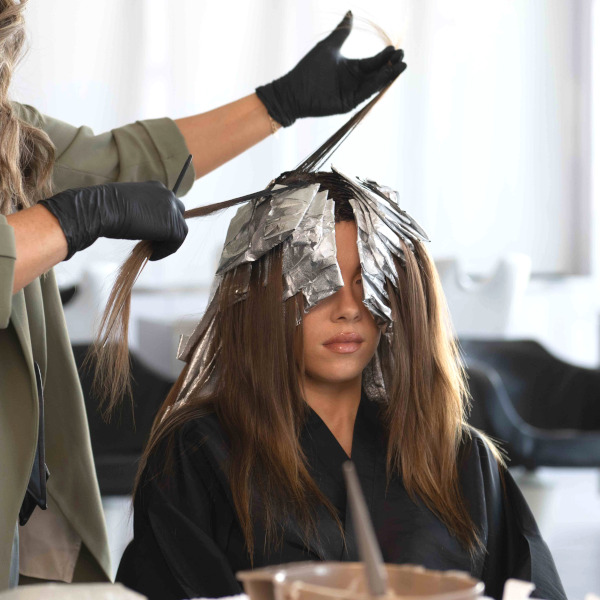
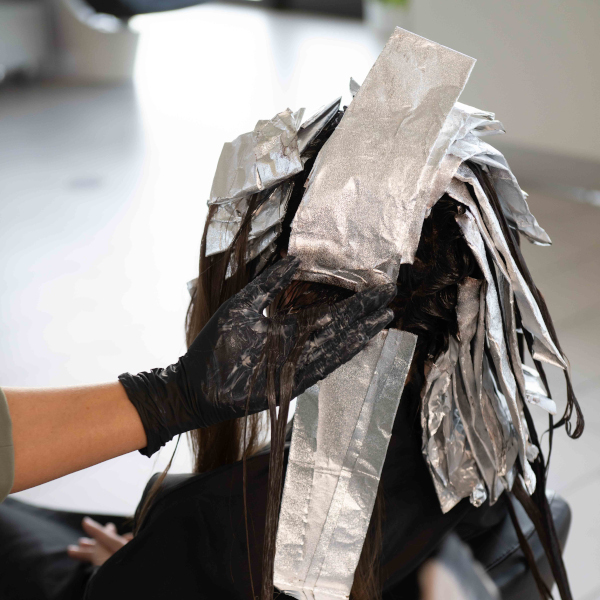
Start foiling at the front-side hairline with a babylight. Then, take a diagonal-back section with a teased bold-light. Finish section with another babylight on top and repeat at the front hairline and other side
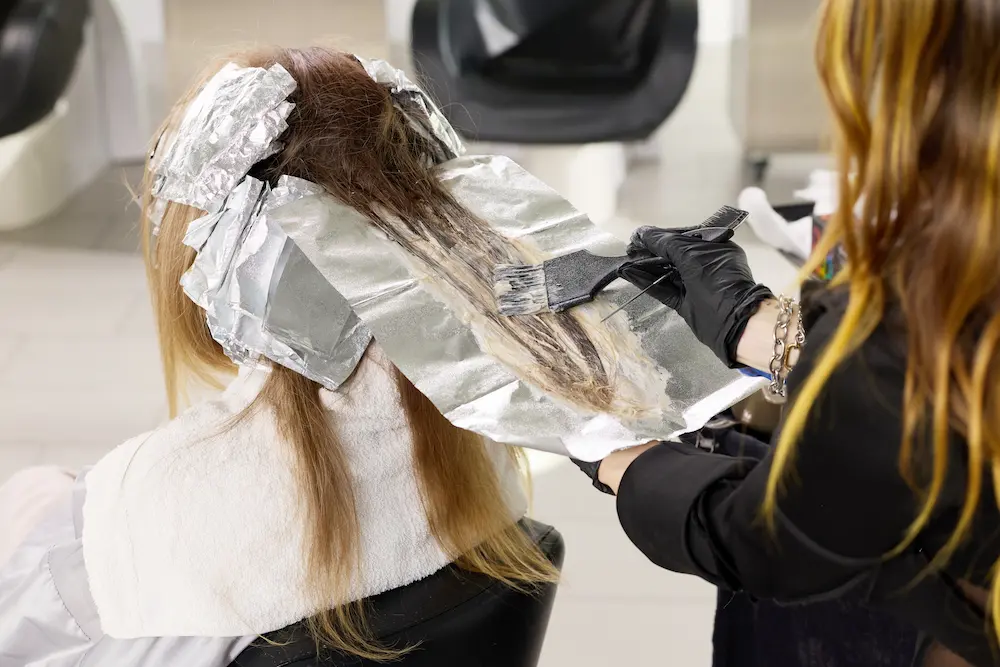
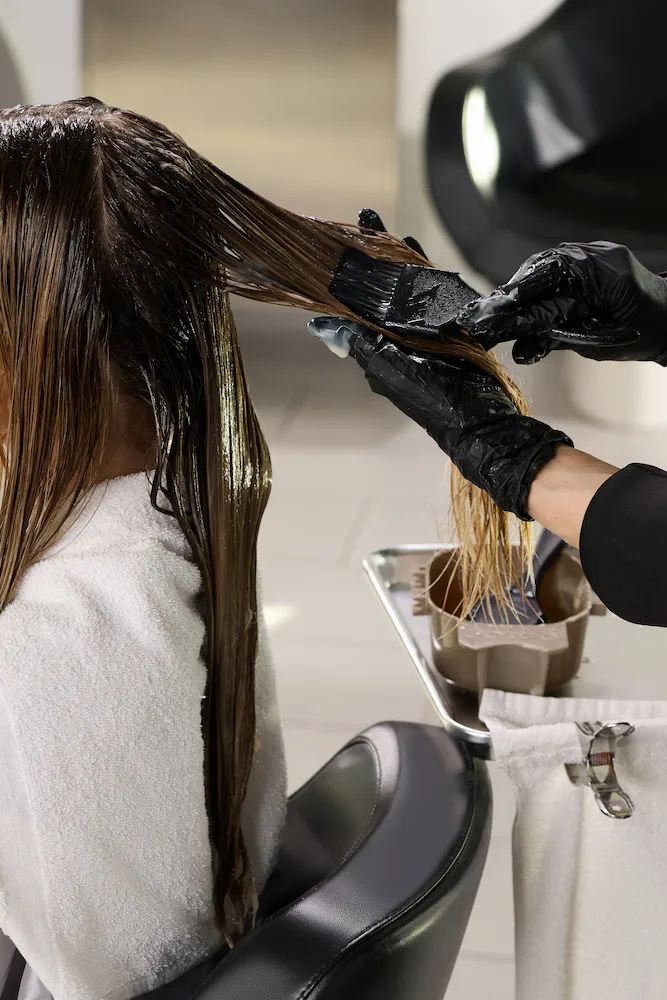
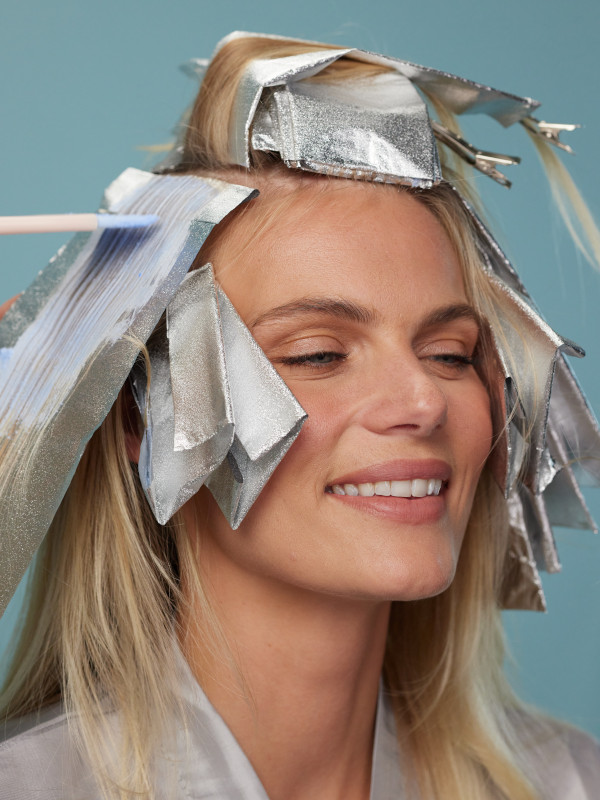
Color being applied to long hair using brush and foil

STEP 5:
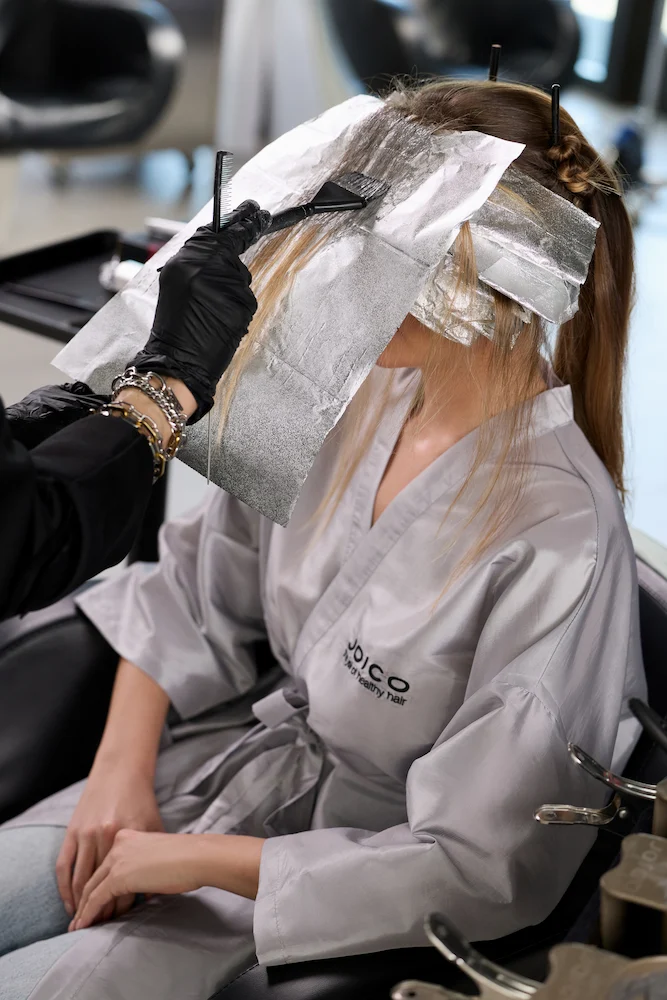
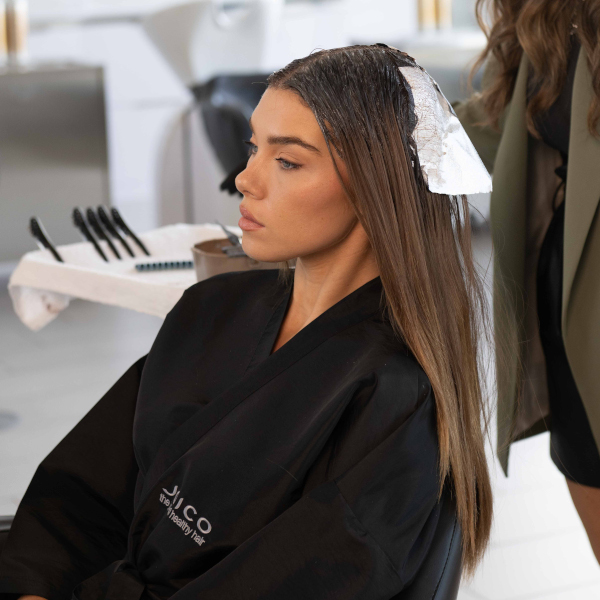
Moving into the back sections, weave out bold-lights, alternating between the lightener and lowlight formulas. Each quadrant will have two highlights and two lowlights.
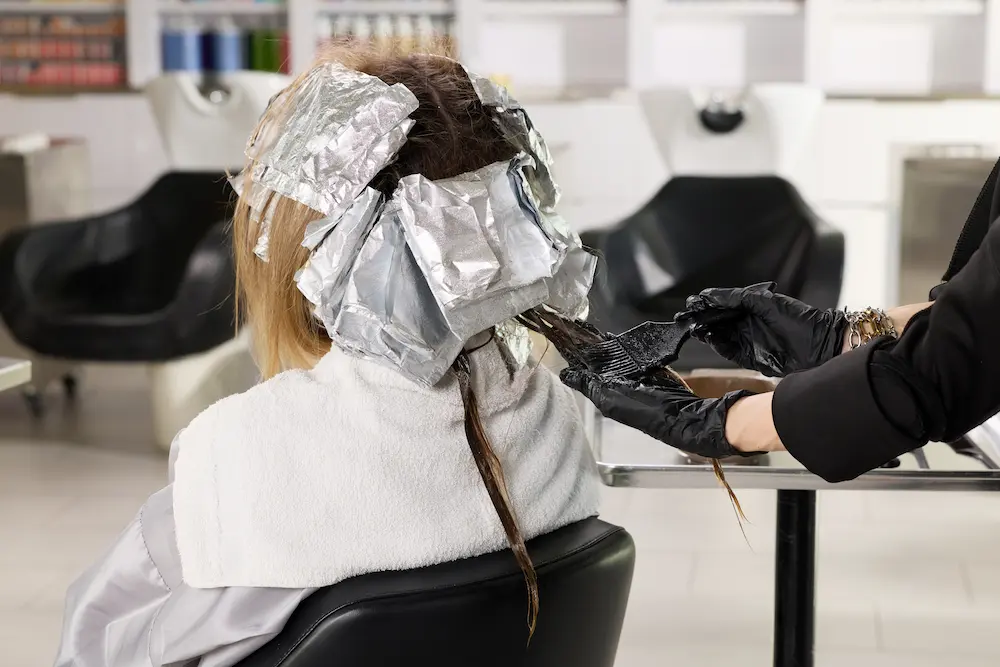
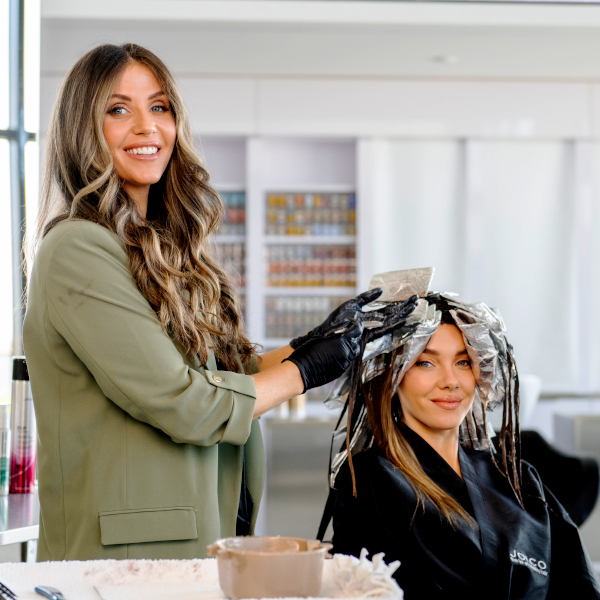
Woman in hair salon with foil wrapped around her hair

STEP 6:
Mix the depth and root shadow formula: LumiShine Demi-Liquid 7M with 5 volume developer. Apply this formula to the roots all over and the mids and ends on the hair left out of the foils.
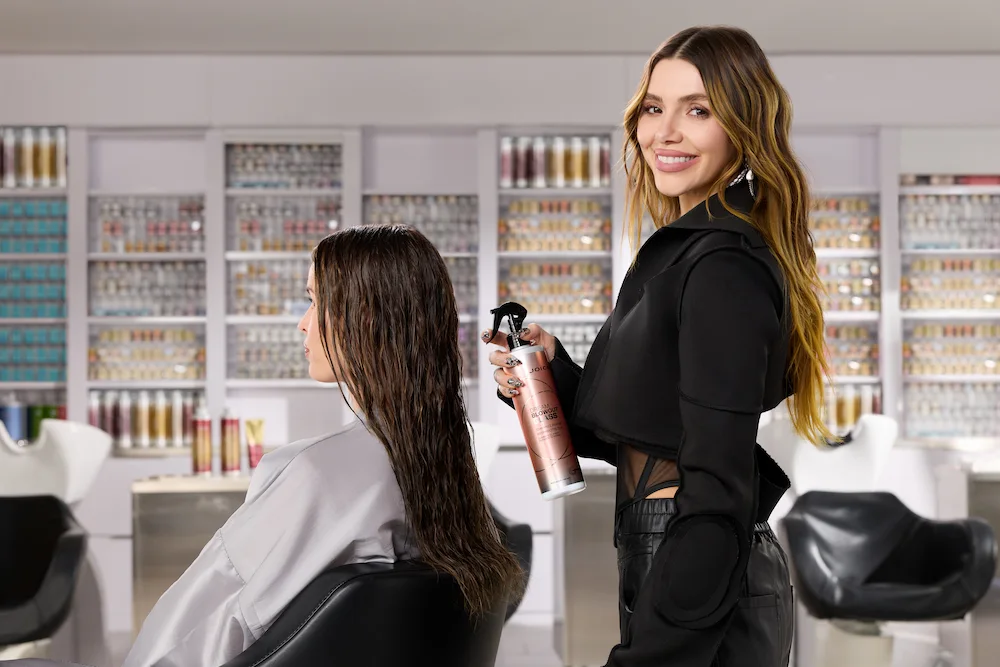
Larisa Love smiling after applying hair spray on client's hair

STEP 7:
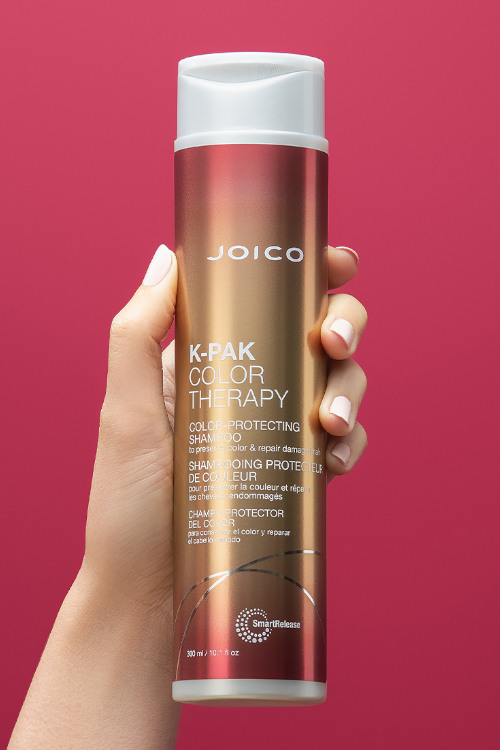
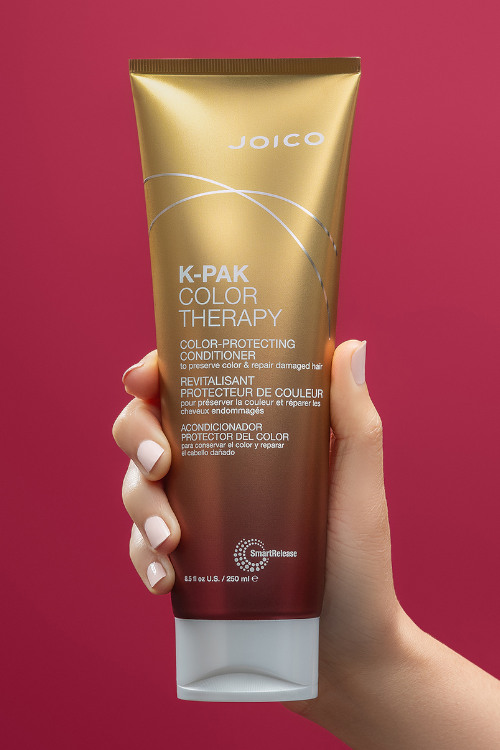
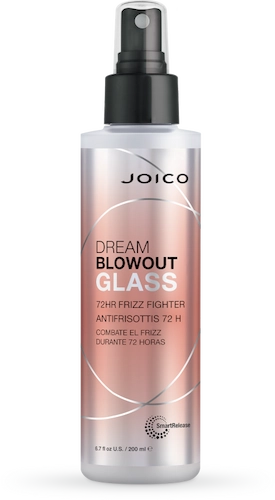
After processing and rinsing, apply the gloss formula of LumiShine Demi-Liquid 8M with 5 volume developer and process for 20 minutes. Rinse with K-PAK Color Therapy Color-Protecting Shampoo and Conditioner. Style with Dream Blowout Glass and Hold Hero.

Products Used:

Vanilla Crème Blonde

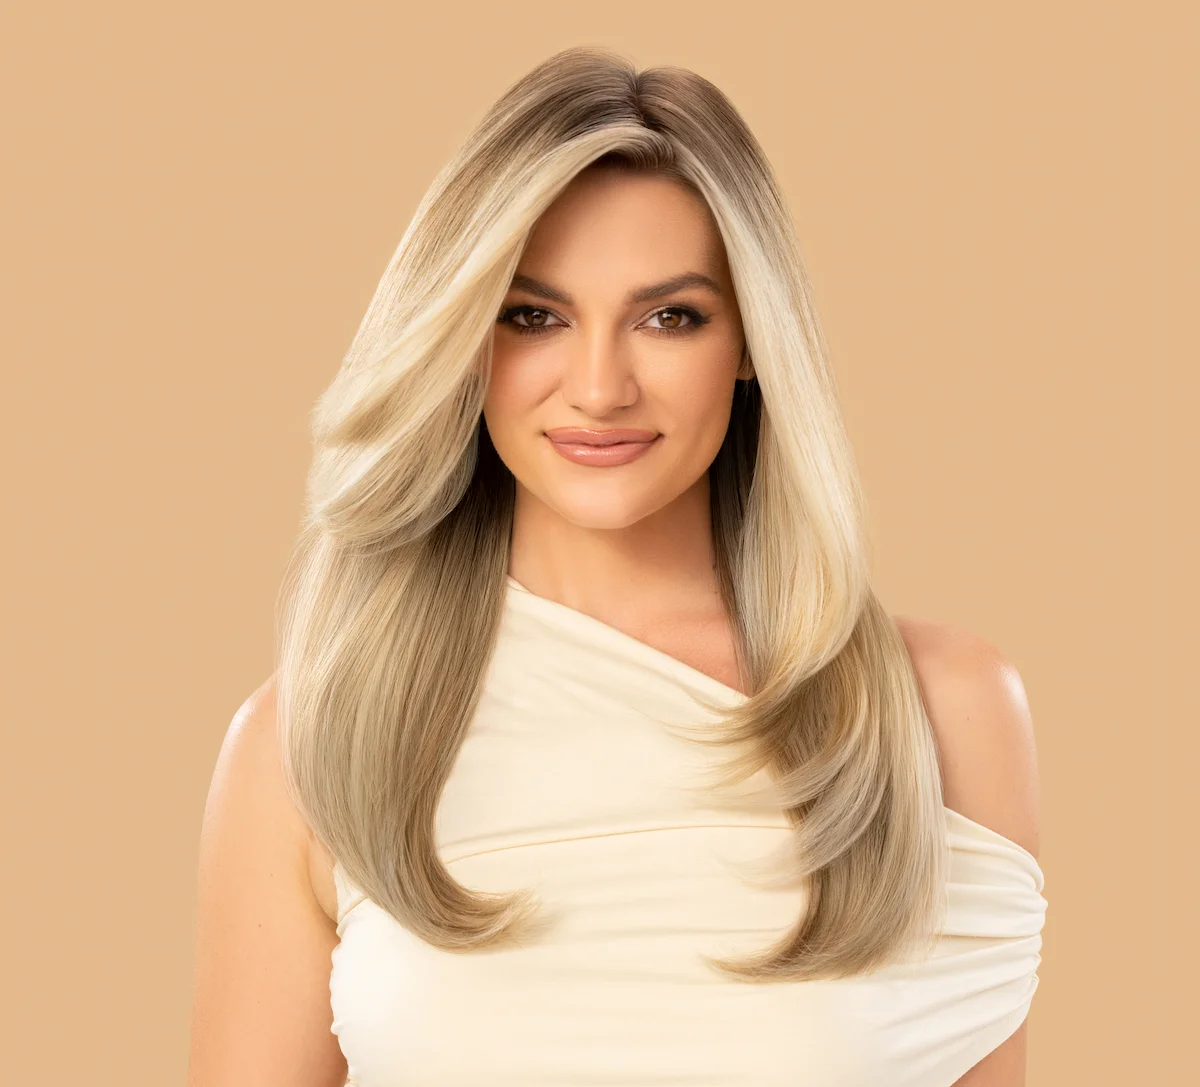
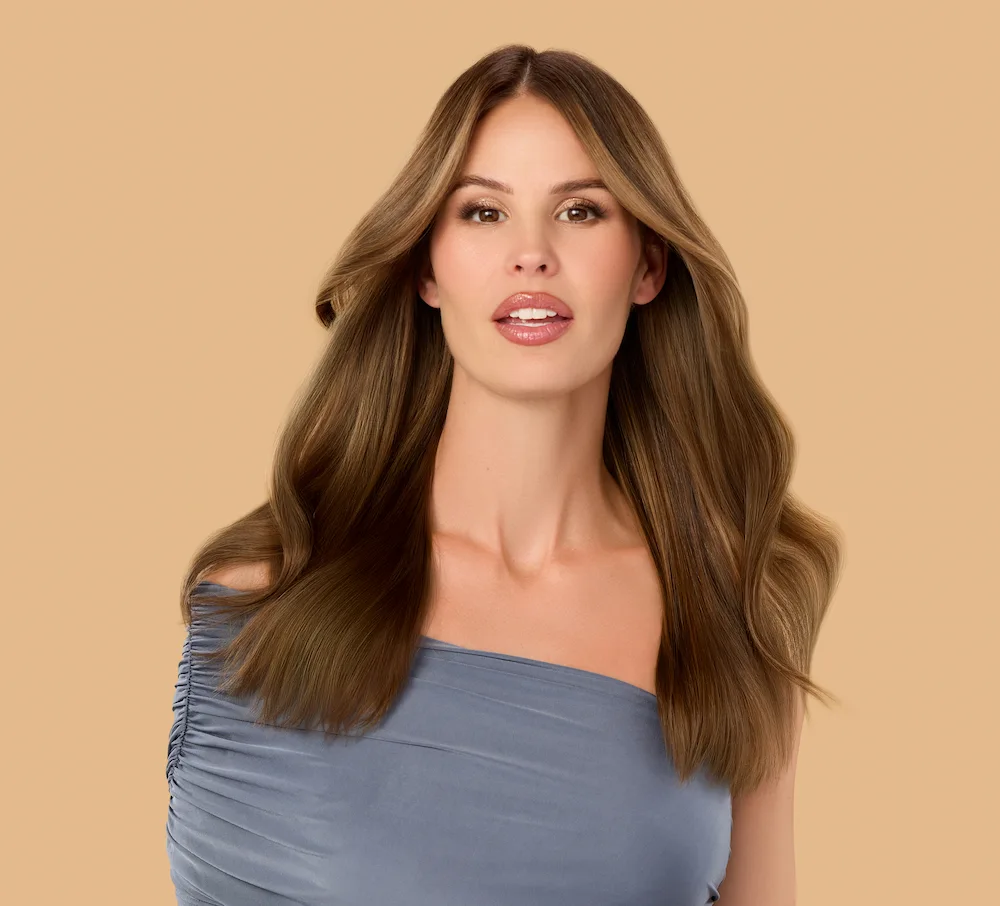
Woman with nice hair smiling in front of tan colored background

Featuring Larisa Love, Joico Global Brand Ambassador and Artistic Director

Bright, balanced, and never flat — meet the new blonde everyone’s asking for. Joico Global Brand Ambassador and Artistic Director Larisa Love introduces Vanilla Crème Blonde, a vanilla‑latte inspired shade created with LumiShine Demi‑Liquid Ash Gold. With a cool base to control warmth and a touch of gold for brightness, Ash Gold delivers luminous blondes in three versatile levels: 7AG, 9AG, and 10AG.

Watch Larisa’s tutorial and get the formula here:

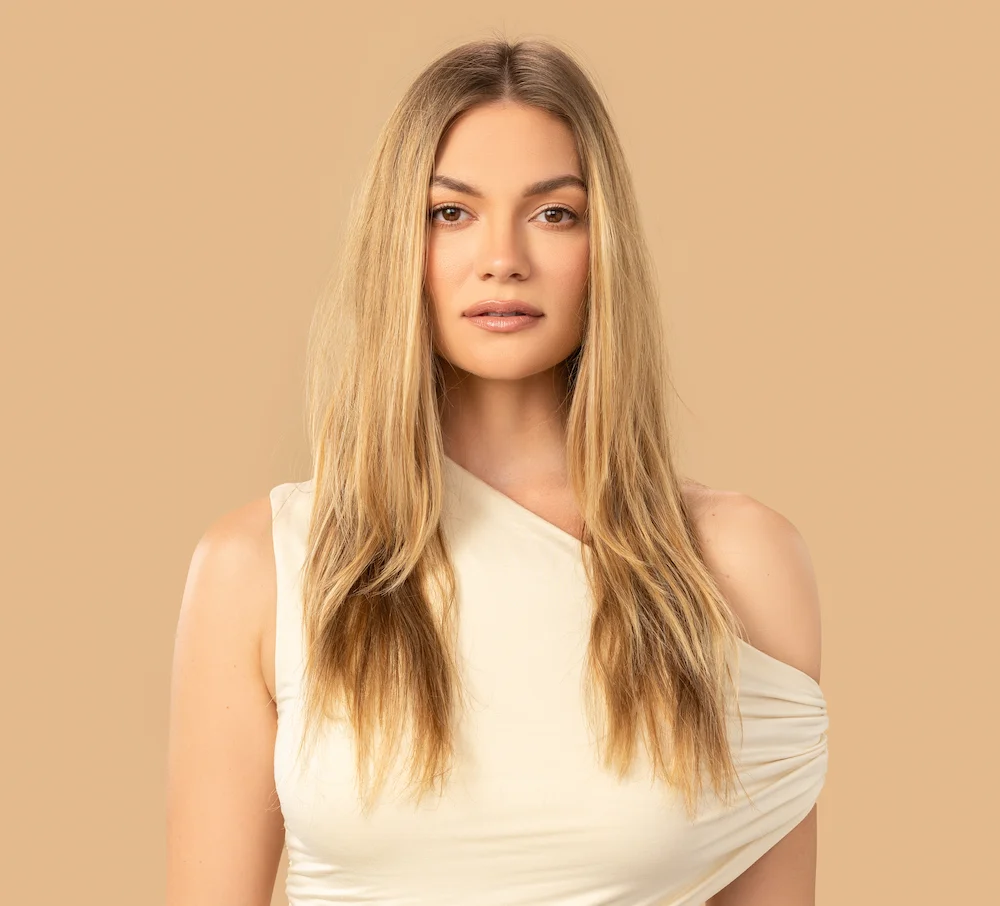
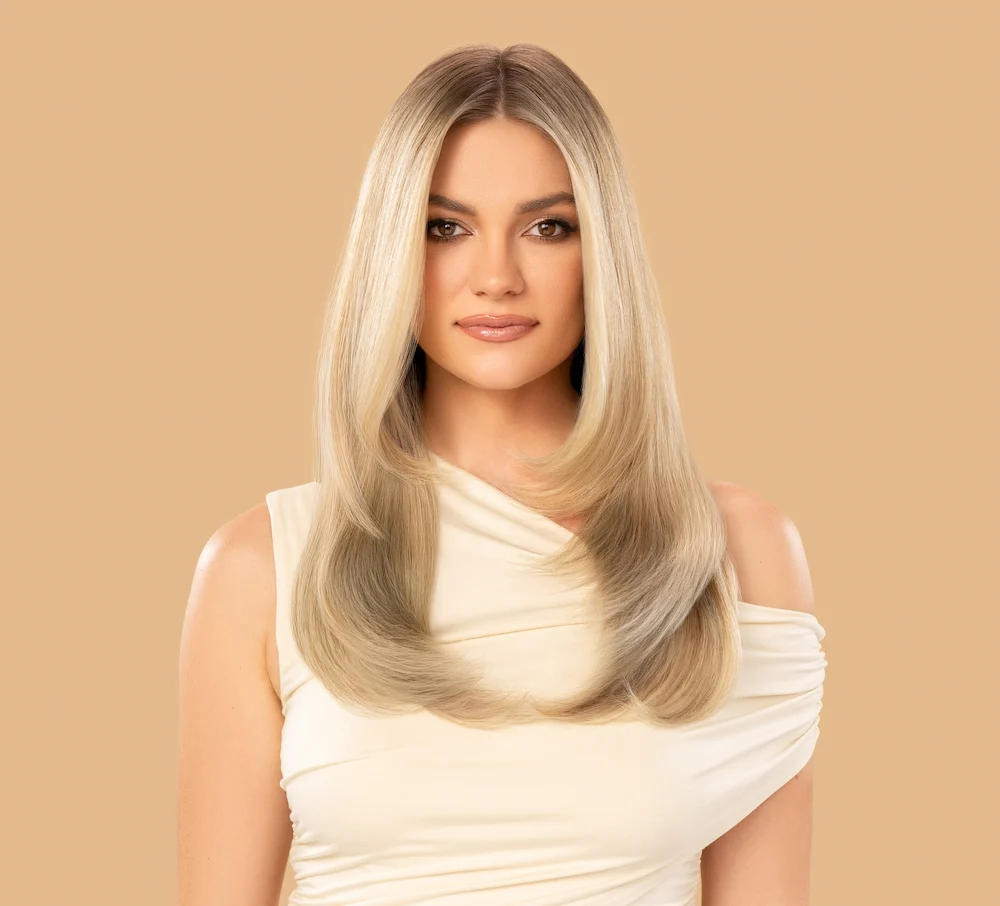
Woman with frizzy hair standing in front of tan colored backgroundWoman with nicely colored hair standing in front of tan colored background
The Formula:

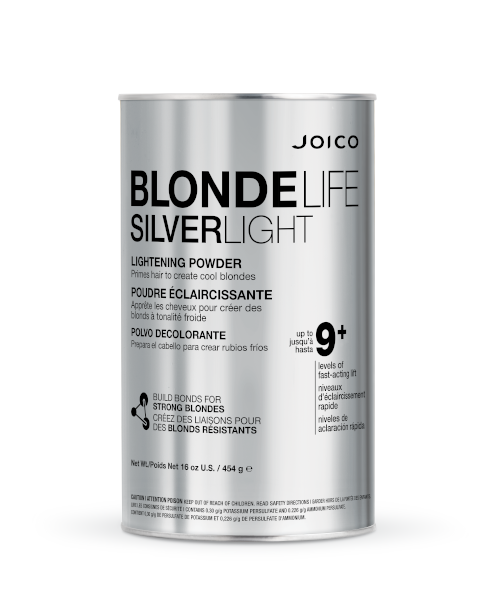
  • Formula 1 (Lightener): Joico Blonde Life SilverLight Lightening Powder with 5-10 Blonde Life Coconut Oil Developer
  • Formula 2 (Lowlights): Joico LumiShine Demi-Liquid 7AG with 5 Volume LumiShine Developer
  • Formula 3 (Root Tap): Joico LumiShine Demi-Liquid 7AG with 5 Volume LumiShine Developer
  • Formula 4 (Gloss): Joico LumiShine Demi-Liquid 10AG with 5 Volume LumiShine Developer

Larisa’s Step by Steps

Woman in hair salon getting her set up for coloring

STEP 1:
Section hair into 8 zones: two 2-inch sections at the front hairline, diagonal‑backs to each ear, a mohawk through the crown, a back triangle, and two nape sections.

Larisa Love mixing hair dye color preparing for client

STEP 2:
Mix lightener formula: SilverLight Lightening Powder starting with 5 volume developer and moving up to 10 volume throughout the head.

Hair dye being applied using foil

STEP 3:
Starting at the front-side hairline, foil a babylight. Then take a diagonal-back slice, weave a babylight and clip it aside. Tease the slice once for softness and apply lightener. Overlay the clipped aside babylight and foil it. Lastly, working up the section, take a regular highlight–no tease. Repeat the pattern at the top hairline and on the other side.

Woman's head covered in foil as hair dye is being applied

STEP 4:
Moving into the mohawk section, work from the front toward the back, weaving regular highlights only in this zone.

Hair stylist applying hair dye to woman's long hair using foil backing

STEP 5:
Moving to the back, start at the nape taking diagonal-back subsections. Weave regular highlights and pivot upwards toward the crown. Mirror the same pattern on the other side nape section. Then, finish foiling in the back middle triangle section continuing to weave regular highlights–no tease–in a horizontal pattern.

Hair dye color in bowls on steel tray

STEP 6:
Mix lowlight formula: LumiShine Demi-Liquid 7AG with 5 Volume developer and apply to all of the hair left out of the foils.

Hair dye being applied to long hair

STEP 7:
After processing and rinsing, apply the root tap formula in a teardrop pattern. Then, apply the mids to ends gloss formula and process for 20 minutes.

Larisa Love showing happy woman's colored hair

STEP 8:
Rinse with K-PAK Color Therapy Color-Protecting Shampoo and Conditioner. Style with Dream Blowout Glass and Hold Hero.

Products Used:
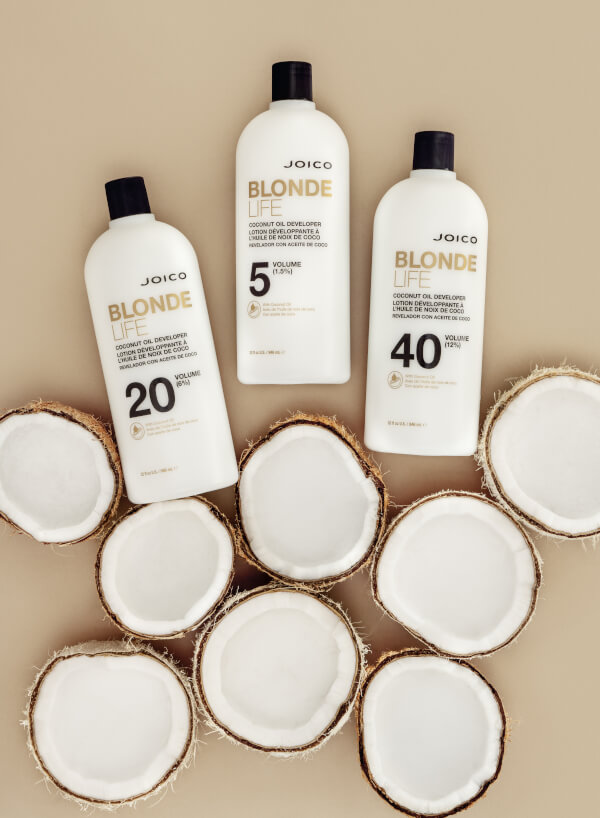
Blonde Life Level 12 Toners

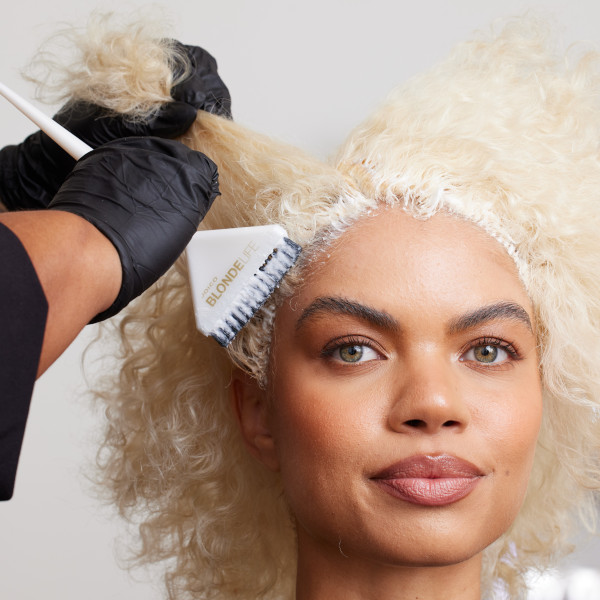
curly blonde hair model after treatment

Featuring Joico Global Technical Director, Jeannetta Walker-Rodgers

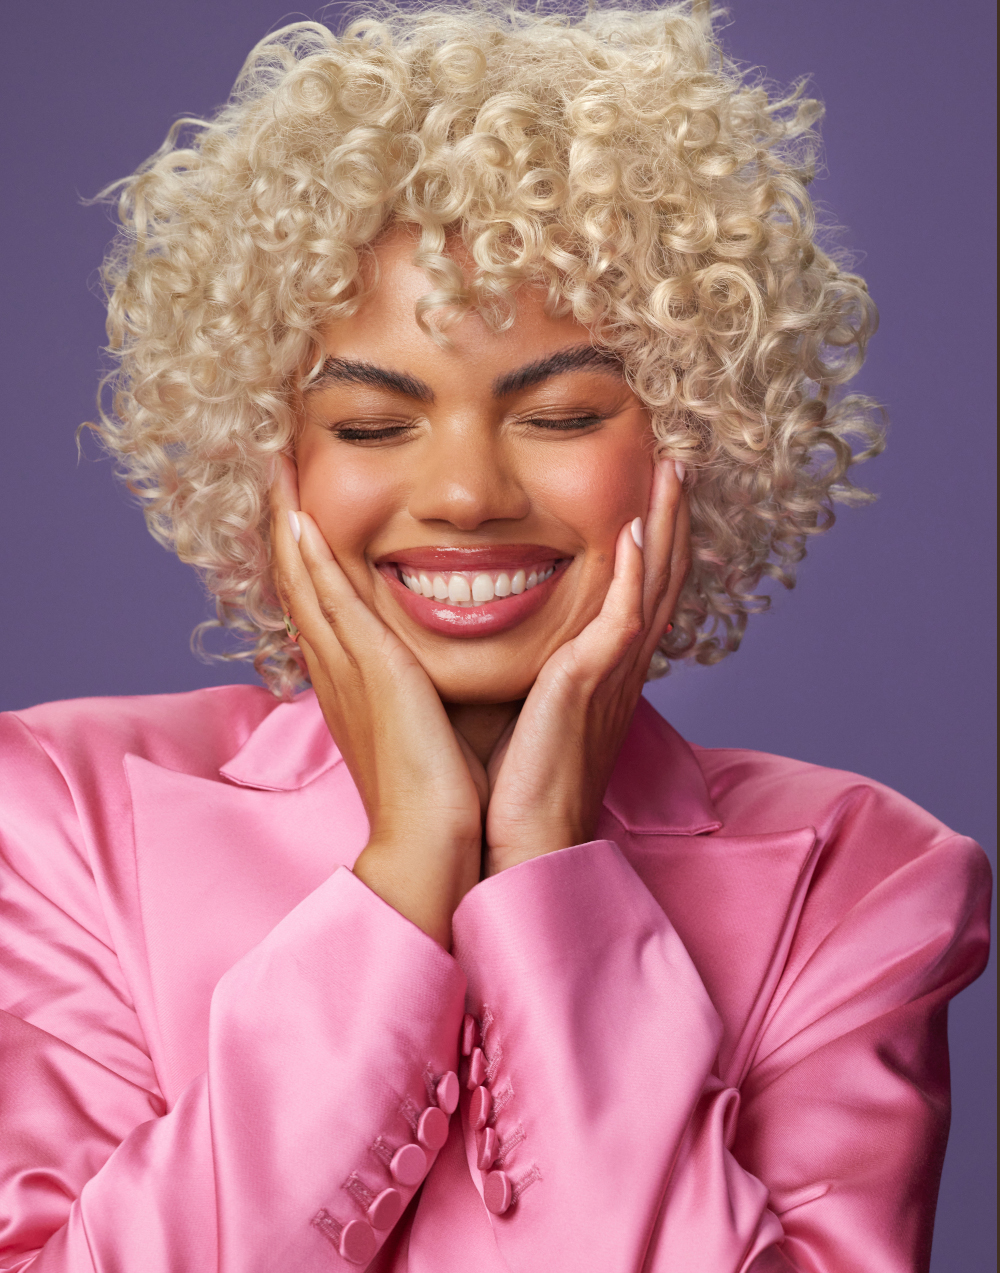
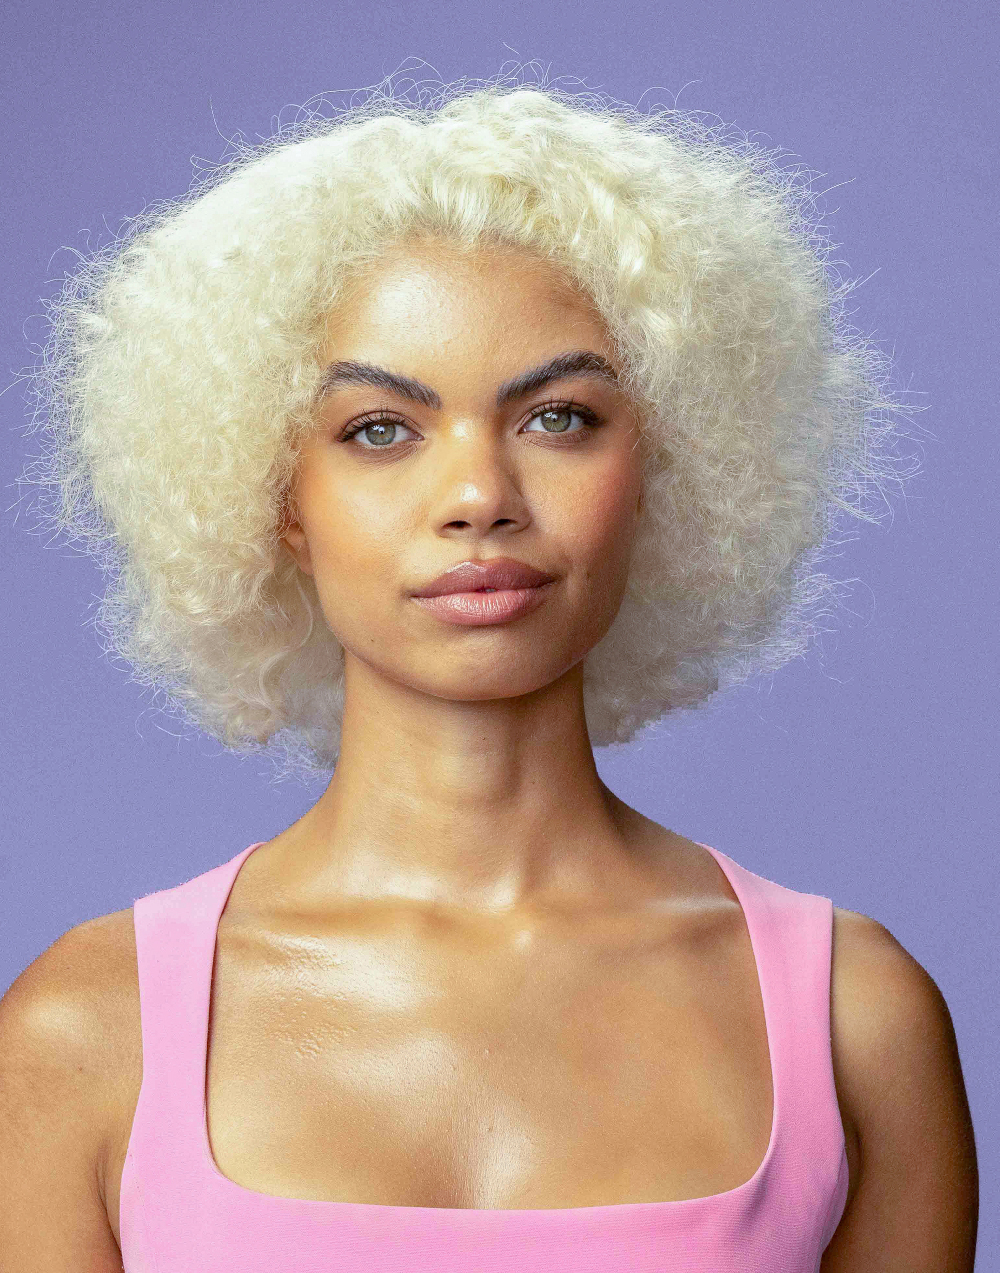
Learn how to use the game-changing release of Blonde Life Level 12 Toners by Joico! Because let’s face it—when blondes leave the salon, they want to be blonde. Joico Global Artistic Director, Jeannetta Walker-Rodgers, introduces breakthrough technology designed to keep your blonde clients their brightest. These sheer, high-lift toners—12N, 12T, and 12V—deliver stunning results without the need for clear, all while providing the essential shine and conditioning every blonde craves.

Watch Jeannetta’s step-by-step video and get the formula, here:

The Formula:

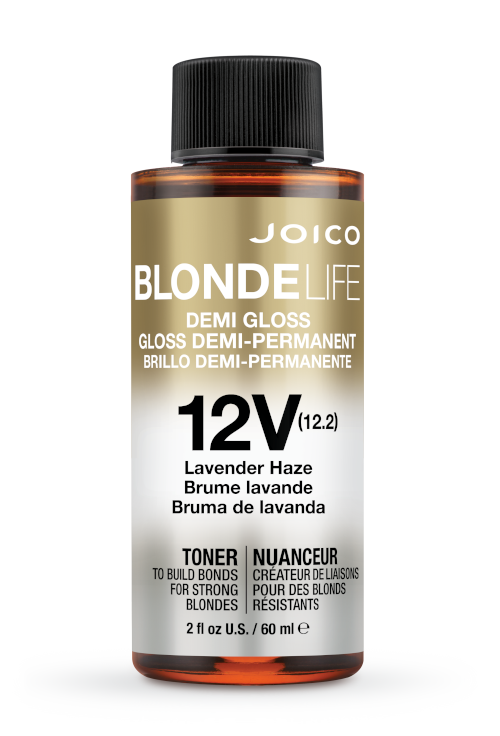
Gloss Formula: Blonde Life Demi Gloss 12(V) Violet + 5 Volume Blonde Life Coconut Oil Developer

blonde curly hair model before treatmentcurly blonde hair model after treatment

Jeannetta’s Step by Steps

hair being treated

STEP 1:
Pre-lighten globally with Blonde Life Lightening Powder.

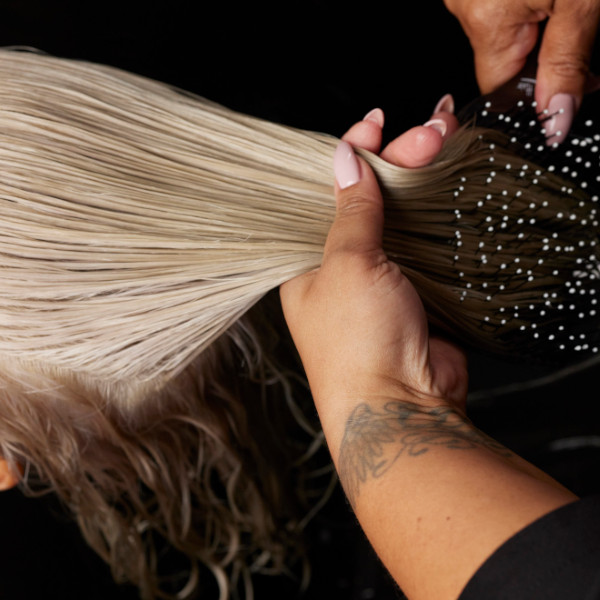
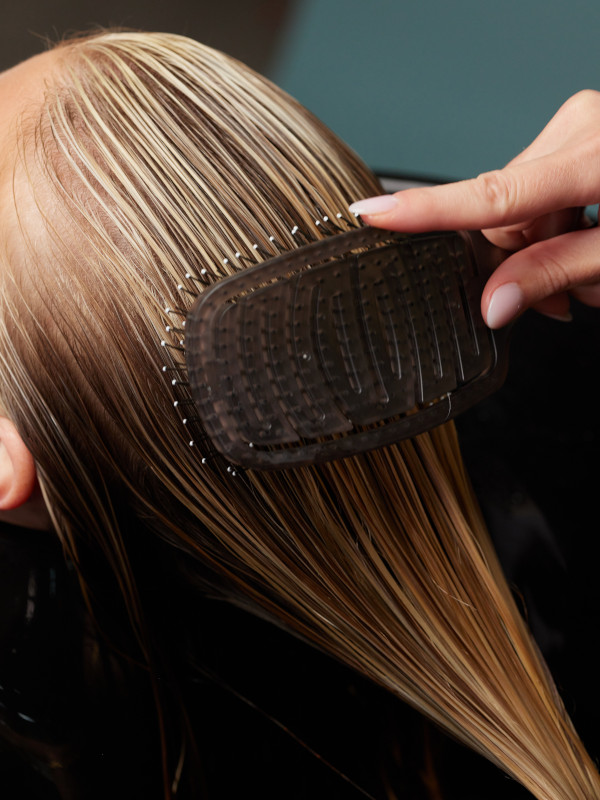
hair being brushed through

STEP 2:
Detangle damp hair for even saturation.

hair being treated

STEP 3:
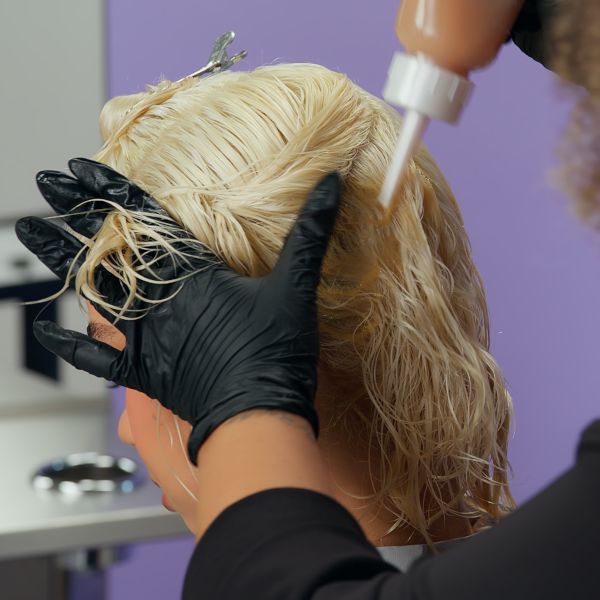
Apply toner in diagonal forward sections at zone 1, pulling through to ends.

hair being treated

STEP 4:
Repeat in zones 2 and 3.

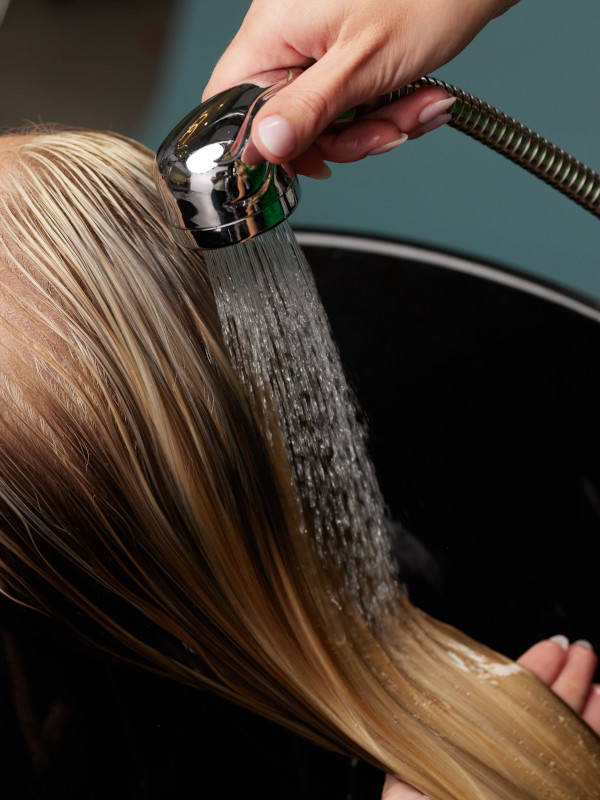
hair being rinsed

STEP 5:
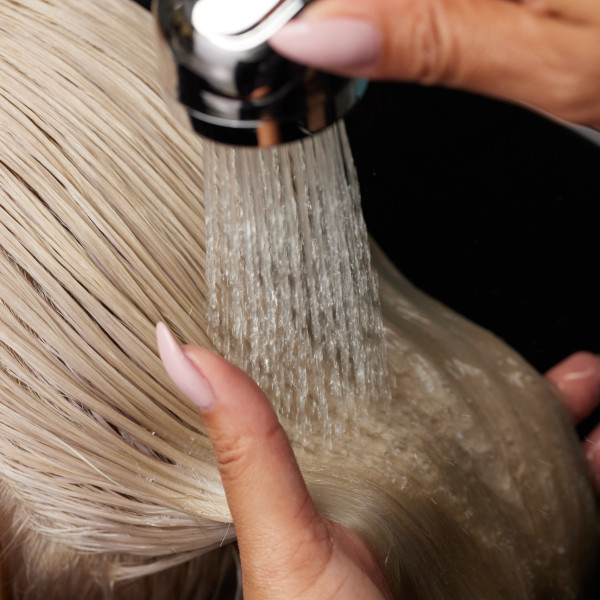
Process for 20 minutes.

Blonde Life Level 12 Toners:

Transform your blondes with Joico’s newest Blonde Life Demi Gloss Toners. The new LEVEL 12 shades — our lightest ever — tone your most fragile blondes. Say goodbye to basic blondes and hello to strong, signature blondes in one easy step!

How to Use:

Mixing Instructions:
Mix 1:1 with 5 Volume Blonde Life Coconut Oil Developer. Best applied with a color applicator bottle. When mixing in a bottle, add developer first, then color and shake well.

Timing:
Process for up to 20 minutes or until desired tone is achieved, at room temperature.

Products Used:

Quiet Luxury Highlight and BlondeLife GoldToners

model - gold toner after treatment

Featuring Joico Blonde Specialist and Brand Storyteller, Olivia Thompson

Say goodbye to dull, and hello to bright, beautiful blonde. Joico Blonde Specialist and Brand Storyteller, Olivia Thompson, introduces our stunning new GOLD shades—9G and 10G—designed to brighten and add warmth to dull blonde hair in one easy step.

Watch Olivia’s step-by-step video and get the formula, here:

The Formula:

Highlight Formula: Blonde Life Lightening Powder + 20 Volume Blonde Life Coconut Oil Developer

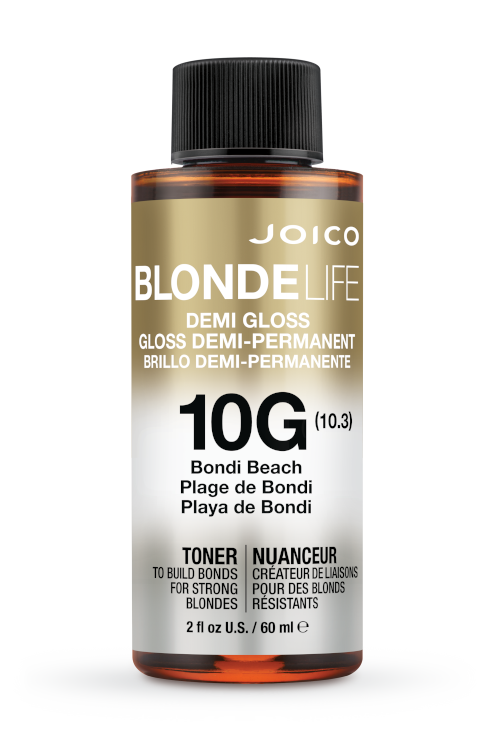
Gloss Formula: Blonde Life Demi Gloss 10(G) Gold + 5 Volume Blonde Life Coconut Oil Developer

model - gold toner before treatmentmodel - gold toner after treatment

Olivia’s Step by Steps

hair in foils

STEP 1:
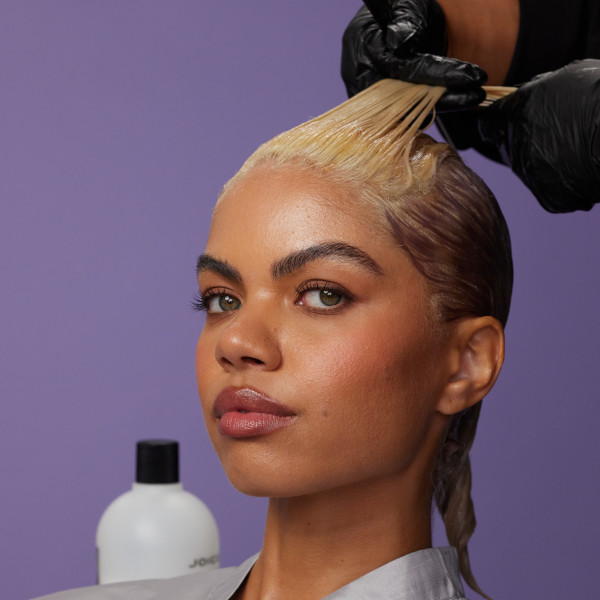
Create a partial babylight highlight with the Lightening Formula from the swirl to the apex.

hair in foils

STEP 2:
Continue the technique from the apex to the front hairline.

hair in foils being treated

STEP 3:
Use diagonal-back partings from the hairline to the mohawk section.

hair in foils being treated

STEP 4:
Create a veil of brightness to connect the sides with the top section.

hair being brushed

STEP 5:
Lift to the desired level of lightness. Apply Gloss Formula and process for 20 minutes.

hair being rinsed

STEP 6:
Finish with Defy Damage KBOND20 Power Masque for 5x stronger hair in one treatment.

Products Used:

LumiShine Mocha + Natural Beige – The Perfect Mocha Brunette!

Lumishine Mocha and Natural Beige model after treatment

Featuring Joico Brand Global Creative Director, Laura Gibson

Looking for an easy way to create perfect mocha brunette hair color? Joico Global Artistic Director, Laura Gibson, has the answer to create a warm and dimensional look using the exciting new LumiShine Permanent Crème Color pairing, Mocha and Natural Beige shades. Watch her step-by-step video and get the Perfect Brunette formula, here:

Watch Laura create her LumiShine Mocha and Natural Beige technique, here:

The Formula:

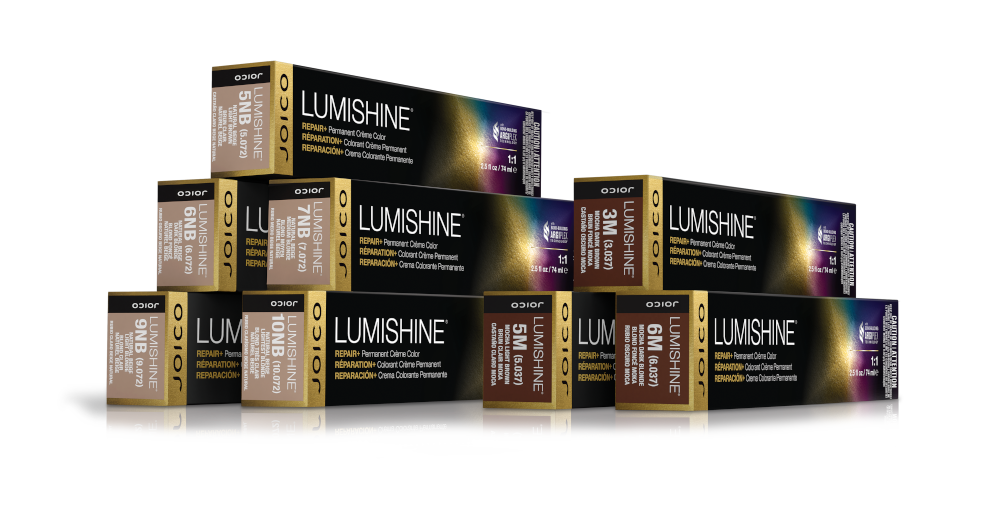
Highlight Formula: LumiShinePermanent 7NB Natural Beige + 40 Volume LumiShine Developer
Lowlight Formula: LumiShinePermanent 5M Mocha + 5 Volume LumiShine Developer
Lumishine Mocha and Natural Beige model before treatmentLumishine Mocha and Natural Beige brunette model

NEW MOCHA(M) AND NATURAL BEIGE(NB) PERMANENT COLOR SERIES

These intermixable crème shades open up a world of tempting possibilities for both brunette and blonde hair—while providing 100% gray coverage, built-in bond-building, and nourishing protection that lasts up to 30 shampoos****. Delicious on so many levels!

Laura’s Step by Steps

Lumishine Mocha and Natural Beige Step 1

STEP 1:
Apply Formula 1 in diagonal-partings, over-directing the hair forward to create a diffused line of demarcation. Pro Tip! Apply the base color on both sides of the strand for even saturation and depth building

Lumishine Mocha and Natural Beige Step 2

STEP 2:
Use a foil cut in half to protect the front from the back. Apply Formula 1 in vertical sub-sections from the back to front.

Lumishine Mocha and Natural Beige Step 3

STEP 3:
In diagonal back sub-sections, apply Formula 2, alternating between a fine and thick weave to create ribbons of color throughout the melt.

Lumishine Mocha and Natural Beige Step 4

STEP 4:
Use 6-7 foils in each sub-section.

Lumishine Mocha and Natural Beige Step 5

STEP 5:
Pull Formula 1 through the mid-lengths and ends.

Lumishine Mocha and Natural Beige Step 1

STEP 6:
Process for 35 minutes.

Products Used:

Gilded Brunette

before and after brunette
Nathi’s formula

Prep treatment: Defy Damage ProSeries1 Bond-Protecting Color Optimizing Spray Formula 1: Blonde Life Lightening Powder + 20 Volume Coconut Oil Developer working up to 30 Volume

Formula 2 (Base Gloss): Blonde Life Lightening Powder 5N + 5NA + 5 Volume LumiShine Developer
Formula 3 (Root Melt): LumiShine Demi-Permanent Liquid 4N + 5NA + 5 Volume LumiShine Developer
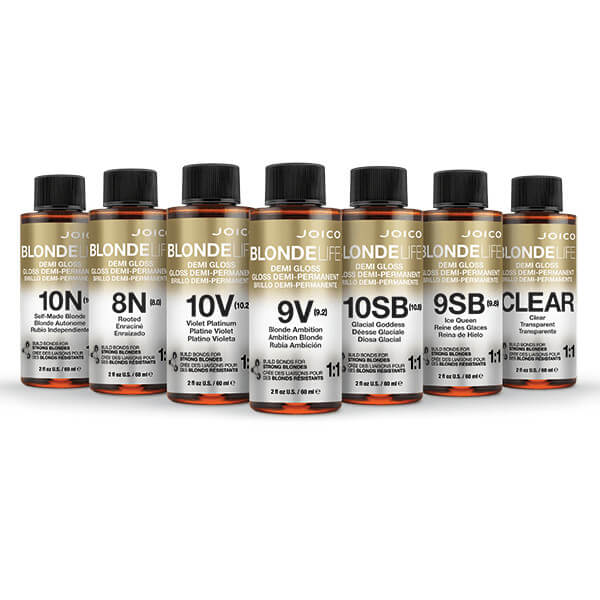
Formula 4 (Gloss): Blonde Life Demi-Gloss 10N + 9V + 5 Volume Coconut Oil Developer
Post Treatment: Defy Damage ProSeries2 Bond- Strengthening Color Treatment