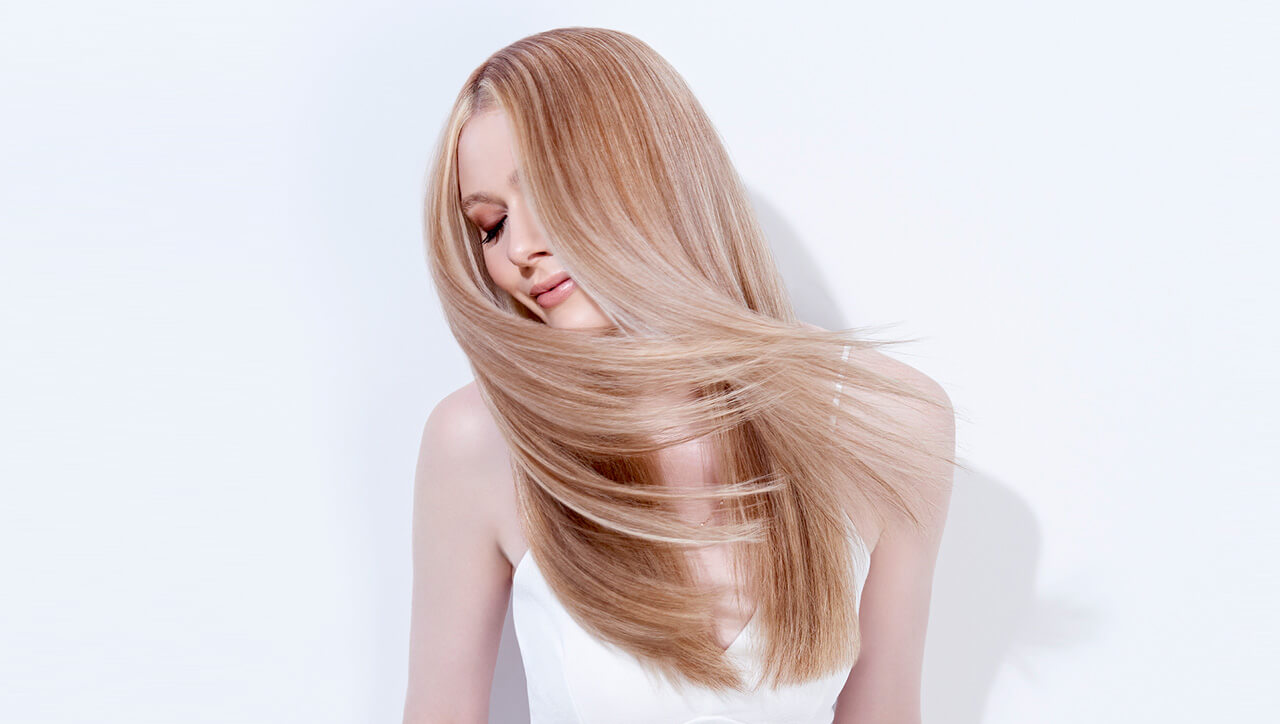
Spring is here—and so is the most buzzed about look of the season: Honey Amber Lights, a sweet and sophisticated spin on rose-gold from Hollywood’s queen bee of blonding, Zoë Carpenter. Using her signature contouring technique and NEW LumiShine DD Dimensional Deposit Demi-Permanent Crème Color, Zoë shows you how to deliver dazzling, ultra flattering dimension with a face-framing halo of golden, rosy lowlights and shimmering honey highlights designed to cast a spotlight on your client’s best features.
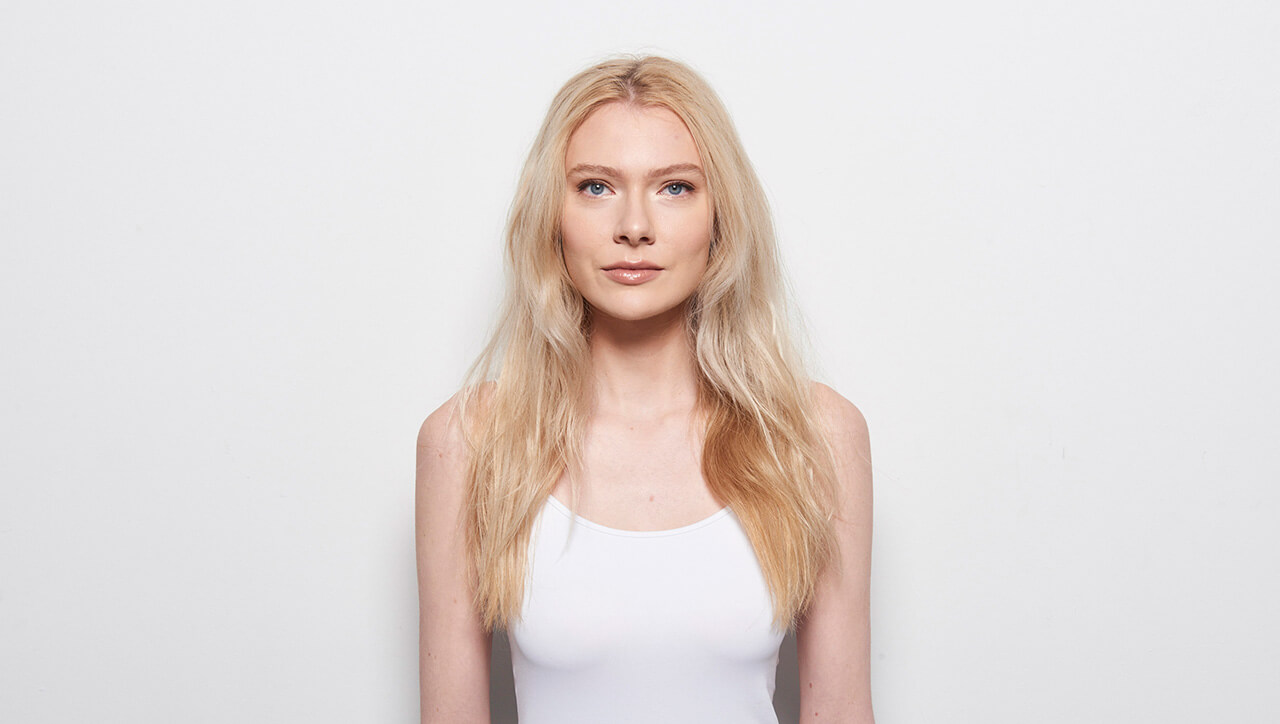
PROBLEM: Client has “mousy” Level 7 natural dark blonde hair with faded highlights that leave her looking washed out.
SOLUTION: Rich, dimensional “shadows” add just a whisper of golden rose tones to rev up hair’s texture and vitality, while face framing “skin lights” put the focus squarely on your client’s
best features.
YOUR EQUATION FOR PERFECT CONTOURING: LumiShine DD Dimensional Deposit Demi-Permanent Crème Color in NRG/NG and NWB = Rich, saturated, healthy-looking, long-lasting dimensional shadows.
+ LumiShine Permanent Crème Color in XLN = Face-framing highlights that add a “halo” of shimmering focus to your design.
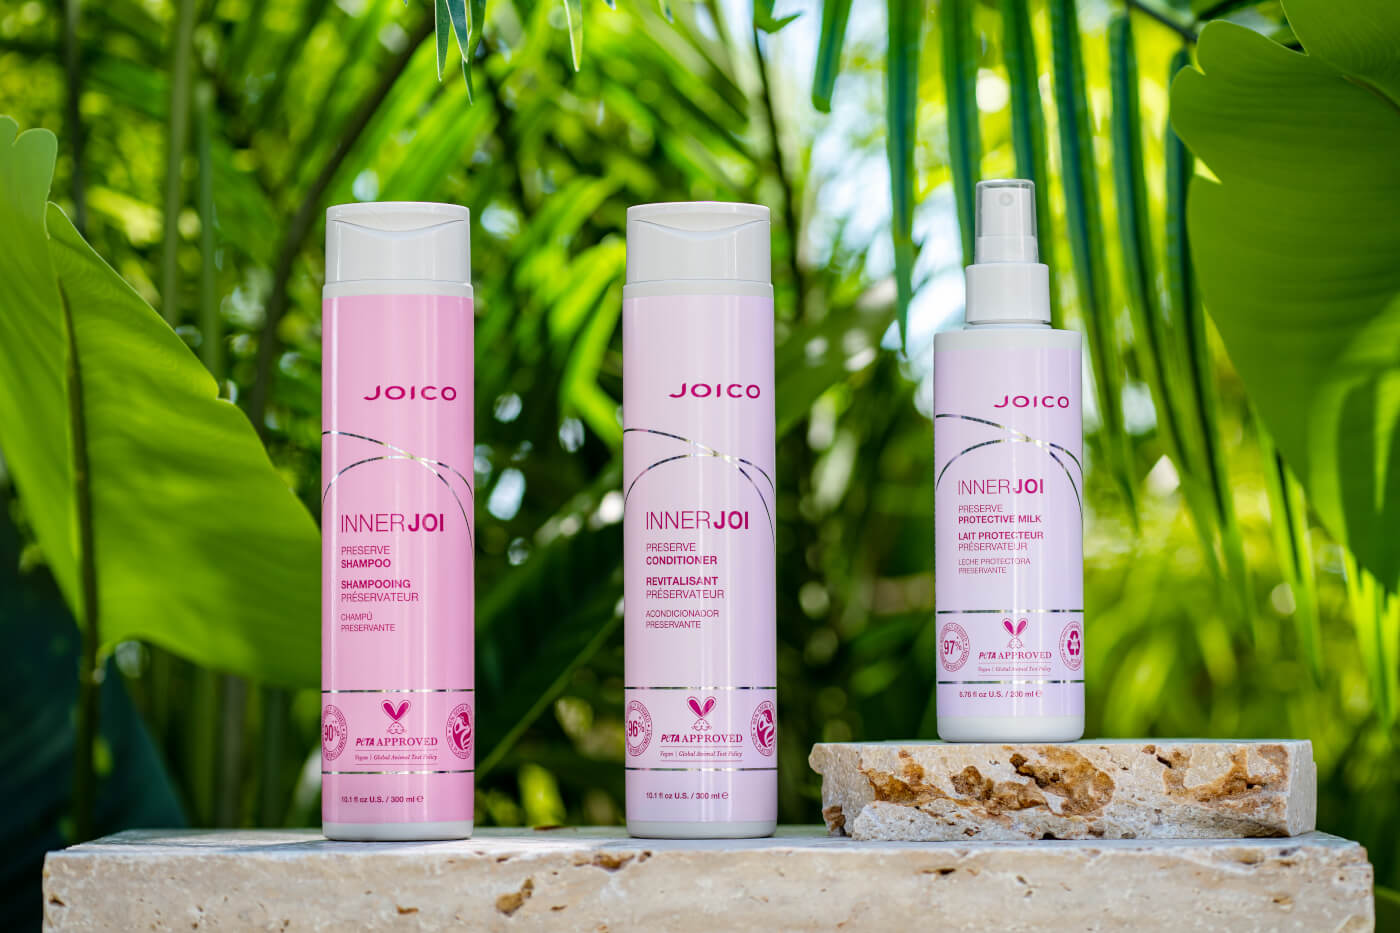
Lumishine Demi-Permanent Creme Color

Option 1: 2 oz (60 ml) LumiShine DD Creme 8NWB + 2 oz (60 ml) 5 Volume (1.5%) LumiShine Developer
OR
Option 2: 1 oz (30 ml) LumiShine DD Creme 10NWB + 1 oz (30 ml) LumiShine DD Creme 6NG + 2 oz (60 ml) 5 Volume (1.5%) LumiShine Developer
FORMULA 2 (LOWLIGHTS):
Option 1: 1 oz (30 ml) LumiShine DD Creme 9NG + ¼ oz (7.5 ml) LumiShine DD Creme 8NRG with 1 ¼ oz (37.5 ml) 5 Volume (1.5%) LumiShine Developer
OR
Option 2: 1 oz (30 ml) LumiShine DD Creme 10NWB + ¼ oz (7.5 ml) LumiShine DD Creme 8NRG with 1 ¼ oz (37.5 ml) 5 Volume (1.5%) LumiShine Developer
FORMULA 3:
Option 1: 1 oz (30 ml) LumiShine Permanent Creme XLN + 1 oz (30 ml) 20 Volume (6%) LumiShine Developer
OR
Option 2: Prelighten with Blonde Life Lightening Powder + 10 Volume (3%) LumiShine Developer. Tone with 1 oz (30 ml) LumiShine DD Creme 10N + 1 oz (30 ml) 5 Volume LumiShine Developer
Technique

STEP 1: SECTIONING
Begin with the hair parted down the center all the way to the nape.

STEP 2:
Take a 1-2 inch (2 to 5 cm) subsection parting that frames the face on each side from ear to ear.

STEP 3:
Apply Formula 1 in 1⁄8-inch (0.3 cm) partings to the regrowth using an applicator bottle. Be sure to leave out the front two clipped subsections; these will later become highlights.

STEP 4:
Using your thumb (following the product application in each subsection), massage the formula into the regrowth area up to 2 inches (5 cm) to create a shadow root effect.
TIP: LumiShine DD Cremes have the optimal viscosity for both bowl and brush or bottle application.

STEP 5: ADDING DIMENSION Working in the nape (directly behind the ear), take three vertical-diagonal back-to-back partings and apply Formula 3 from the shadow root to the ends. Note: These highlights will bring focus to the clavicle.

STEP 6:
Repeat process on opposite side.

STEP 7: FRONT CONTOURING (SKIN LIGHTS) Unclip the face-framing section. Working on a vertical-diagonal, take a micro slice from the front hairline that mimics a weave and apply Formula 3 from scalp to ends.
TIP: To protect the hair from the already applied shadow root, use a foil underneath the hair when clipping section out of the way.

STEP 8:
Working towards the top of the head, take fine diagonal slice partings and paint Formula 3 from scalp to ends. Remember to take diagonal front partings to create your contour and a seamless, blended color.

STEP 9: Repeat the process on opposite side. Keep in mind that your sections may get wider or shorter as you work up the head. This irregular type of sectioning results in a seamless color blend.

STEP 10: ADDING HONEY AMBER DIMENSION
Next, working with NEW Joico Artistry Foils, starting in the back, take fine 1/4.-inch (0.6 cm) vertical diagonal partings and apply Formula 2 from the shadow root to ends.
TIP: Before working with Joico Artistry Foils, prep them by folding them vertically in half like a book; this will cut time from your color application because there is no need to fold multiple times. Just fold in half and the foil will stay in place.

STEP 11: Continue working upward in the back left section. Take irregular diagonal slices with Formula 2. Be sure to change your angle each time to create a more lived-in, customized effect. This type of foiling is both creative and personalized to the client’s head shape.
TIP: For a more creative, customized application, vary the angle and the width of your slices.

STEP 12:
Next, move to the front side section just behind where you applied your highlights. Working until you reach the top of the head, take the same irregular diagonal slices as you did in the back. Apply Formula 2 from shadow root to ends. Repeat on opposite side.