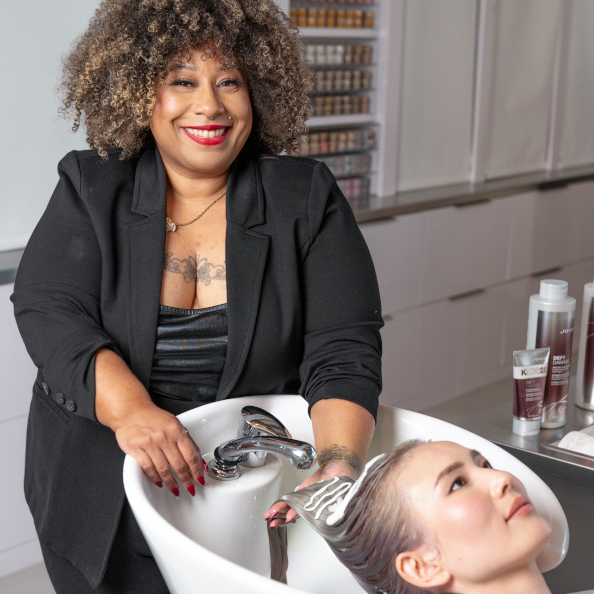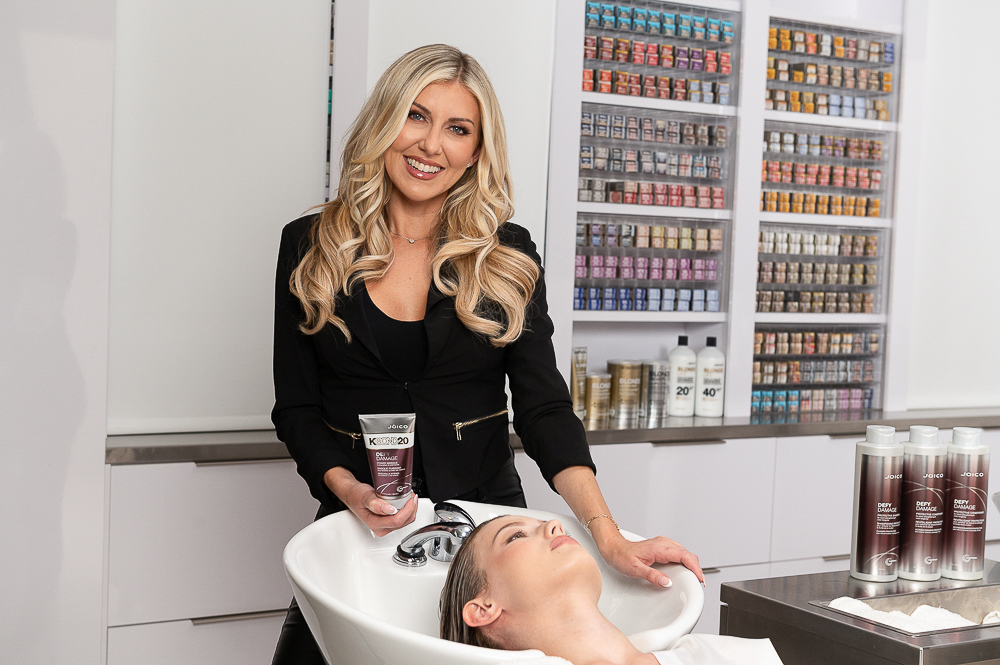
Featuring Joico Brand Global Creative Director, Laura Gibson
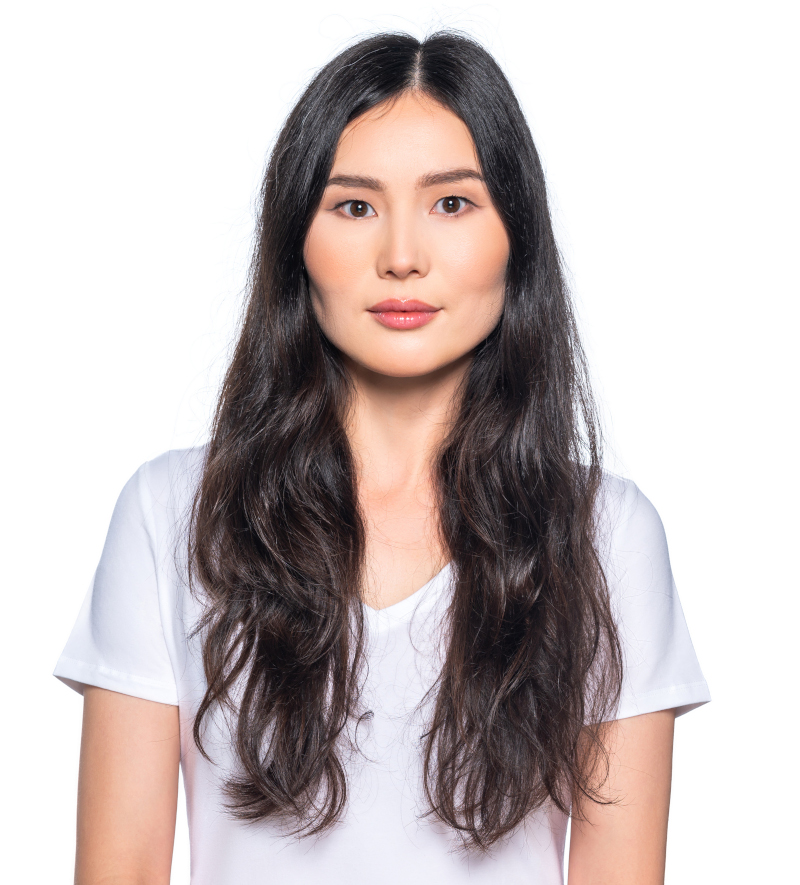
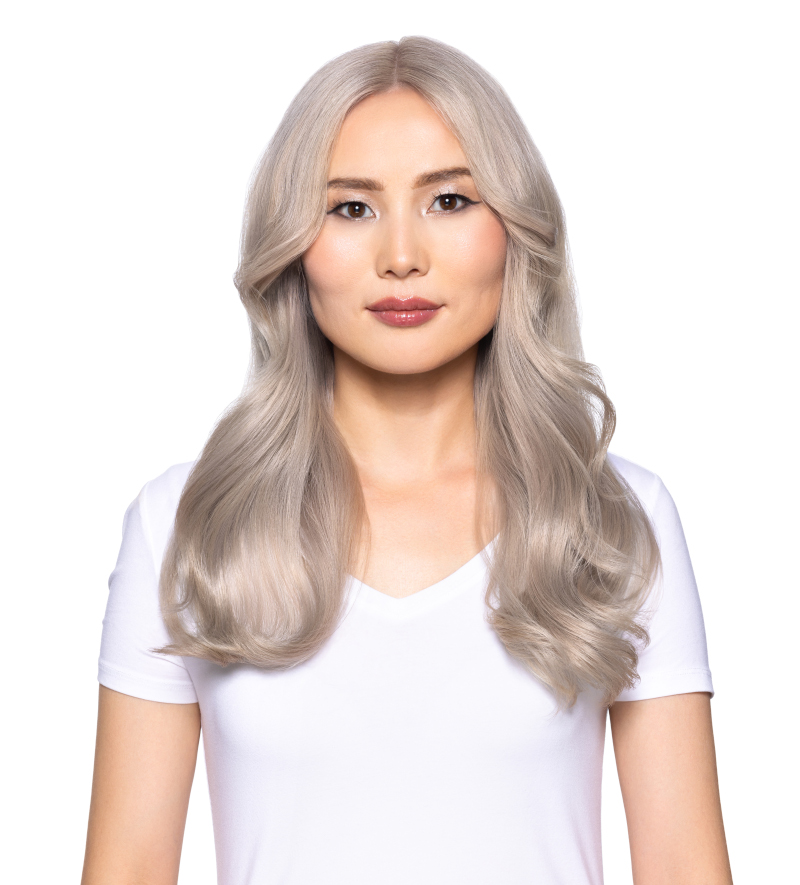
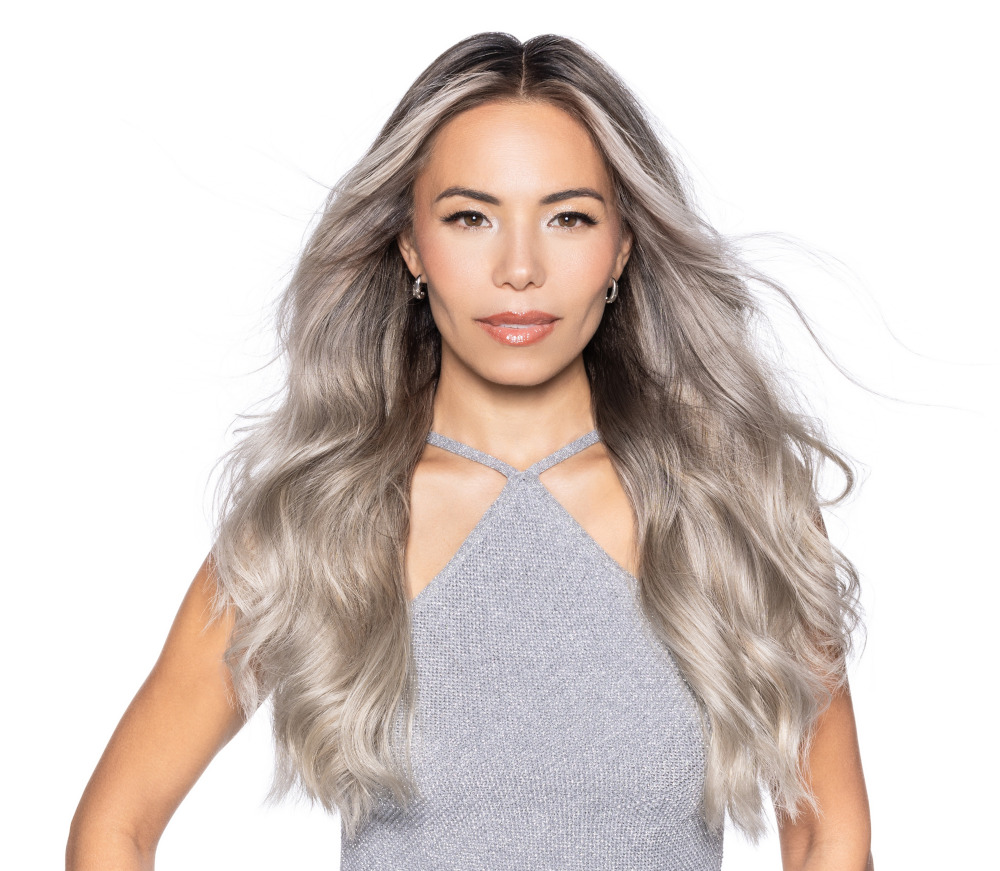
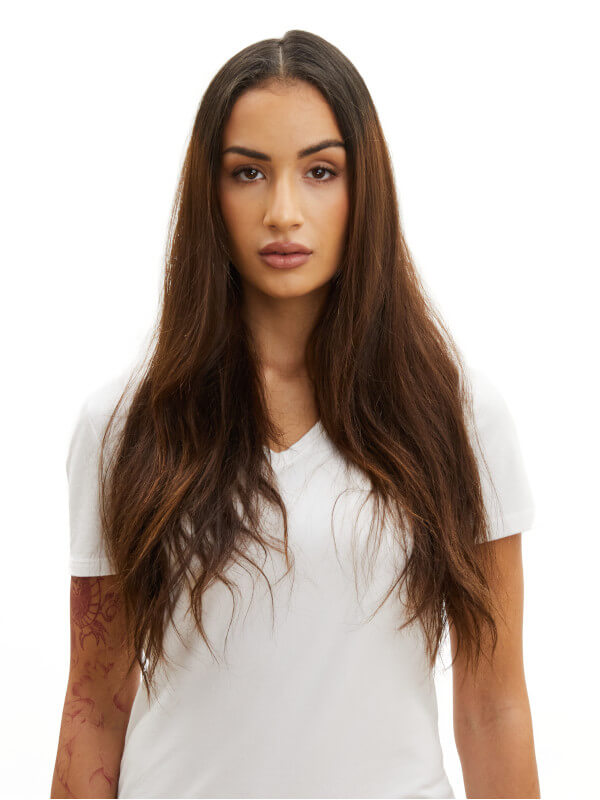
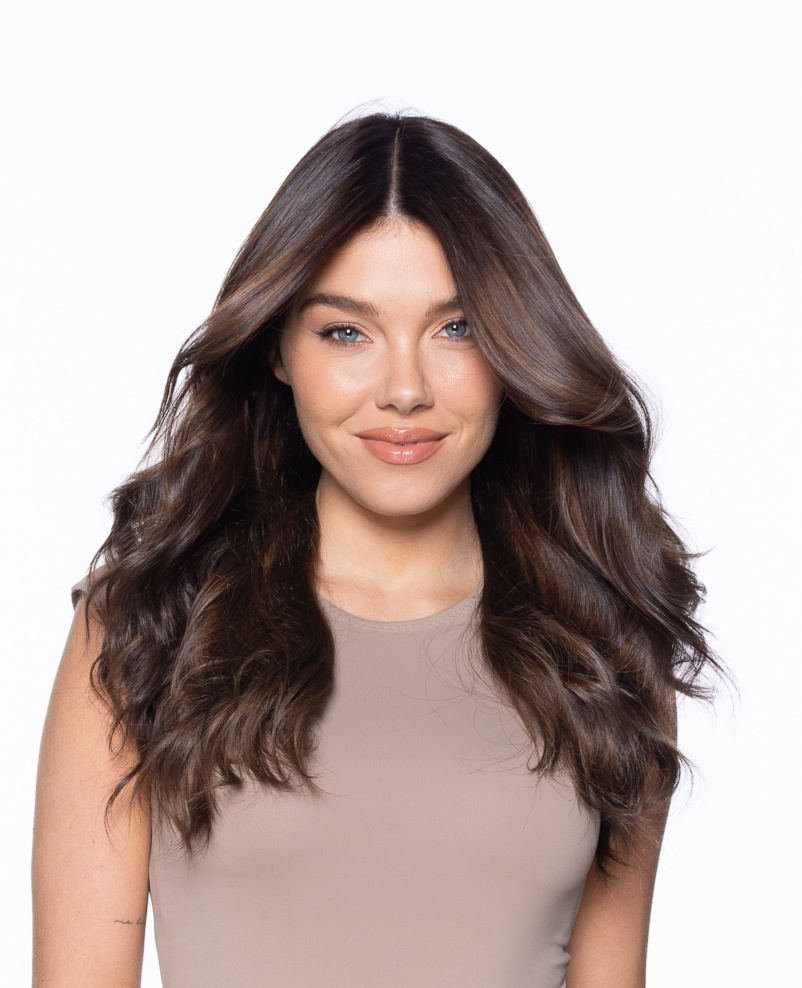
Looking for an easy way to create perfect mocha brunette hair color? Joico Global Artistic Director, Laura Gibson, has the answer to create a warm and dimensional look using the exciting new LumiShine Permanent Crème Color pairing, Mocha and Natural Beige shades. Watch her step-by-step video and get the Perfect Brunette formula, here:
Watch Laura create her LumiShine Mocha and Natural Beige technique, here:
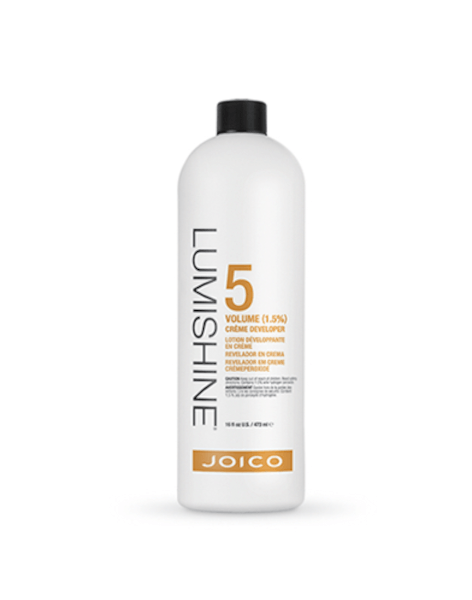
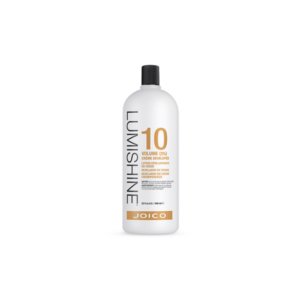
Highlight Formula: LumiShinePermanent 7NB Natural Beige + 40 Volume LumiShine Developer
Lowlight Formula: LumiShinePermanent 5M Mocha + 5 Volume LumiShine Developer

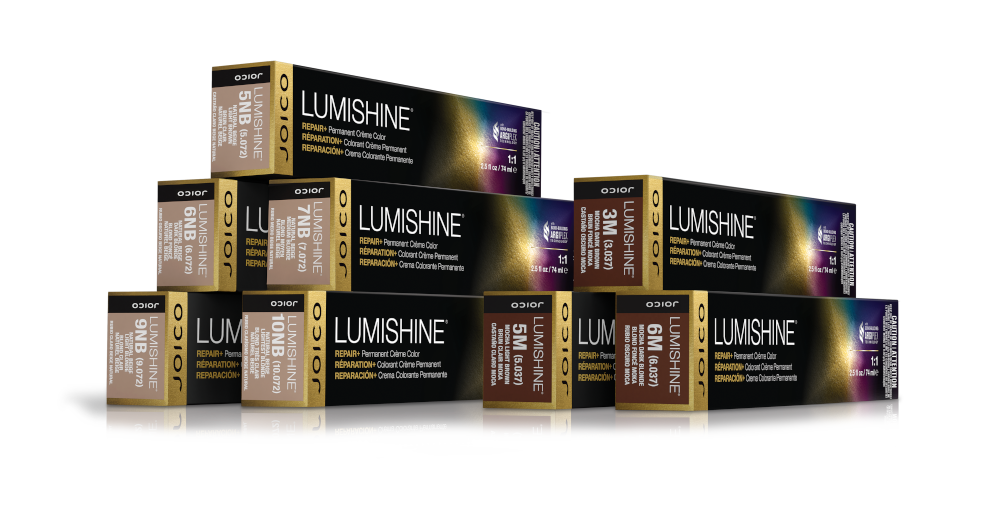
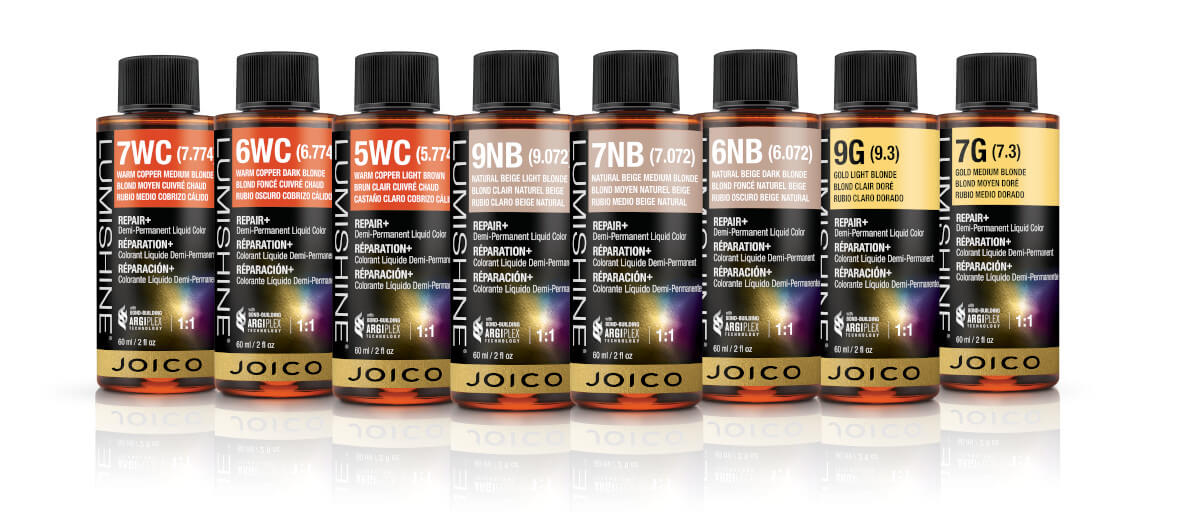
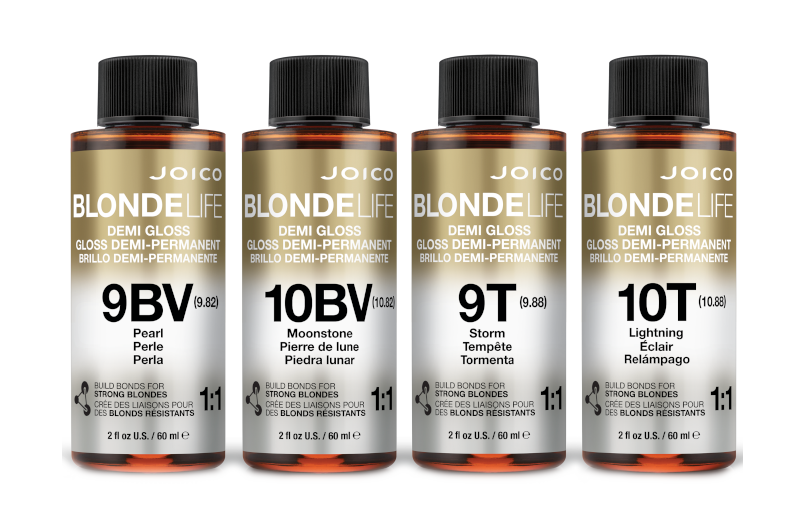
NEW MOCHA(M) AND NATURAL BEIGE(NB) PERMANENT COLOR SERIES
These intermixable crème shades open up a world of tempting possibilities for both brunette and blonde hair—while providing 100% gray coverage, built-in bond-building, and nourishing protection that lasts up to 30 shampoos****. Delicious on so many levels!
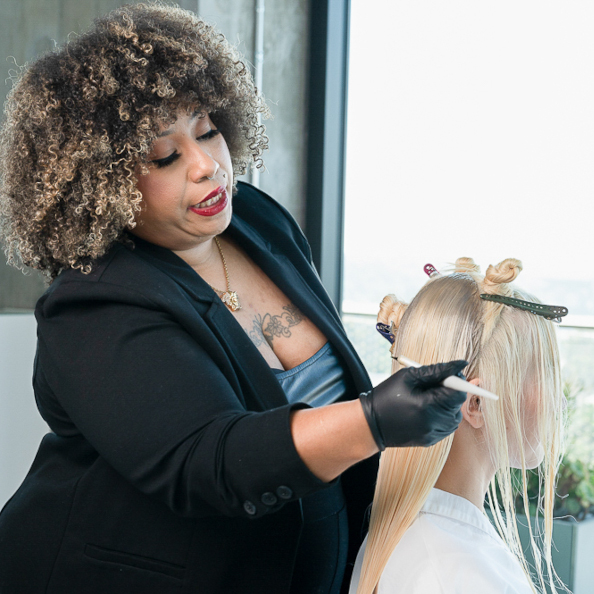
Laura’s Step by Steps
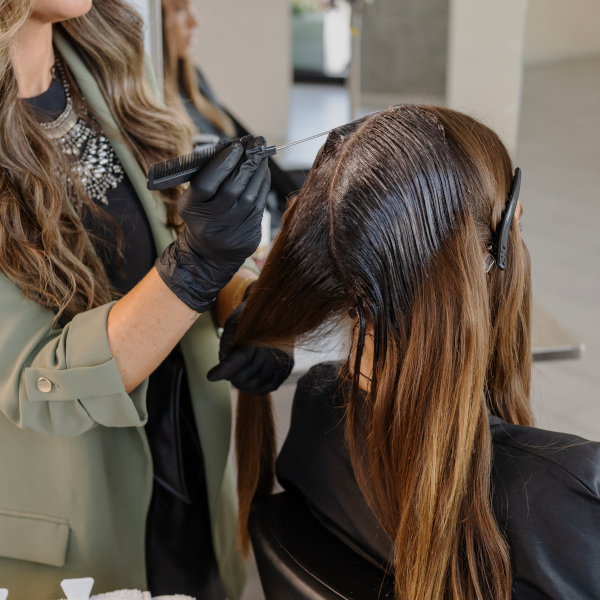
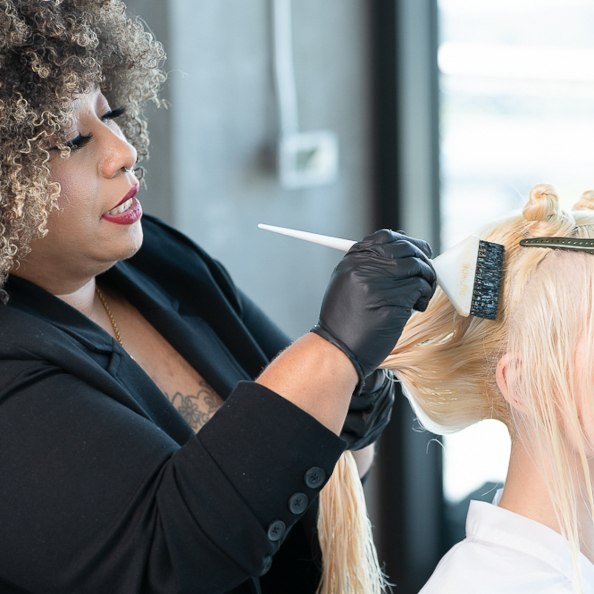
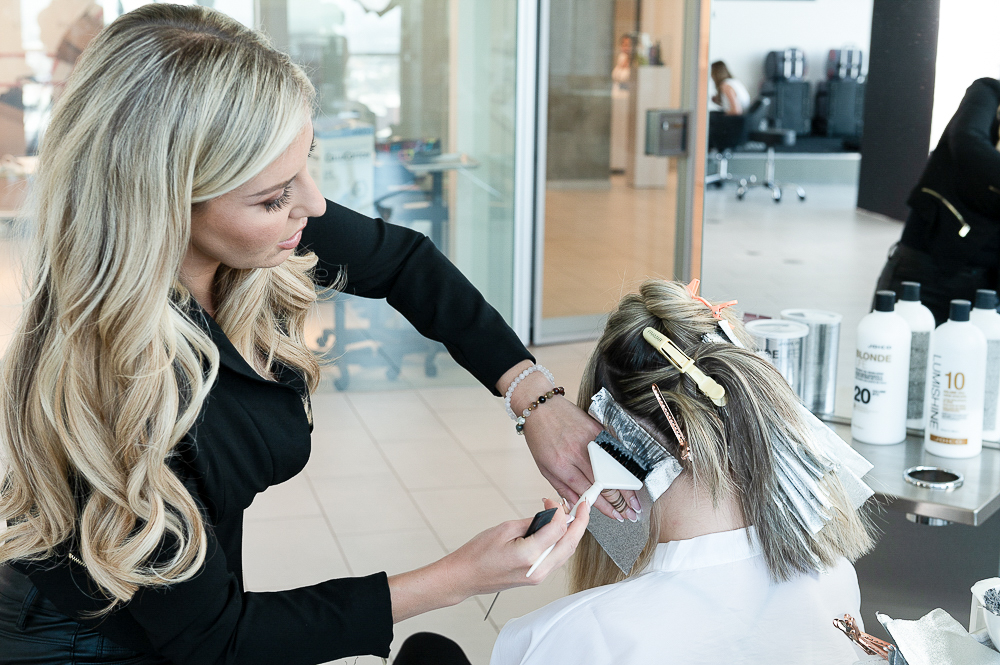
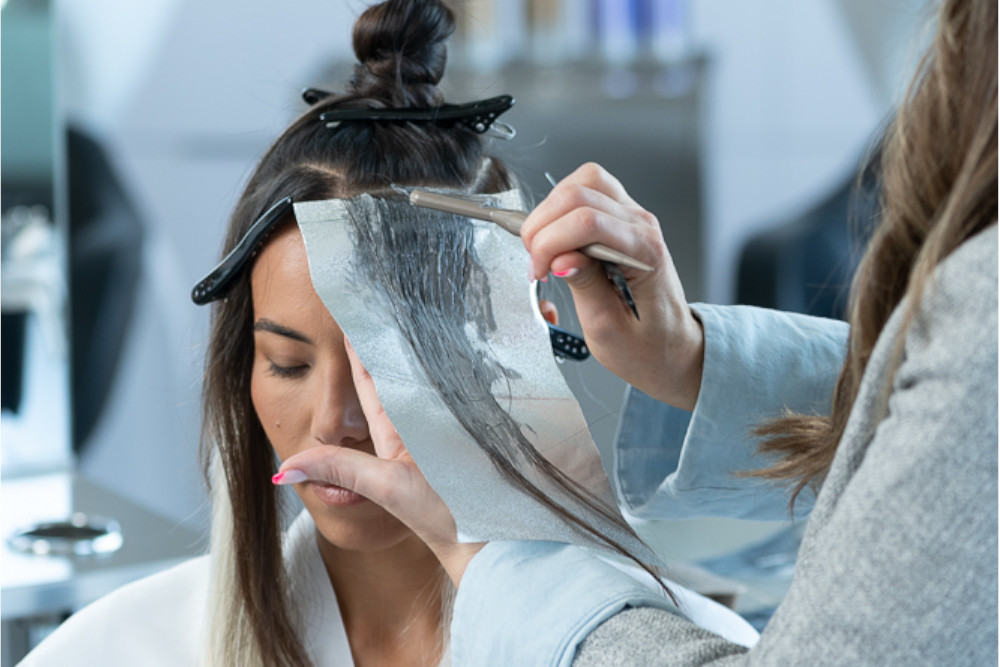
STEP 1:
Apply Formula 1 in diagonal-partings, over-directing the hair forward to create a diffused line of demarcation. Pro Tip! Apply the base color on both sides of the strand for even saturation and depth building
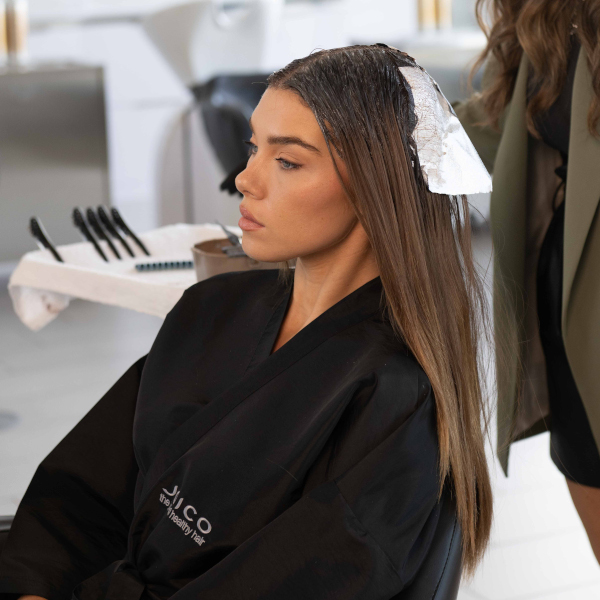
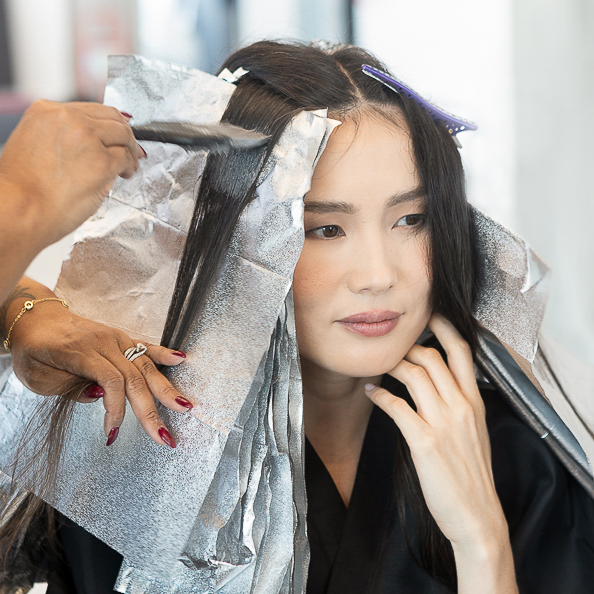
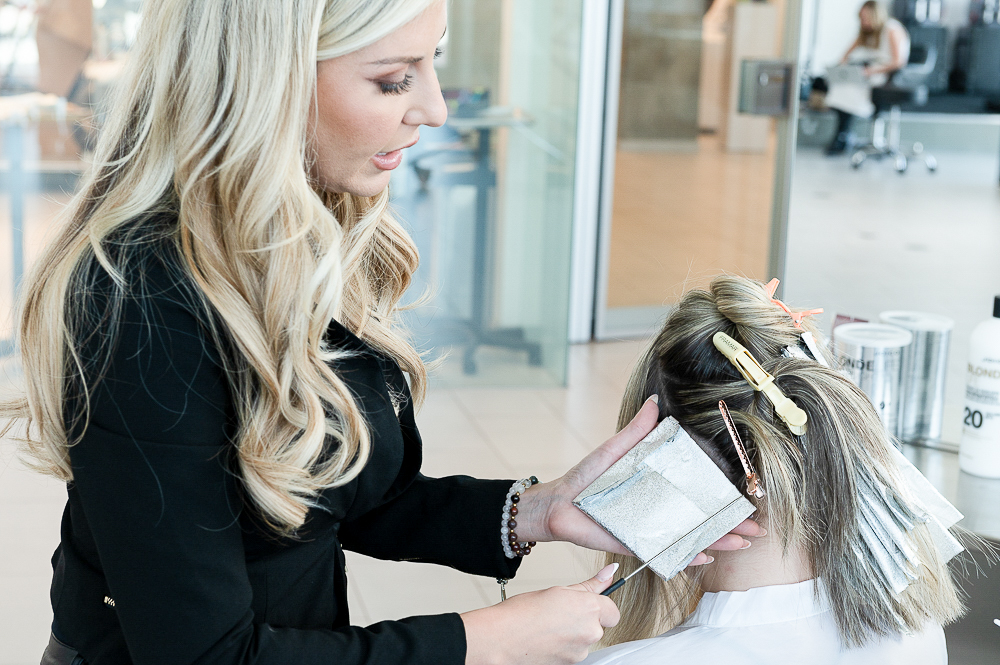
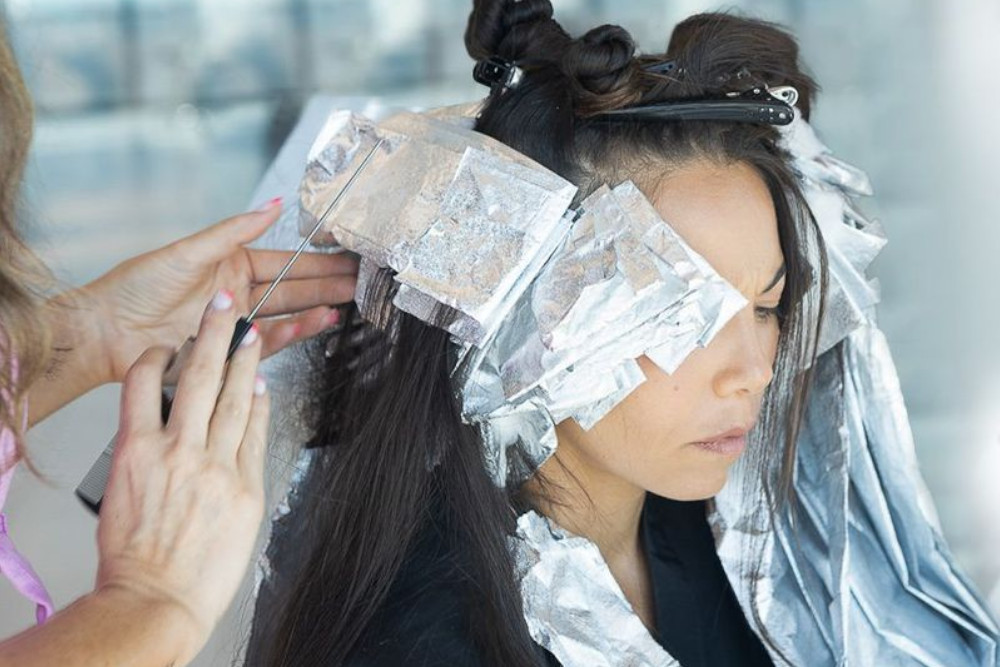
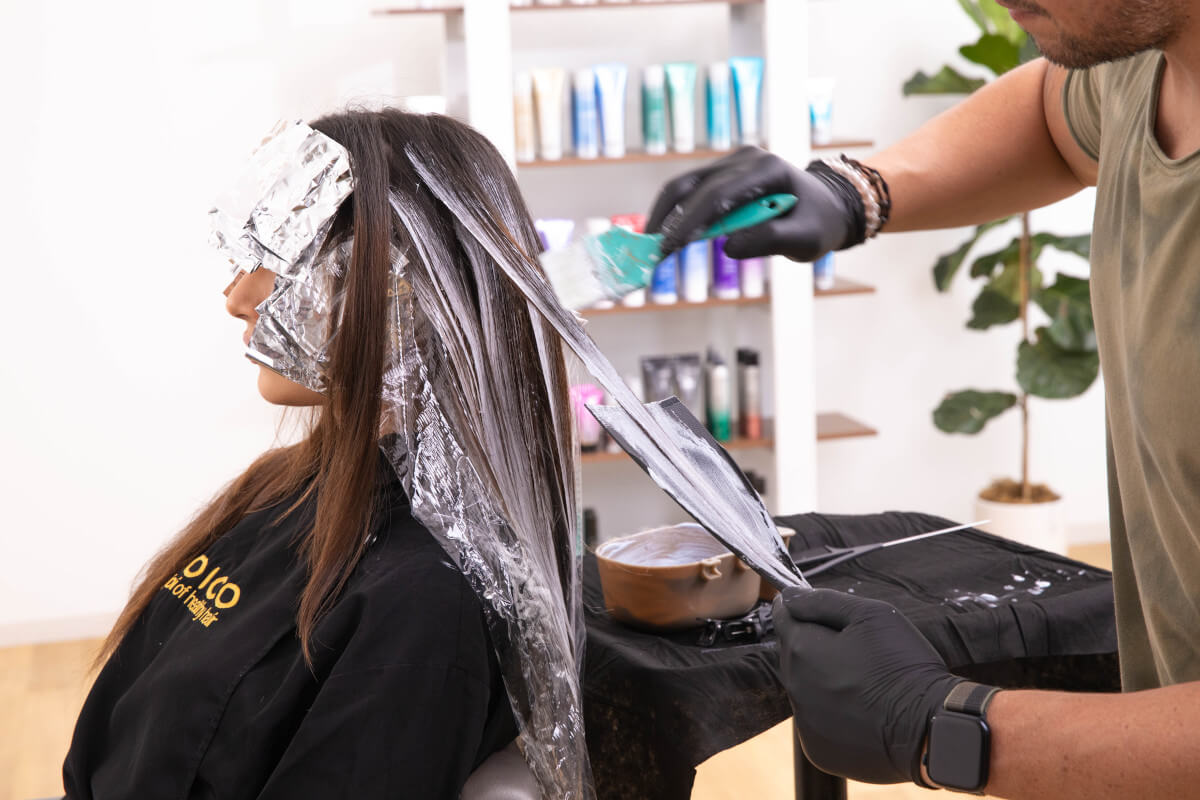
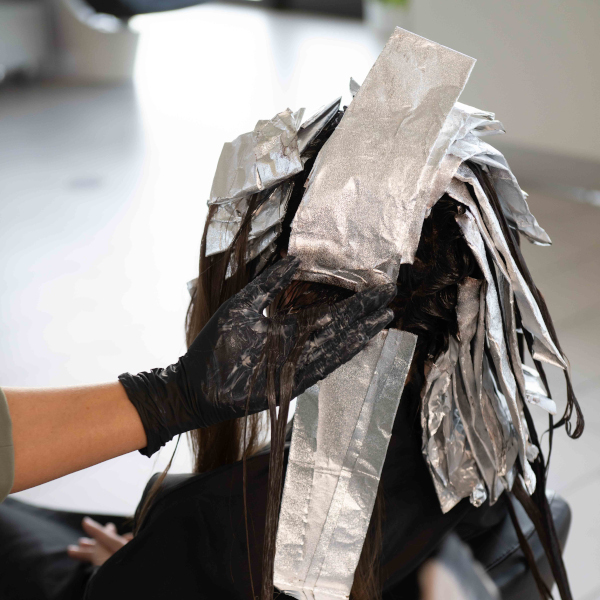
STEP 2:
Use a foil cut in half to protect the front from the back. Apply Formula 1 in vertical sub-sections from the back to front.
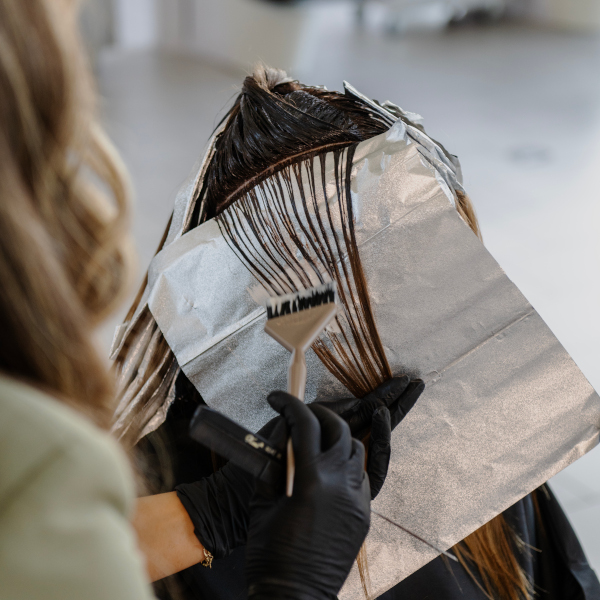
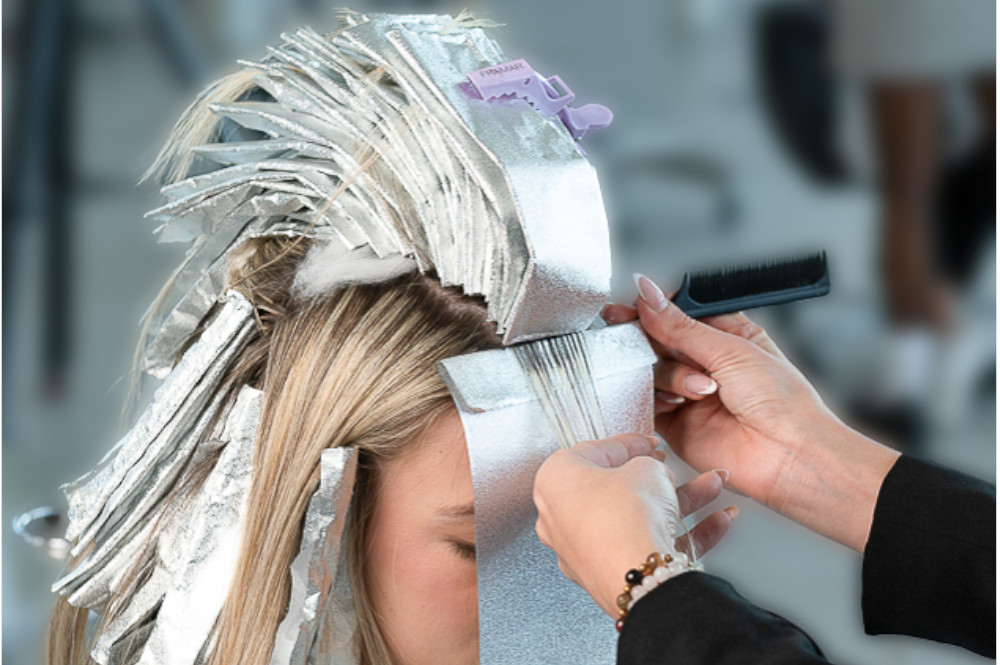
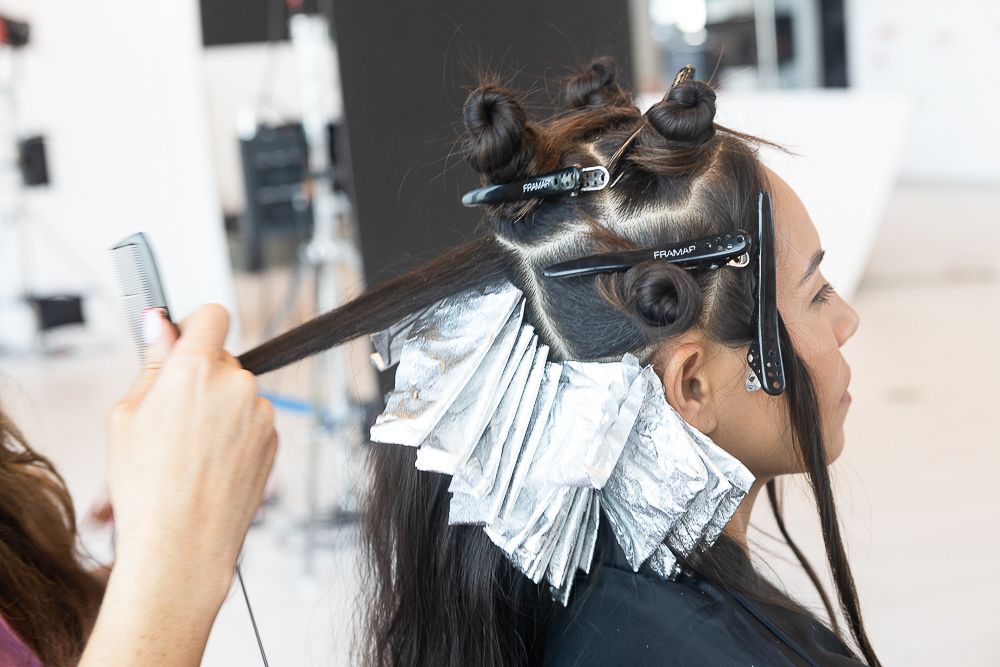
STEP 3:
In diagonal back sub-sections, apply Formula 2, alternating between a fine and thick weave to create ribbons of color throughout the melt.
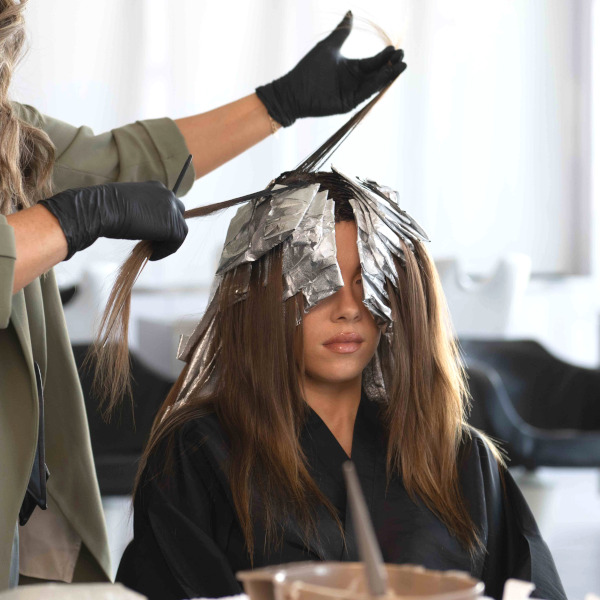
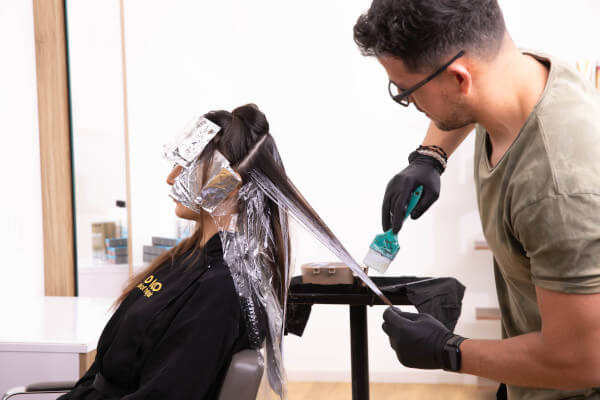
STEP 4:
Use 6-7 foils in each sub-section.
STEP 5:
Pull Formula 1 through the mid-lengths and ends.

STEP 6:
Process for 35 minutes.
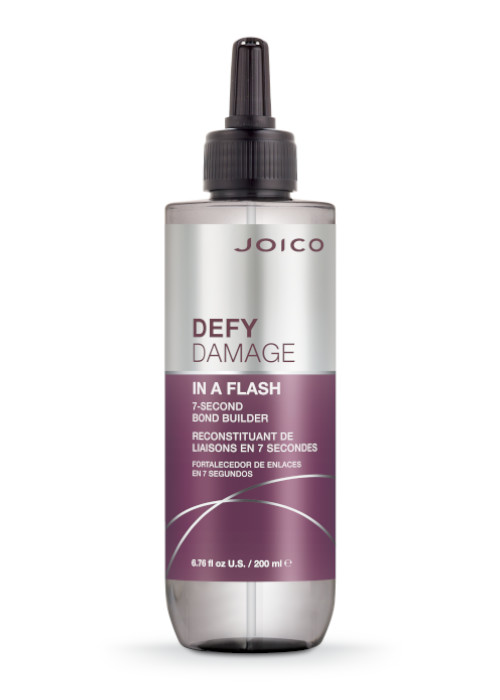
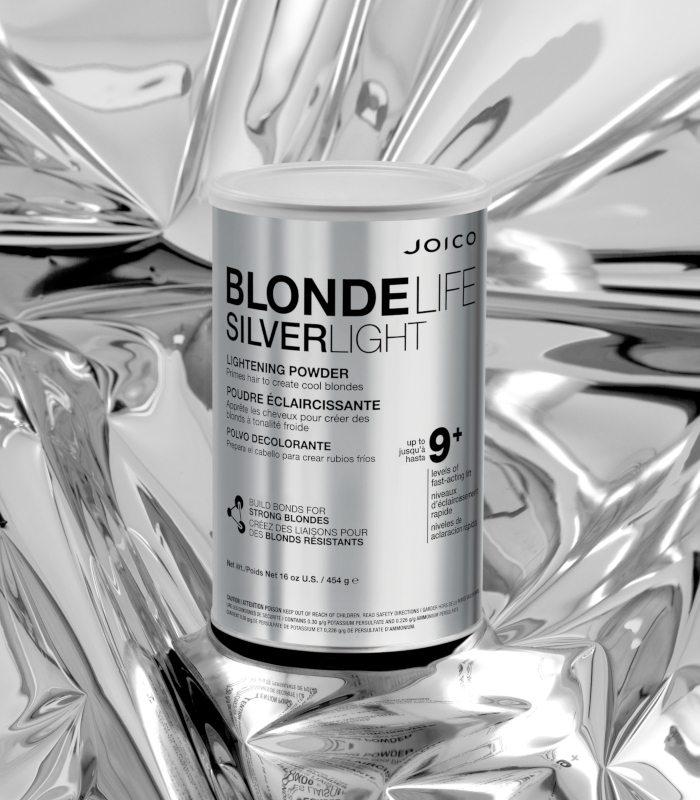
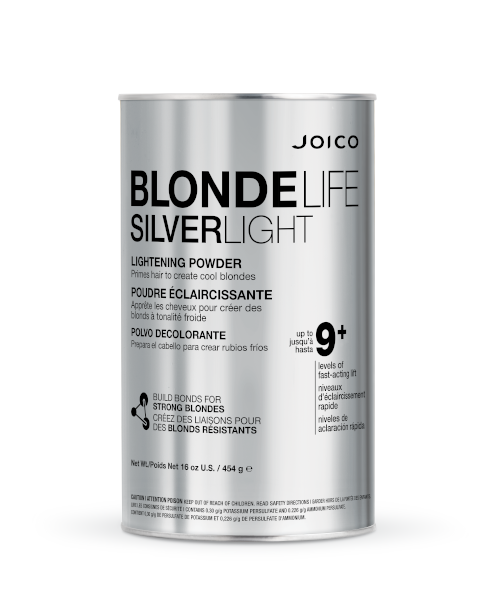
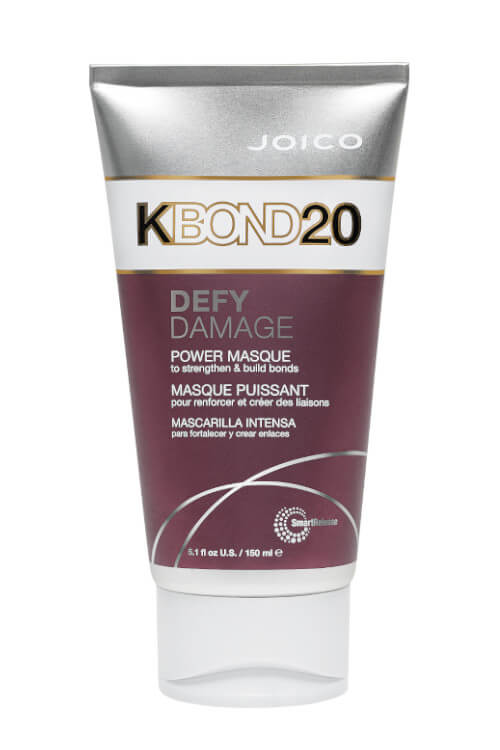
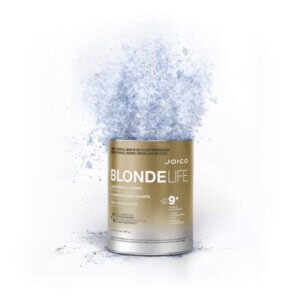
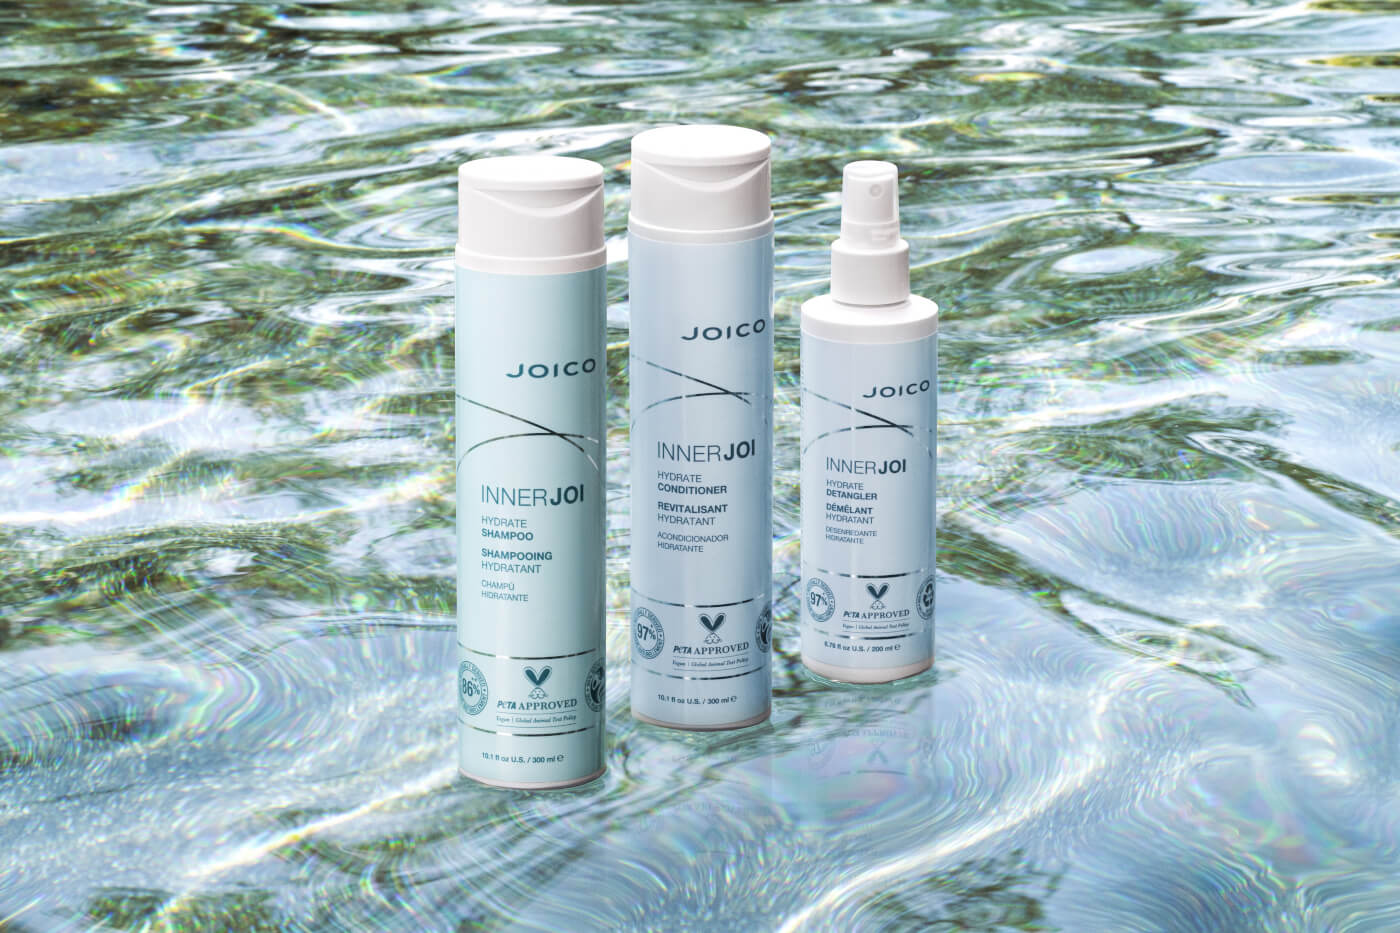
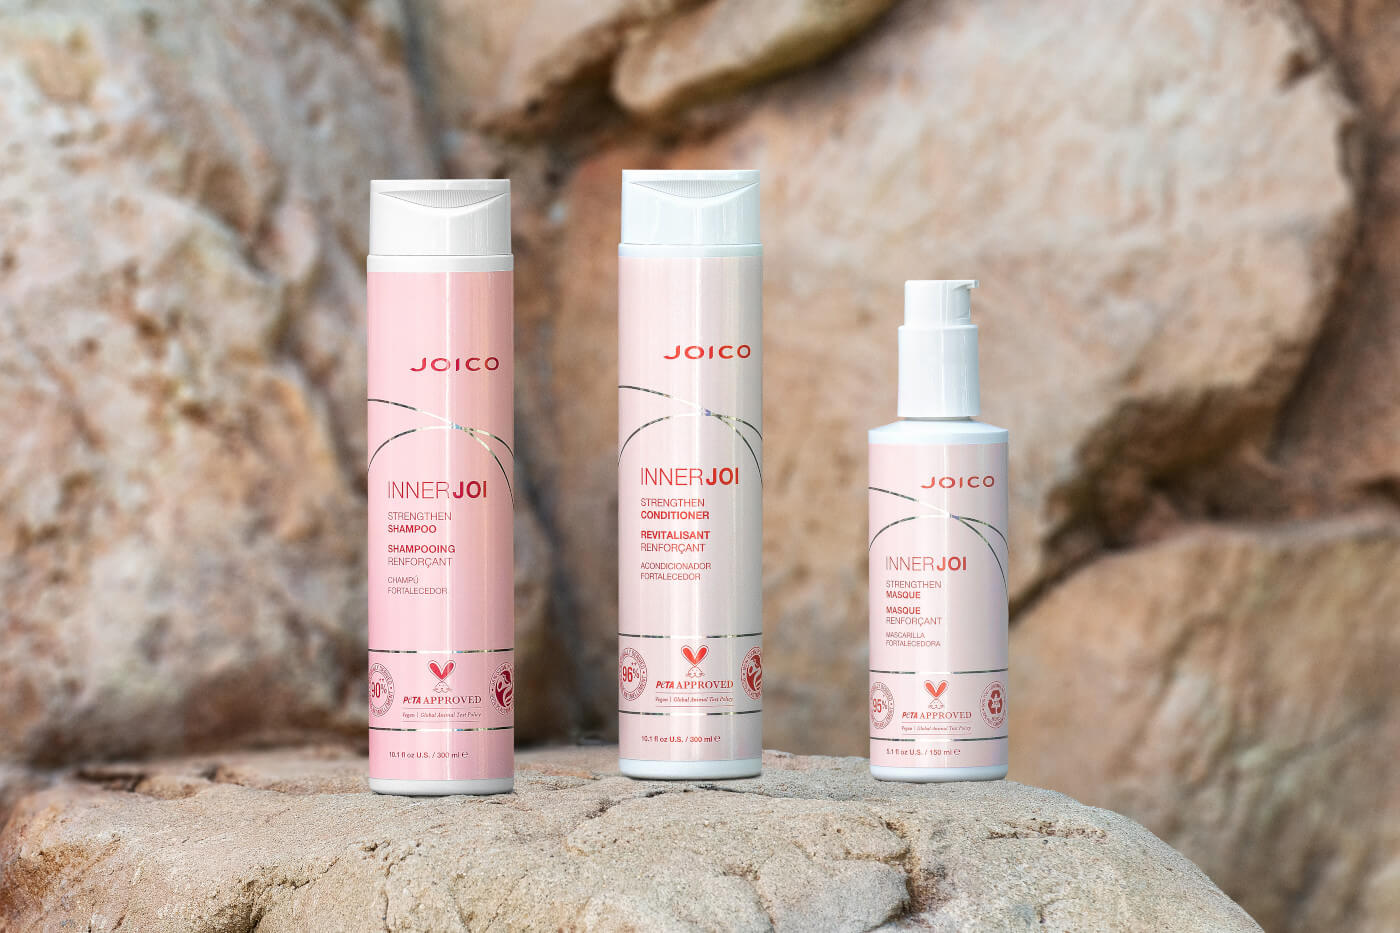
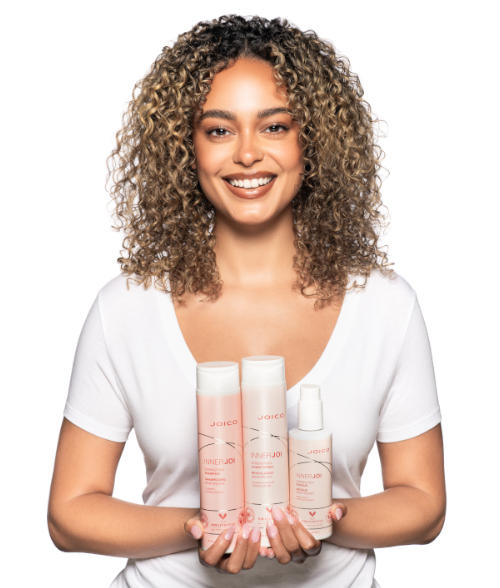
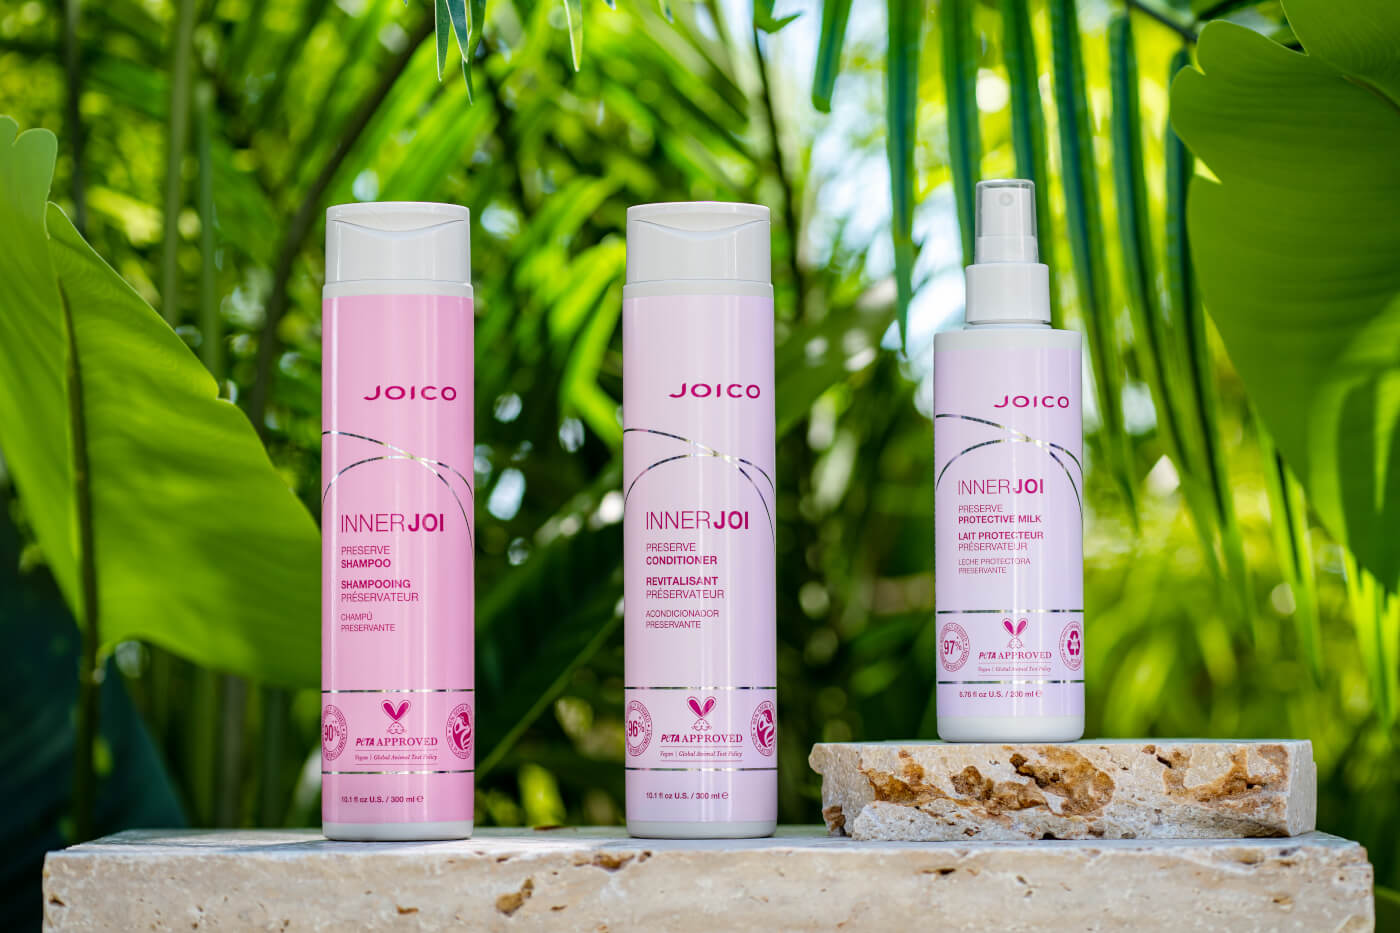
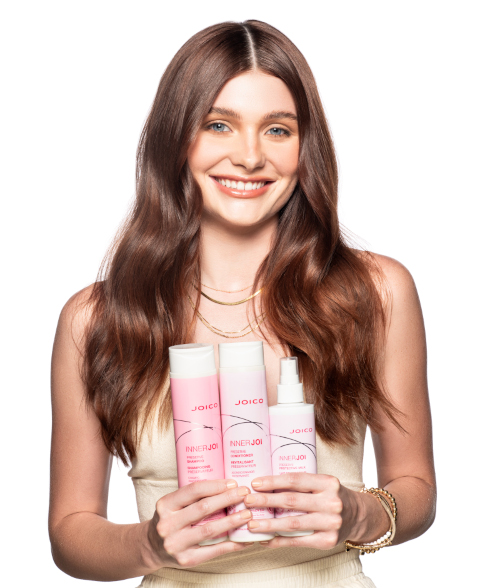
Products Used: