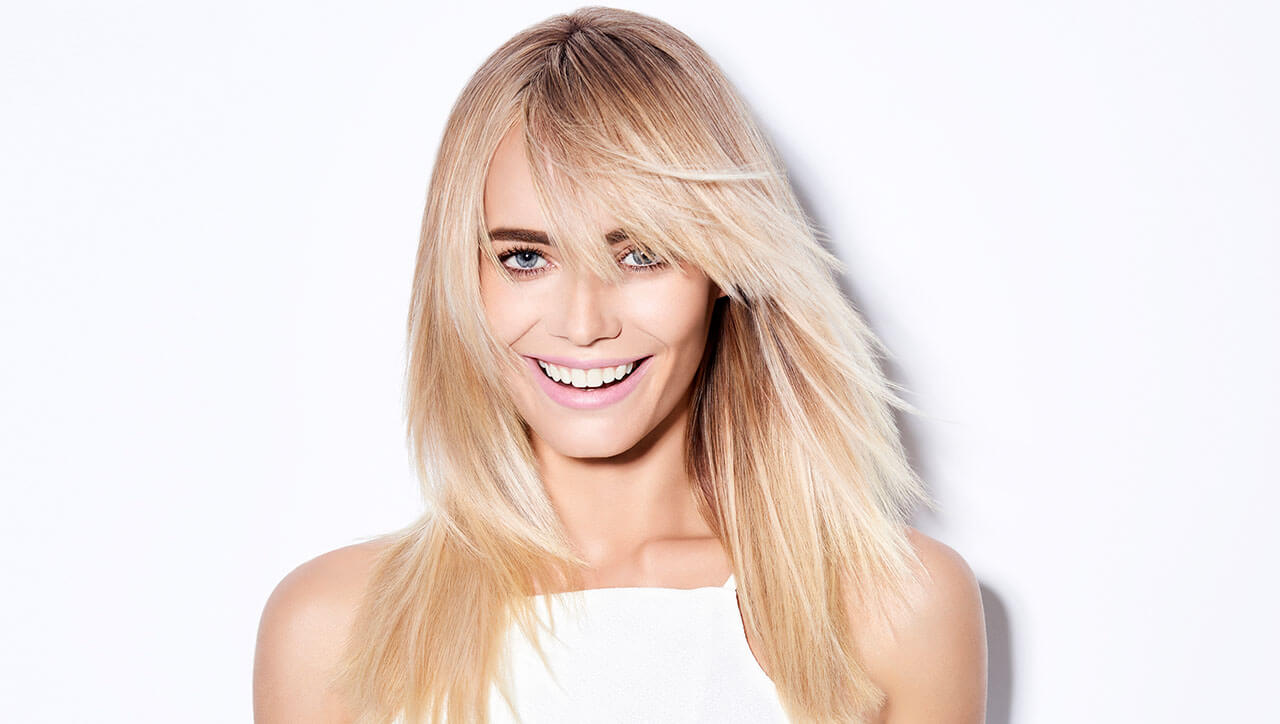
It’s brilliant, dimensional, and makes you look like you’ve been spending major time in Malibu. Except, you don’t have to go to California…thanks to our brand-new Blonde Life Power Lightener, a hydrating color revolution that lifts nine+ levels in lightning-fast time. Joico Celebrity Colorist, Denis De Souza, who recreated this iconic look by focusing NEW Blonde Life Lightening Powder along the front hairline and then weaving two LumiShine lowlight formulas in a bricklay pattern toward the ends. A final sweep with gloss locked in healthy-looking shine.
Blonde Life Lightener
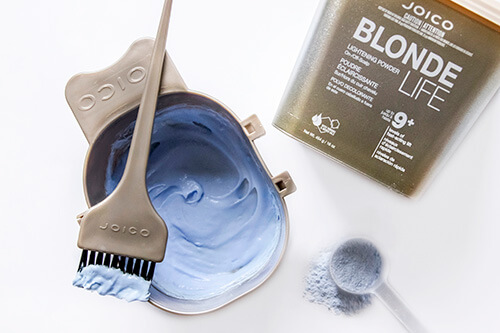
Equal parts LumiShine XLA (XL.1) + XLN (XL.0) with 30 Volume (6%) LumiShine Developer (to produce a light, balanced blonde that shimmers in the sun)
FORMULA 2:
NEW Blonde Life Lightening Powder with 10 Volume (3%) LumiShine Developer (for the lightest, sun-washed blonde highlights)
FORMULA 3:
LumiShine Permanent Crème Color 9NV (9.02) with 10 Volume (3%) LumiShine Developer (for a dimension-adding lowlight in the back)
FORMULA 4:
LumiShine Liquid Demi-Permanent Color 10NG (10.03) + 10NWB (10.07) with 5 Volume (1.5%) LumiShine Developer ( for a glaze that will softly blend highs and lows and seal in twice the shine)
Technique
STEP 1:
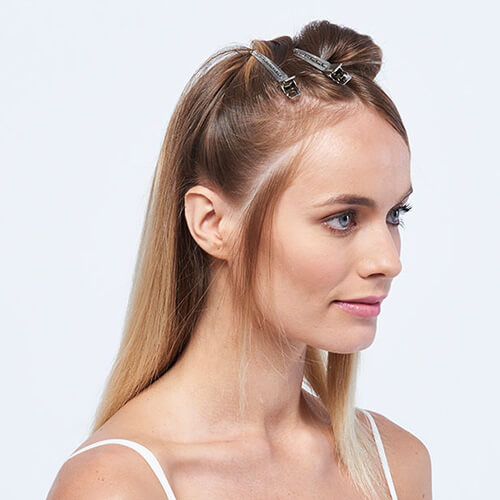
Start by breaking the base with Joico Base Breaker and 20 Volume Veroxide® applied to the regrowth for 10 minutes. This will help blur the line of demarcation and create a soft, light canvas to work on. Starting at the front at the hairline, take a vertical weave parting and apply Formula 1.
STEP 2:
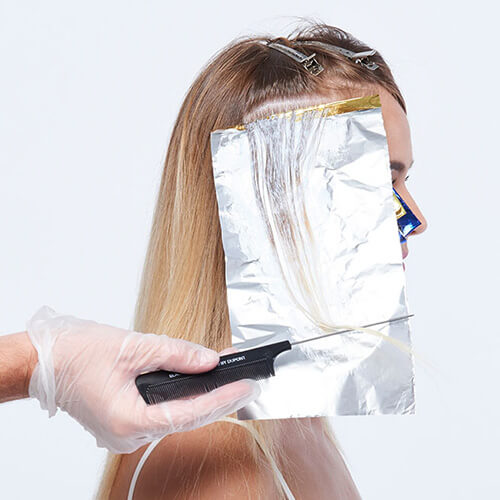
Take a second vertical weave parting and apply Formula 2. Continue taking weave partings, alternating Formulas 1 and 2 (leave the ends out for a more natural, sunny blonde)
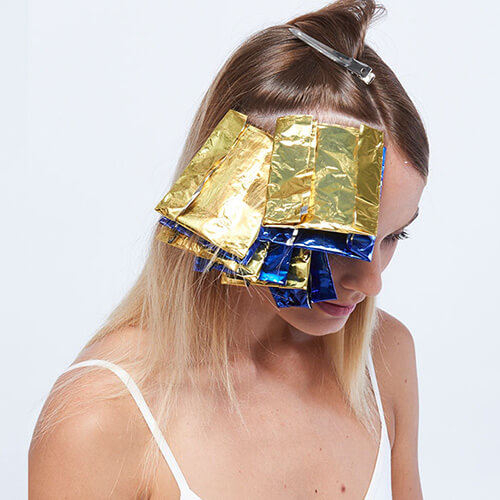
STEP 3:
Work upward along the hairline, gradually pivoting weave partings so that the final parting is parallel with the center part.
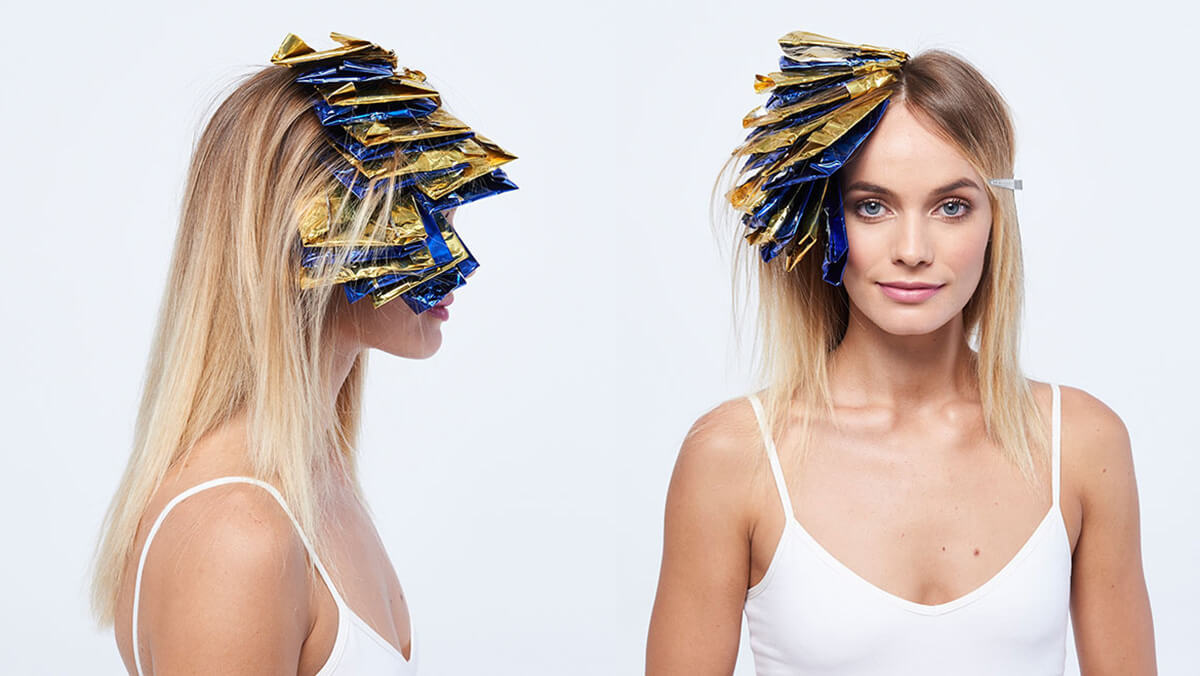
STEP 4:
Lay foils in bricklay pattern. Remember to include the hairline and the hair over the ear. To prevent bleeding, triple-fold foils lengthwise and fold over the top of the foil-holding weave section.
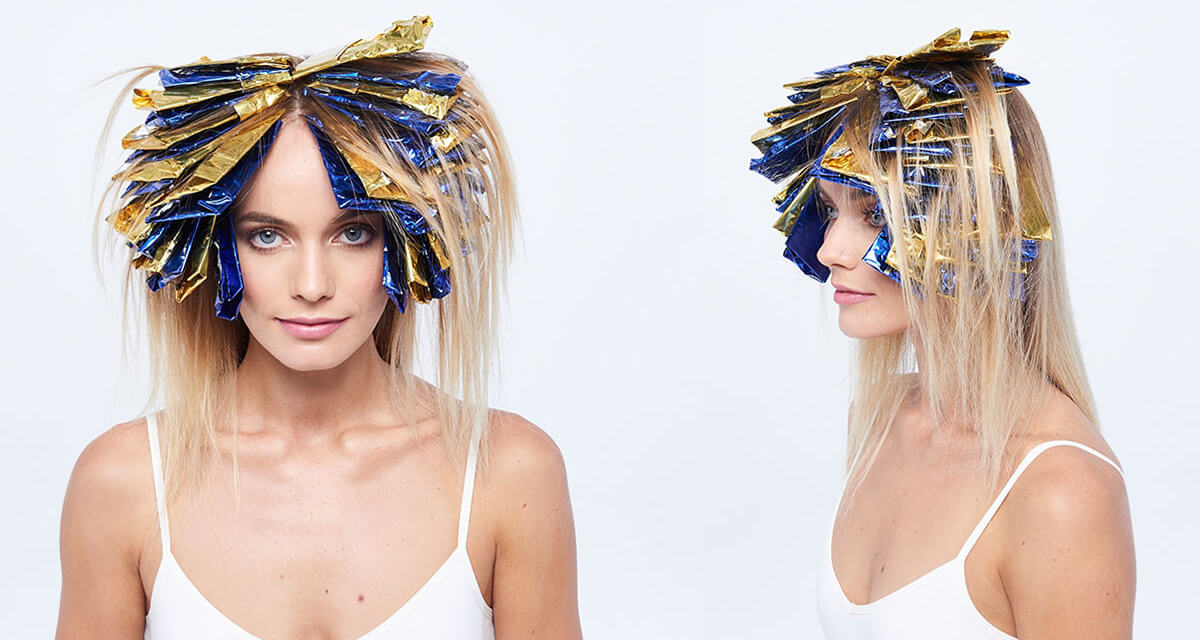
STEP 5:
Repeat the process on the opposite side.
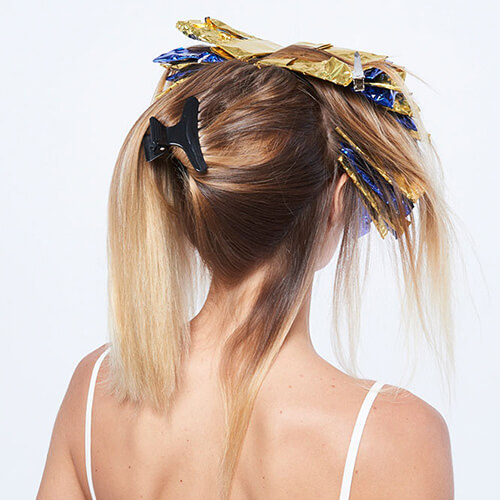
STEP 6: BACK
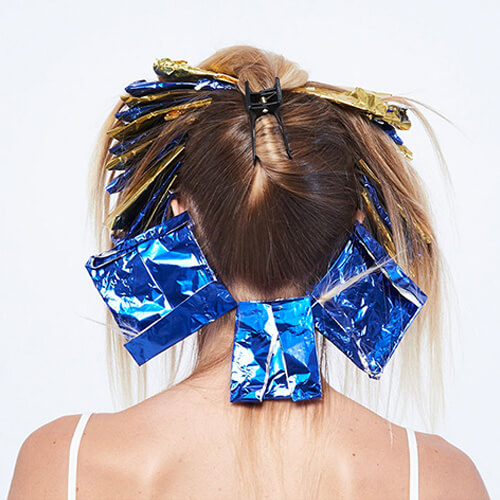
Take a diagonal parting that extends from behind the ear to the back corner hairline and weave Formula 1.
STEP 7:
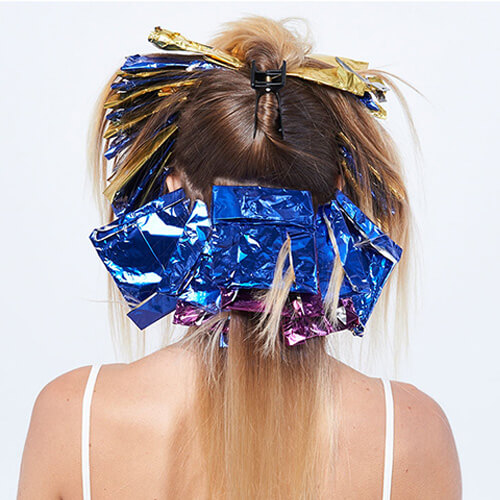
Repeat diagonal parting on the opposite side and part across the back (at the hairline), leaving a slice of natural hair. Take a weave parting just above the natural hair with Formula 1. Note: The horizontal parting should connect the two diagonal partings from the previous step.
STEP 8:
Continue working up from the center nape, leaving about one-inch of natural hair. Take a weave parting with Formula 1. Clip apart parting, then take a weave parting from the natural hair beneath and apply Formula 3. Continue alternating Formulas 1 and 3 until you reach the occipital bone.
STEP 9:
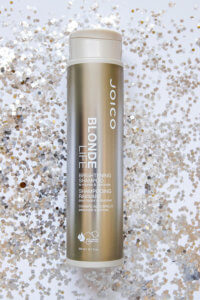
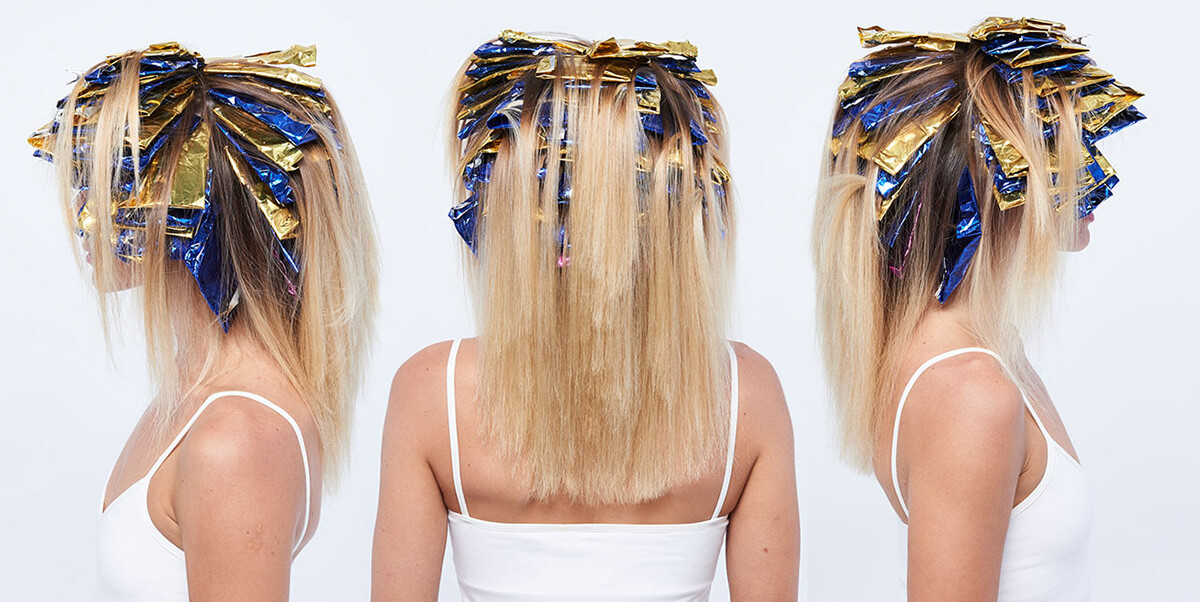
Once you’ve reached the occipital bone, begin working upward, alternating Formulas 1 and 2 as you pick up weave sections. Foil sections in a bricklay pattern until you reach the top back. Process color, then shampoo with Blonde Life Brightening Shampoo. Rinse, apply K-PAK Cuticle Sealer, wait 5 minutes, then rinse hair again.
STEP 10:
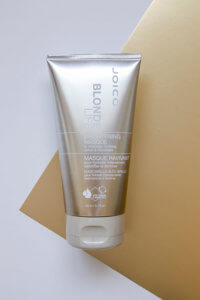
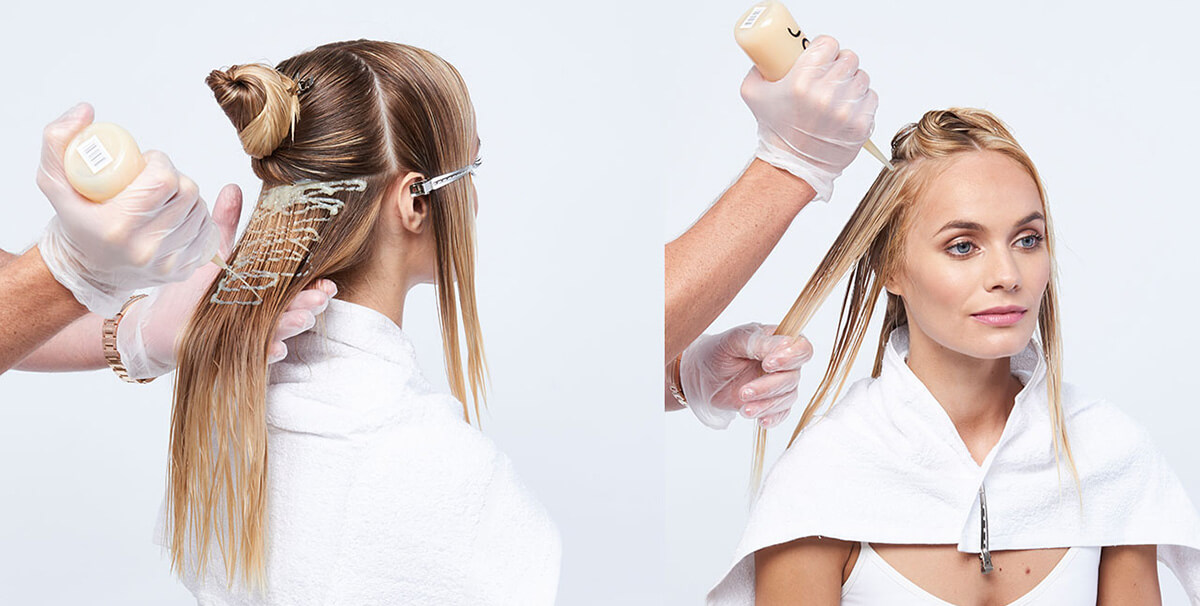
Apply Formula 4 to the entire head and process at room temperature for 15 minutes. Rinse hair, then shampoo with Blonde Life Brightening Shampoo. Apply Blonde Life Brightening Masque for 2 – 5 minutes, then rinse and style hair as desired.


