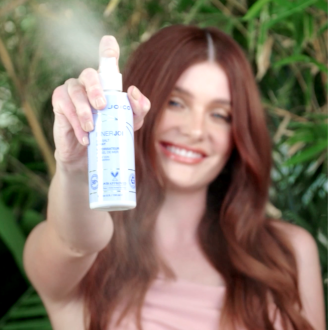
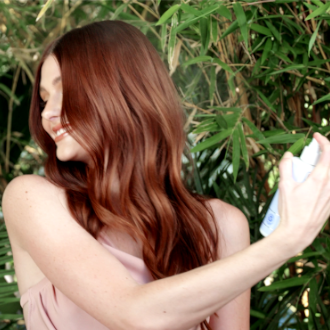
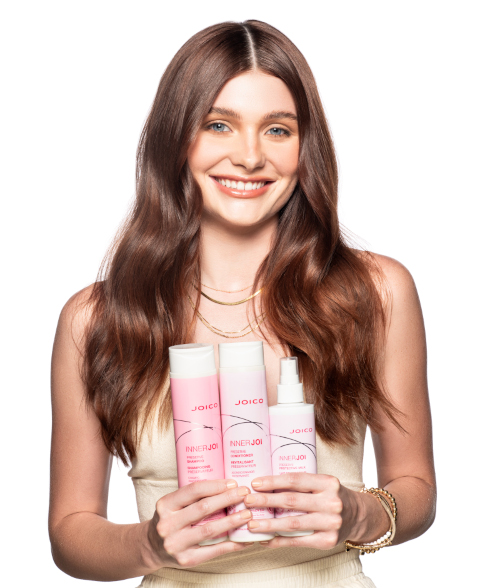
Natural-looking red. With dimension. And shine. Fast! Think it’s a tall order? Not so much for Joico Celebrity Artist, Jill Buck, of Nine Zero One Salon, whose luscious, new LumiShine “Ginger Dreams” technique hits every mark on your menu. “The goal here is to achieve those results in an application that’s simple, quick, and clean – making it the perfect express red service,” explains Jill.
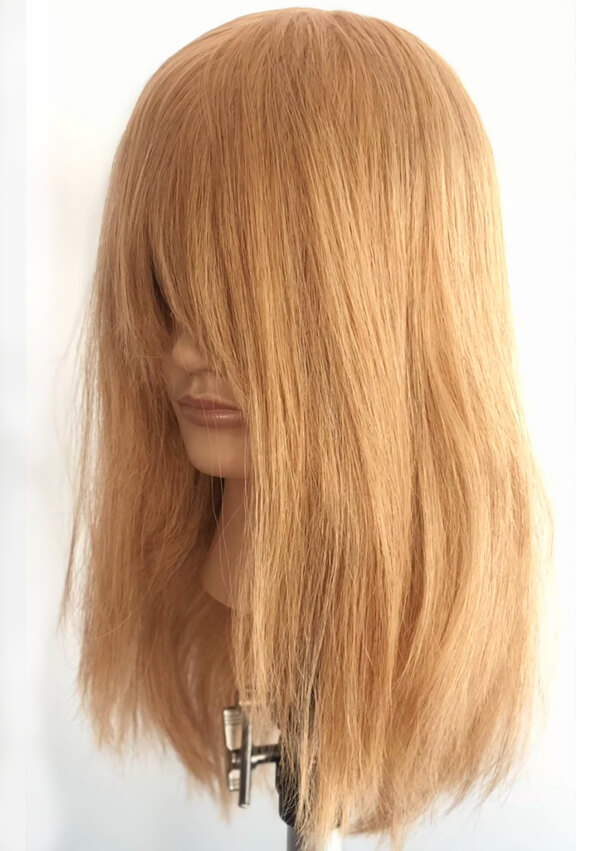
Base formula: 1 oz 7cc + 1 oz.10NG + ½ oz 7N and 20 volume LumiShine developer
Mid Shaft and ends: 1oz 7CC + 1oz 10NG + ¼ oz 7N with 30 volume LumiShine developer
Tip From Jill’s Notebook: “This formulation will work at her level and will add brightness and lift. Be sure to use your clients own unique features and head shape to guide your sectioning and application. When formulating, you want to go off the natural color level and kick it up from there.”
THE HOW TO'S
Section: Go down the center part, right behind the ear, sectioning the front away.
Focus on the back, and work on this section all at once.
Zone 1
hairline and base
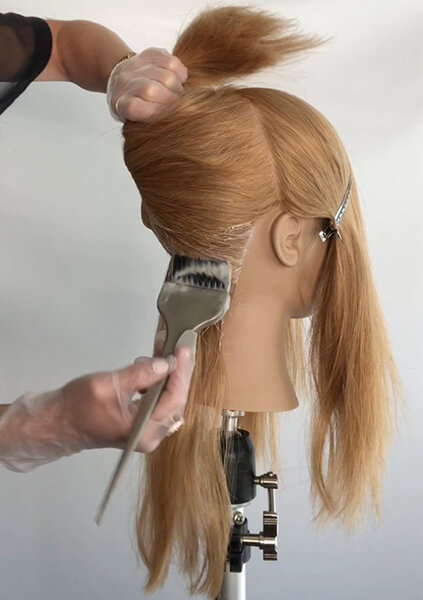
Zone 2
mid shaft
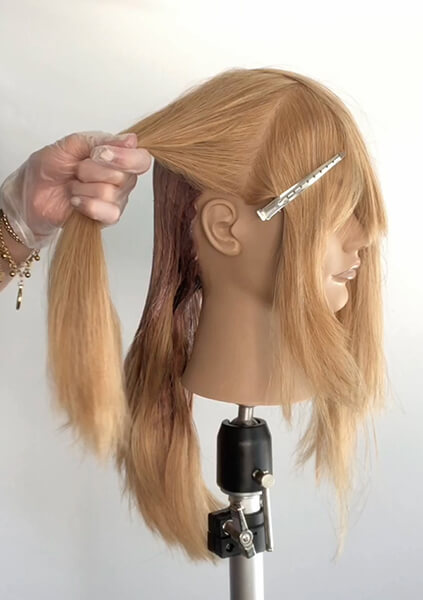
Zone 3
ends
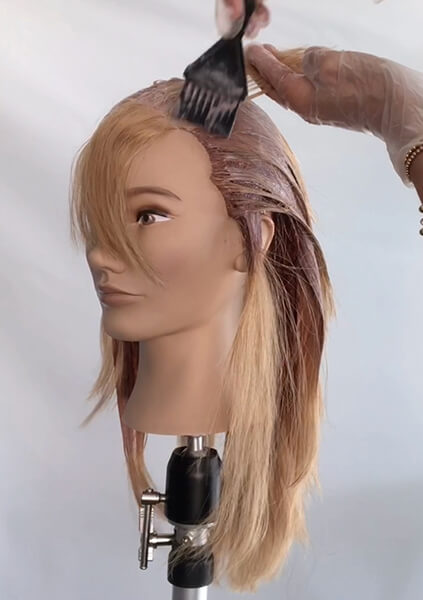
Back Section – Zone 1
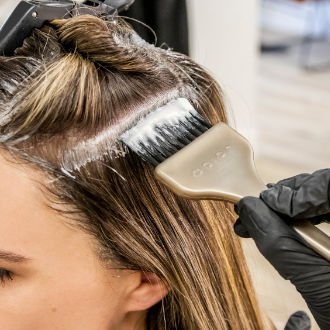
• Work with the base formula and apply all around the hair line (Zone 1) in the lower nape section, going just below the ear.
• Take a small slice and work the base color along the bottom and top side of each section of hair.
• Use a wide-tooth comb to comb the color through.
Tip From Jill’s Notebook: “Work section by section, so that you can rinse any time it’s needed e if the back is processing. If the client has gray, let the color develop for longer.”
Zone 2
• Apply the mid-shaft formula right below the base application (Zone 1), and feather the color upwards. Smudge and melt the colors where Zone 1 and Zone 2 meet. Do not color Zone 3.
Tip From Jill’s Notebook: “Take fine sectioning for more control, so you can make sure you’re really getting in there and saturating each strand. It helps to save time if you don’t have to clip every section away. You can do this by holding the hair up with your hand, keeping that tension on the hair so that it is securely pulled away as you continue. Repeat this process throughout the whole back section.”
Side Sections:
• Section out any bangs, fringe, or any hair that falls in front, and clip that hair away.
• Work as you did the back section. Repeat the process on the sides of the hair, using the base of your clients ear as your guide.
Front:
• Slowly back-tap the fringe area with the base formula, going about ¼ inch down.
• Work the mid-shaft formula (Formula 2) through the remainder of the hair.
• For the front section, work the application away from the face, moving in a diagonal and lightly laying the hair down on the back sectioning.
• Apply to the front.
Tip From Jill’s Notebook: “It’s really important that you don’t use the base formula (Formula 1) at the hairline of the face. However, if your client has gray hair, you may need to work in your 20 volume developer to ensure really good coverage.”
Back:
• After applying the front color, head to the back section and apply the mid-shaft formula (Formula 2) through the ends of the hair. Reapply a little color at the base and smudge as you go.
Tip From Jill’s Notebook: “If you need to, take a wide-tooth comb and comb down the product to fully saturate the hair and work the product all the way down. You can put a cap on your client and hit it with a blow-dryer for 1 – 2 minutes, which allows your product to move and melt through the hair more easily. If you find any hair that wasn’t fully saturated as you’re combing, hit it with the mid-shaft (Formula 2), which will add dimension. You can also add more product to the fringe or money pieces to ensure these pieces will stay lighter.”
Finish:
• Allow to process around 10 minutes, watching the color closely. Take the ends and bring them up to the root to see how the hair is processing; this will help you know when to rinse.
• If, after the rinse, you find that it needs a little more pop (or you took it off too soon), go back and throw in a gloss with the LumiShine Liquids. I personally love using the NC and CC lines.
Watch Jills Tutorial
View this post on Instagram


